I still wake up in a cold sweat, my hands trembling as I recall the sheer, unadulterated chaos of the Fell Xenologue's final chapter. Let me tell you, friends, in 2026, this DLC remains the single most punishing, devious, and outright sadistic challenge Intelligent Systems has ever concocted. It wasn't a battle; it was a war of attrition against questionable balancing, bizarre mechanics, and waves of reinforcements that seemed to spawn from the very depths of despair. My strategic mind, honed by years of tactical combat, was pushed to its absolute limit, racing across sinking islands while a Fell Dragon laughed at my feeble attempts at order.
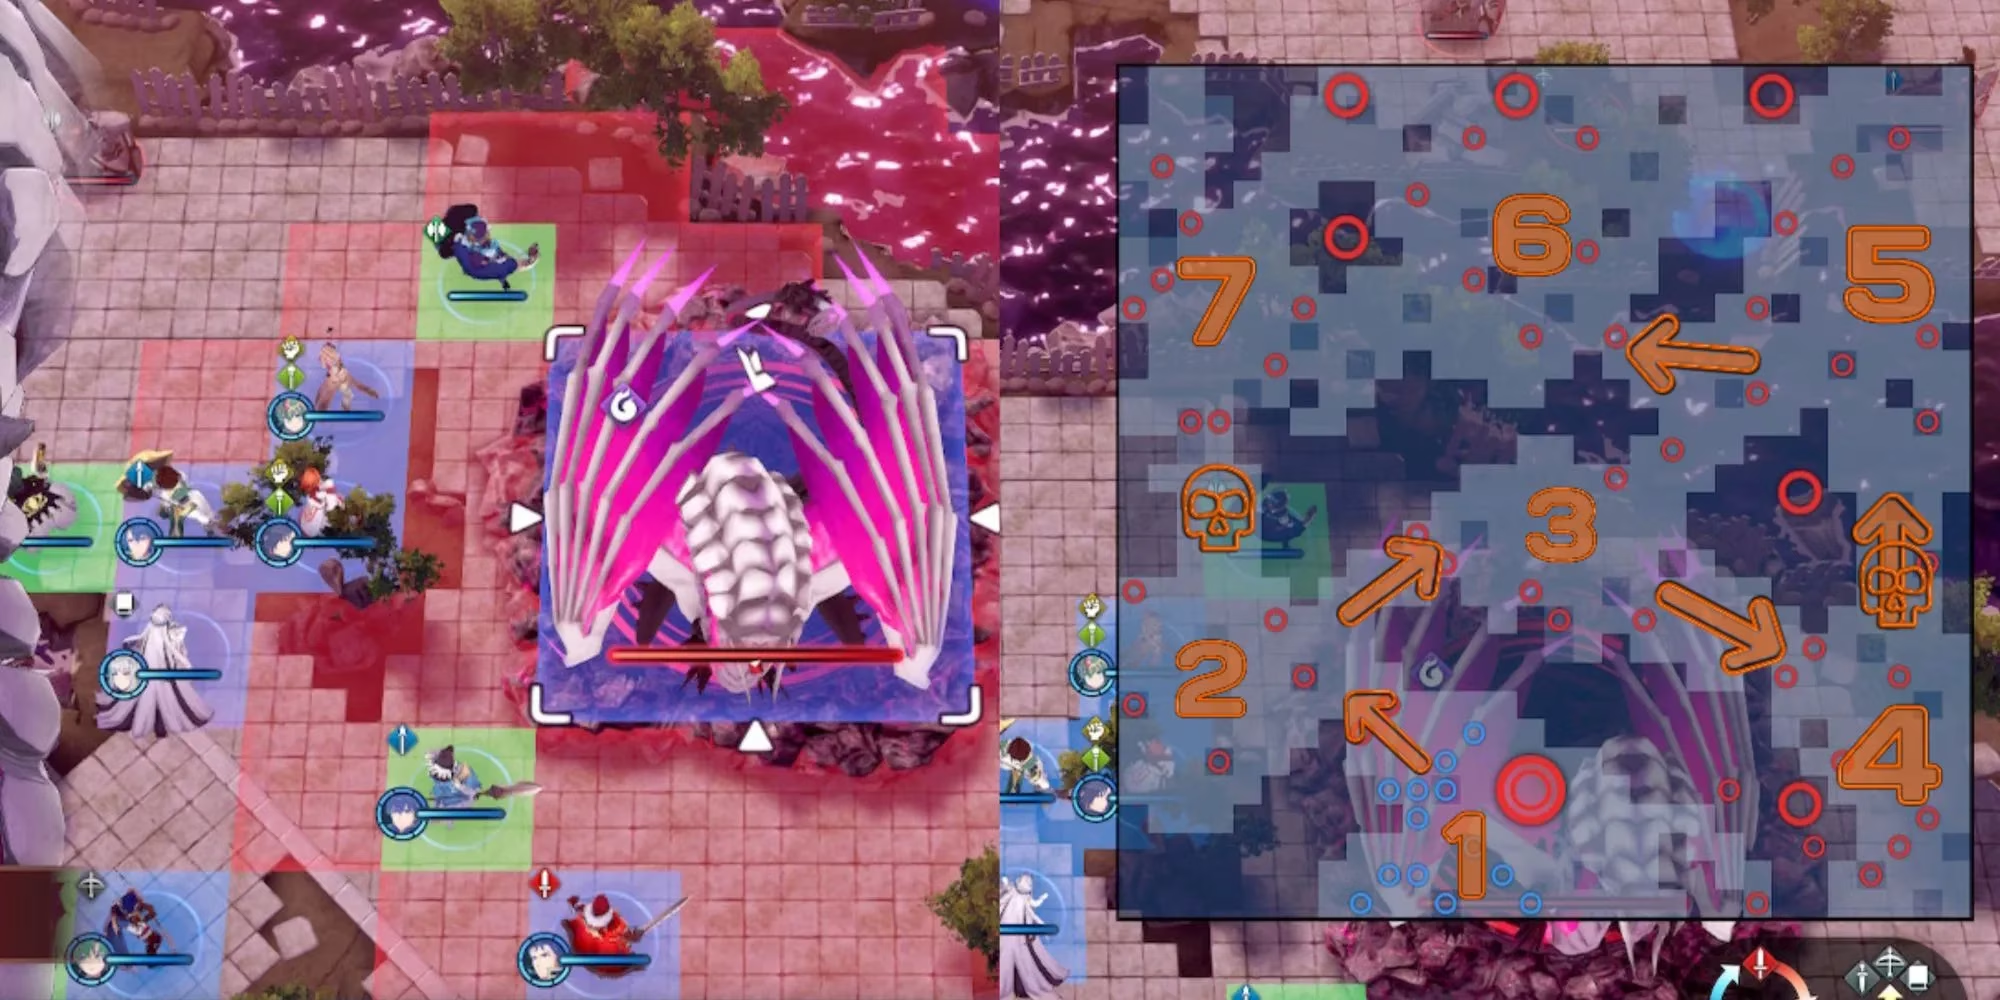
My journey began with understanding the absolute nightmare I was stepping into. The map? A chain of seven sinking islands. My goal? Reach the un-sinkable Sixth Island in the north before everything, including my sanity, was swallowed by the abyss. But here's the kicker: each island had a sigil for Fell Nil and a bracelet-wielding boss (except the first, because why make anything straightforward?). Let me break down the gauntlet:
| Island | Key Enemies & Nightmares |
|---|---|
| First | Generals, Wyvern Knights - The 'warm-up'. Ha! |
| Second | Fogado & Tiki, Bow Knights, a Mage Cannoneer |
| Third | Alcryst & Chrom, Generals, a Sniper |
| Fourth | Timerra & Camilla, Halberdiers (so many Halberdiers!) |
| Fifth | Diamant & Veronica, Heroes, a Sage |
| Sixth | Alfred & Hector, Celine & Edelgard, Swordmasters, FELL NIL HIMSELF |
| Seventh | Ivy & Soren, Hortensia, Mage Knights |
And then there were the Death Valleys – those long, vertical stretches on the east and west. If hell had a zip code, it would be located there. Time wasn't just a factor; it was a screaming, ticking bomb strapped to my back. Fell Nil himself had three favorite party tricks: Devastation (bye-bye island), Summon Vortex (hello more enemies), and Fell Beam (a laser of pure spite). If he absorbed a bracelet user? He'd steal their skill. The stakes couldn't be higher.
Assembling My Suicide Squad 🫡
I was allowed eight units of my choice, plus five forced deployments: Zelestia, Madeline, Gregory, Nel, and my own Alear. This was my moment to shine! Or panic. Mostly panic.
My philosophy? Balance is survival. I needed a team that could handle anything this mad map threw at me.
-
At least one flying unit. For mobility and sniping those pesky Cannoneers.
-
Two staff units. Healing and, crucially, Rescue. Gregory had to get that Rescue staff early!
-
One unbreakable tank. My Louis, paired with Sigurd, became my movable fortress.
-
A mix of physical and magical firepower. Panette with Ike for raw damage, a mage like Citrinne with Soren for decoys and nukes.
For the forced deploys, I gave them the best Emblems I could, bond levels be damned:
-
Alear with Byleth for Goddess Dance support.
-
Nel with Camilla for dragon vein utility.
-
Zelestia with Chrom for dual-strike synergy.
-
Madeline with Eirika for consistent damage.
-
Gregory with Micaiah for stave range and healing.
The Sprint Begins: Islands One & Two
The start seemed deceptively simple. Get everyone off the First Island. I smashed the two blocking Generals, making sure Gregory landed the final blow on the one holding the Rescue staff. This was non-negotiable. This staff would be our lifeline later.
As I moved to the Second Island, I sent fliers south to deal with the Mage Cannoneer while using Soren's Assign Decoy on my tank to draw the Bow Knights' fire. A pro tip I learned the hard way: leave five units on the First Island's red sigils to block reinforcements. Do NOT greed for the sigils on the right side! It's a trap that will drown your units.
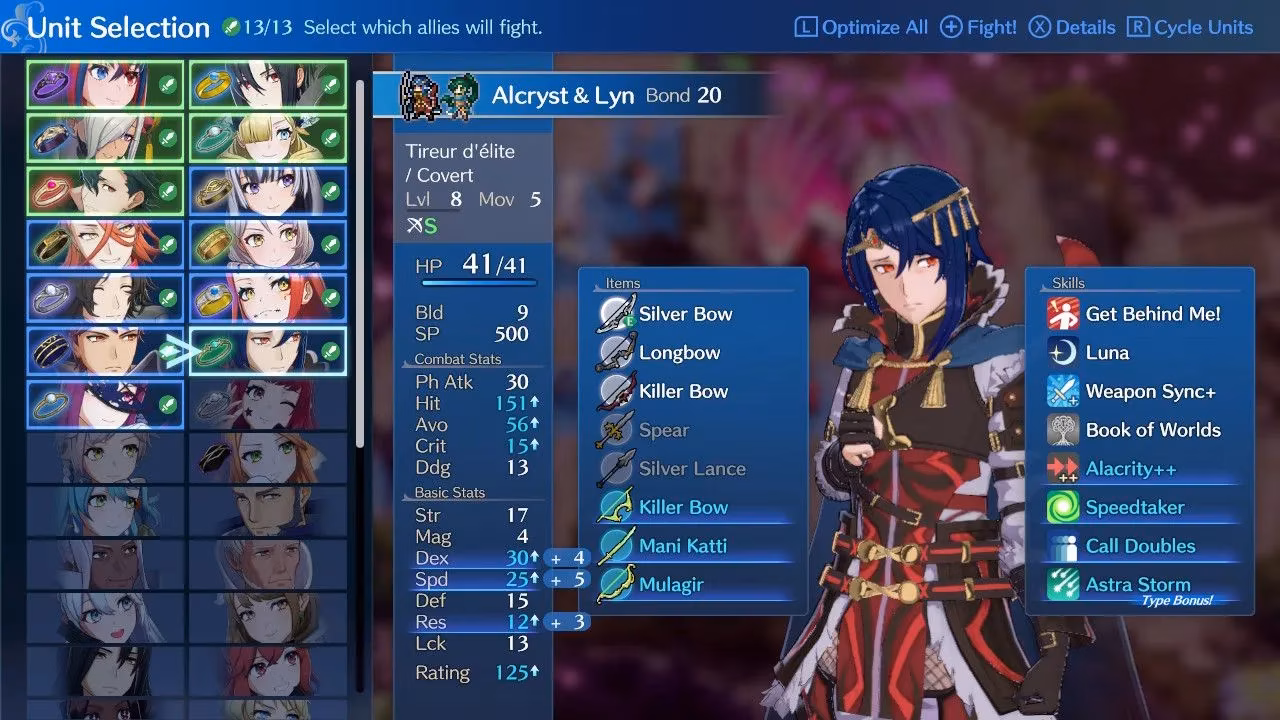
On the Second Island, I made a beeline for Fogado. If Fell Nil reaches him first, Fogado will use Divine Blessing on the dragon, giving him an extra health bar. No thank you! I cornered the bowless Fogado with ranged units and cleaned him up.
The Gauntlet Tightens: Alcryst, Timerra, and the Valley of Death
The Third Island brought Alcryst and Chrom. Two Generals guarded the entrance, vulnerable to long-range punishment. After clearing them, I dealt with the Sniper and others before baiting Alcryst. He loves opening with Giga Levin Sword, so I sent in my high-Resistance unit to eat it. Then, the swarm! His squishy frame couldn't handle the onslaught.
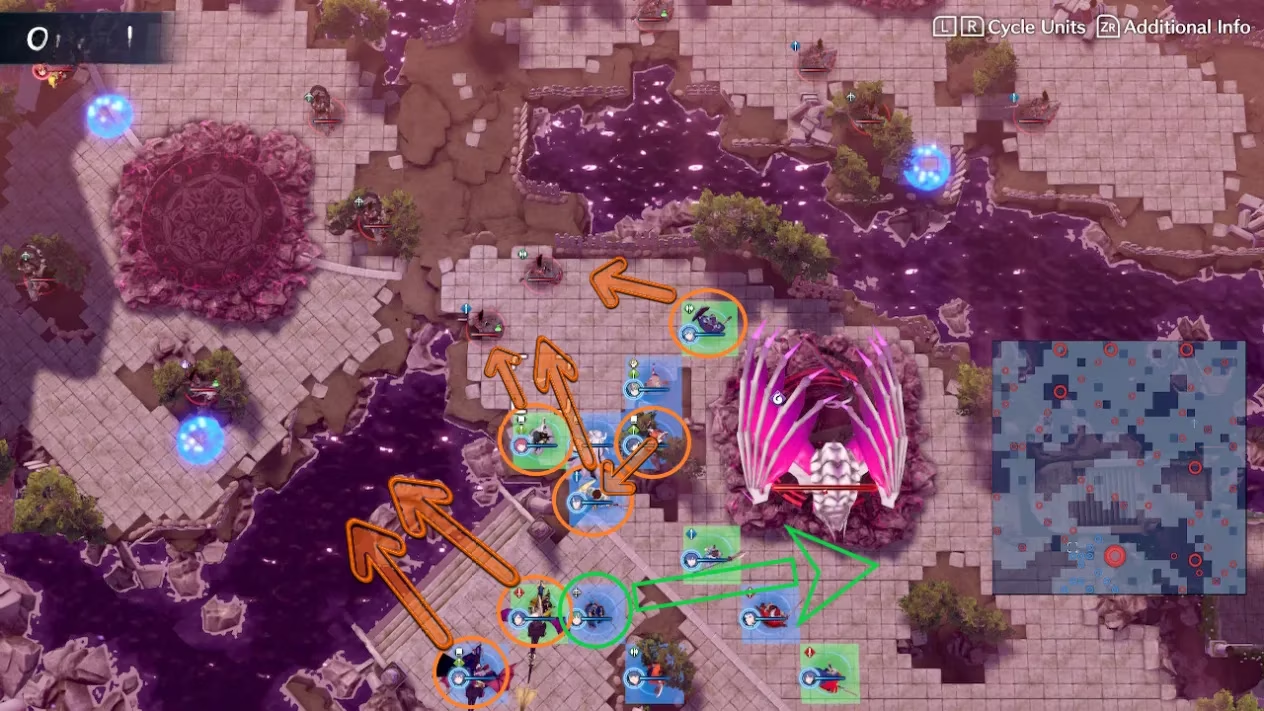
Now, the real test: Death Valley. The path splits to the Fourth and Fifth Islands. On Maddening, I sent my entire army to the Fourth Island. Why? Because glitches! Sometimes Fell Nil would skip to the Fifth Island and break the sequence. Also, triggering Diamant's summons early is a recipe for a game over.
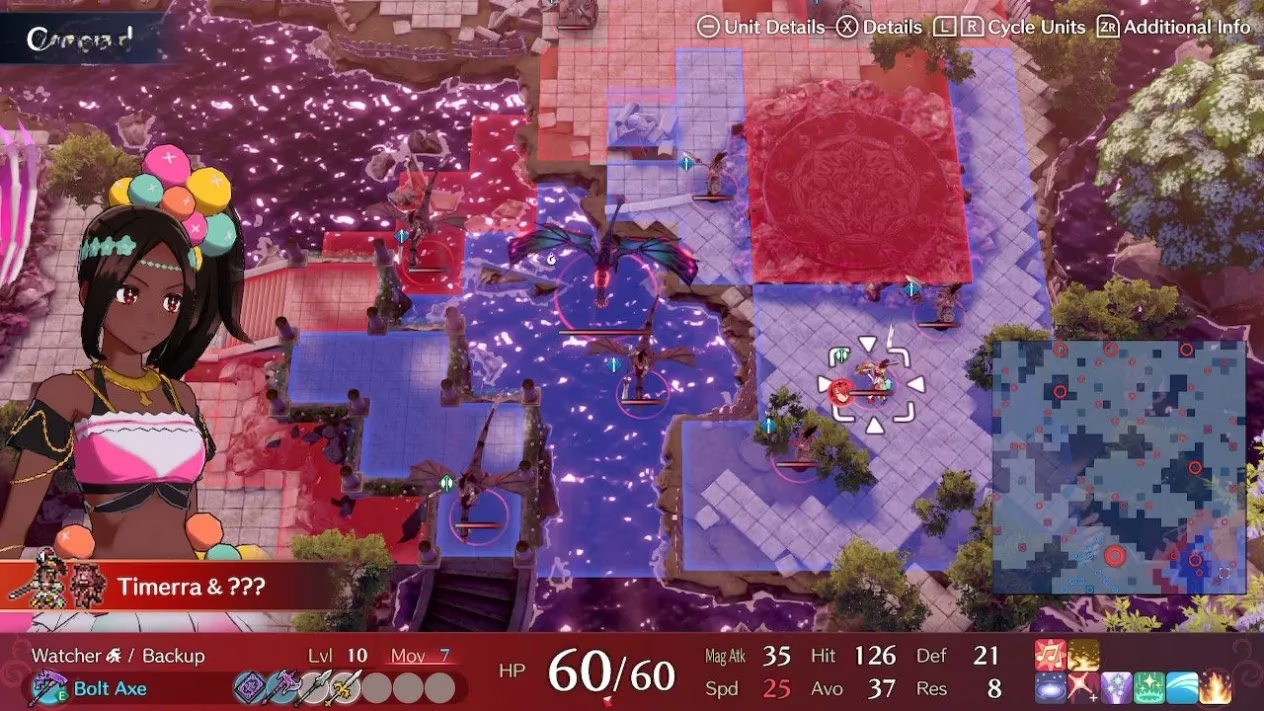
The Fourth Island housed Timerra and her gang of Halberdiers. These Backup units are a pain. I sent my tank with Pair Up into the fray to break their formation before focusing on Timerra. She's surprisingly easy for ranged units to pick off. With her down, the desperate final run north began.
I used Rescue to yoink stragglers forward. This area is pure chaos: Diamant's summons (Marth! Celica! Roy!) in the north, the island sinking, flying reinforcements swarming, and Fell Nil flying overhead to charge his Devastation. You have to move with purpose and violence.
The Final Stand: Cracking the Sixth Island Nut
The entrance to the Sixth Island is a killbox guarded by Alfred and Celine, backed by Swordmasters. Celine's magic makes tanking everything impossible. My strategy? Bait and switch with an Ike user.
I lured them into a Great Aether trap, using Tiki's Divine Blessing for an insurance policy. Soren's Assign Decoy ensured the aggro stayed on my bait. Once on the island, I prioritized Celine over Alfred; her magical versatility is far more dangerous.
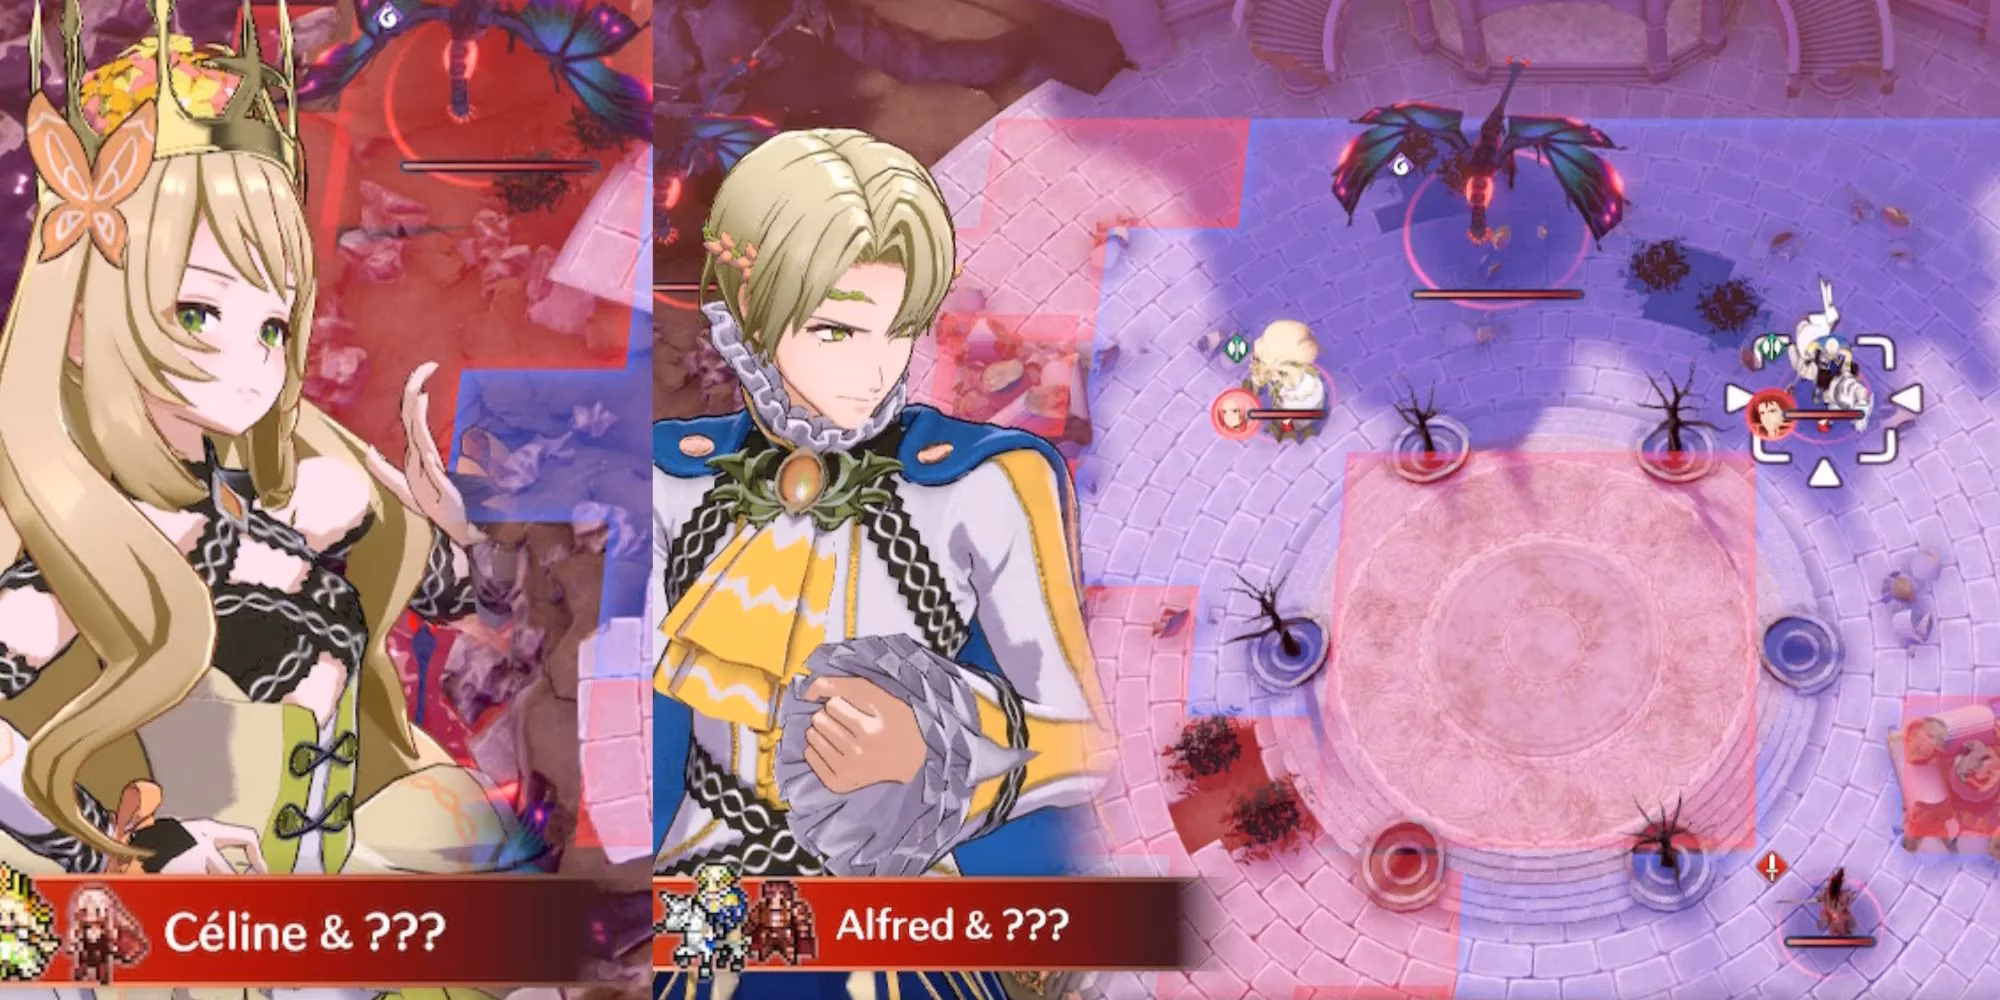
This triggers the final onslaught: Hortensia from the west, followed by Phantom Wyverns, flying reinforcements, Ivy and Soren, and Fell Nil himself, all converging for a party on one tiny island.
The priority list became a frantic juggling act:
-
Phantom Wyverns: They freeze units. They die first.
-
Ivy & Soren: The biggest magical threat. I used Assign Decoy on a high-Res mage and cleared her allies first.
-
Everything else: A blur of lasers, slams, and screaming.
Facing the Fell Dragon: An Exercise in Patience and Pain
With all seven bracelet users down, Fell Nil's defenses fell. But the fight wasn't over. He still spammed reinforcements, fired lasers, and slammed the ground. The key? Watch the ground cues for his attacks.
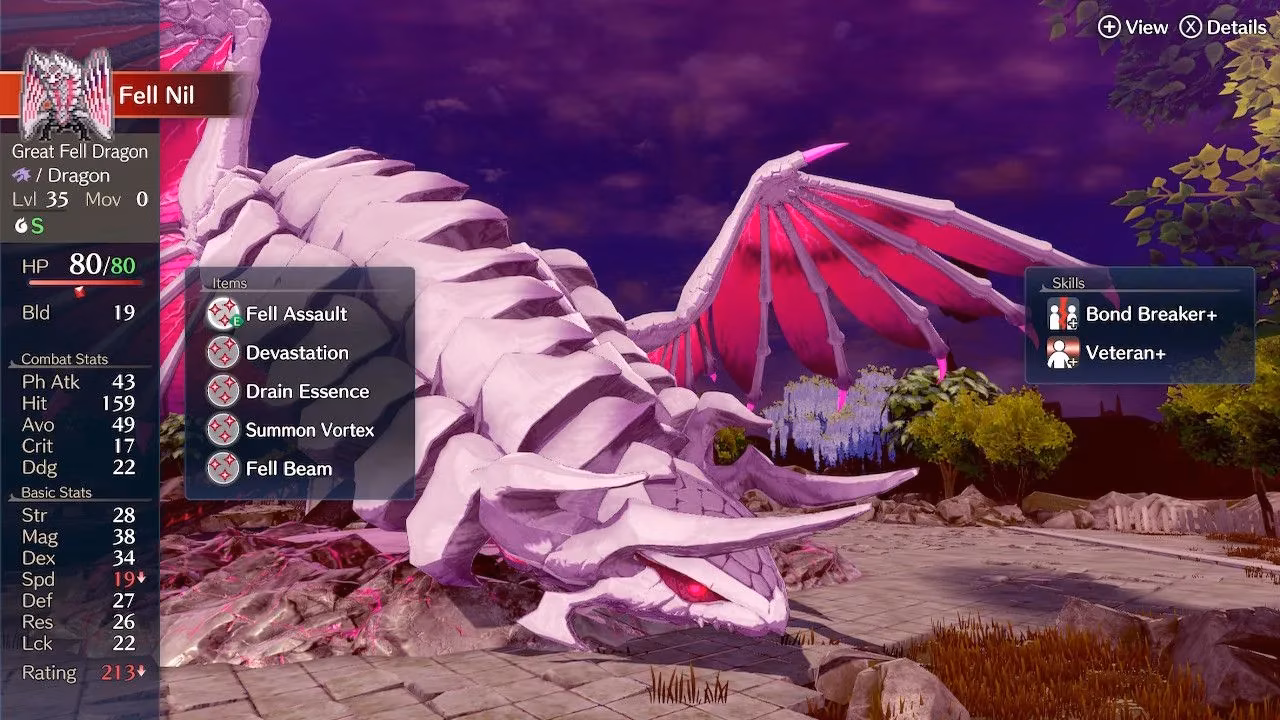
I used the spawned enemies to farm Engage Meter points, because Engage Attacks are the only things he cannot counter. I plugged reinforcement sigils, dodged apocalyptic beams, and whittled him down.
My strategy for the final blow:
-
Used units that could survive a hit to attack.
-
Spammed Engage Attacks whenever possible.
-
Utilized un-counterable weapons like Veronica's staff.
-
Parked everyone next to Alear for that sweet damage boost from his personal skill.
-
Ignored Chain Attacks—their hit rate was a cruel joke.
There are no phase changes, just a relentless, grinding assault. When the final blow landed, I didn't feel joy. I felt relief. A deep, profound relief that the torture was over. My units were battered, my resources spent, but we had survived. In 2026, this DLC stands as a monument to brutal, unforgiving strategy. Conquering it isn't about winning; it's about surviving. And I, my friends, am a survivor. 🏆