When I first reached Chapter 10 of Fire Emblem Engage back in 2023, I remember being both excited and terrified. King Hyacinth had been a royal pain in the butt for ages, and finally getting a chance to confront him directly felt cathartic. But man, this map is a nightmare if you're not prepared! I recently replayed it on a whim (it's 2026 now, and this game still holds up), and I've refined a strategy that makes the whole encounter way more manageable. Let me walk you through everything I learned.
This chapter takes place inside the Fell Dragon’s Cathedral, and it's split into two distinct halves. The front room is where you face Hortensia and her squad, and once you push through, you’ll have to battle both Morion and Hyacinth. There are a ton of tricks here, but if you follow this plan, you'll breeze through it.
⚔️ Key Setup: Who You Absolutely Need
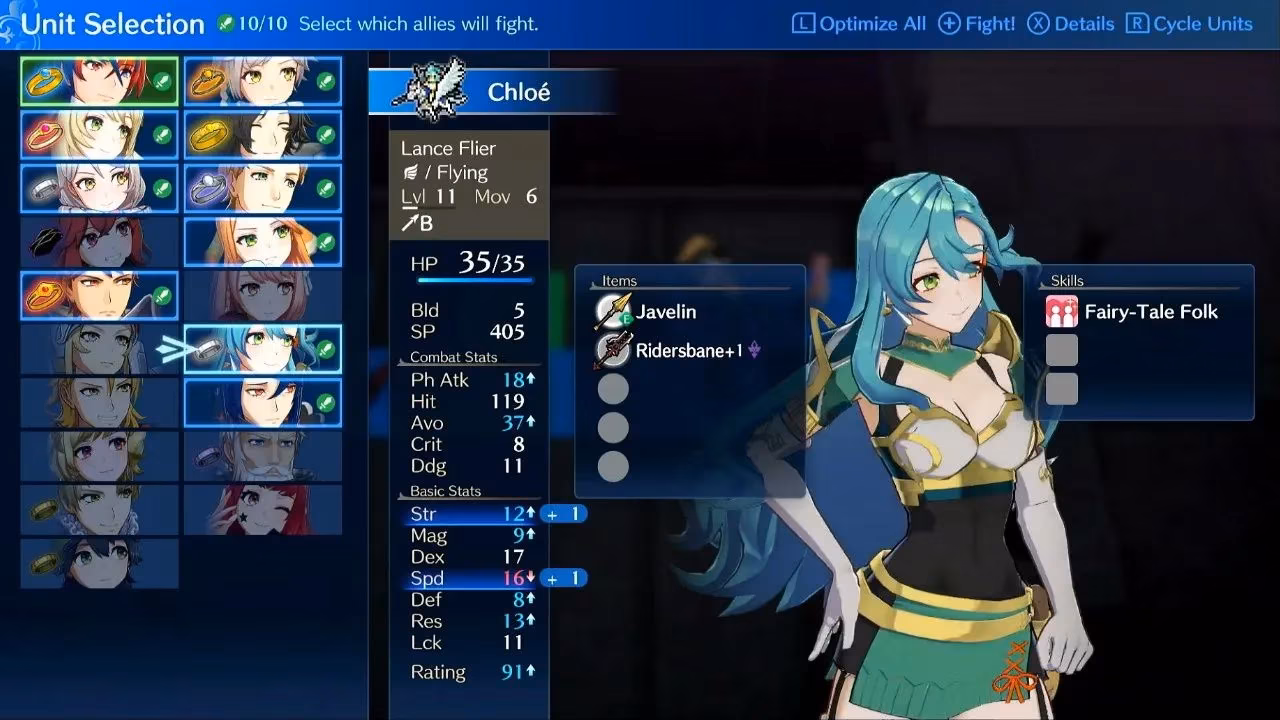
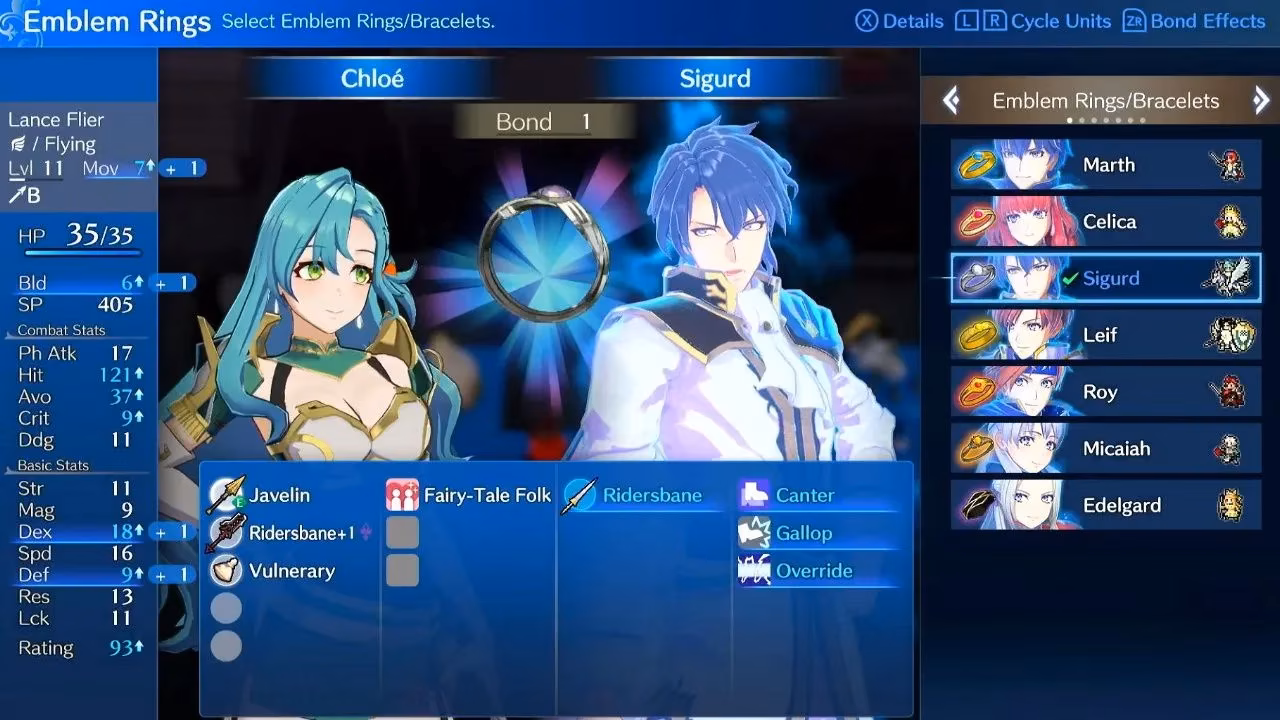
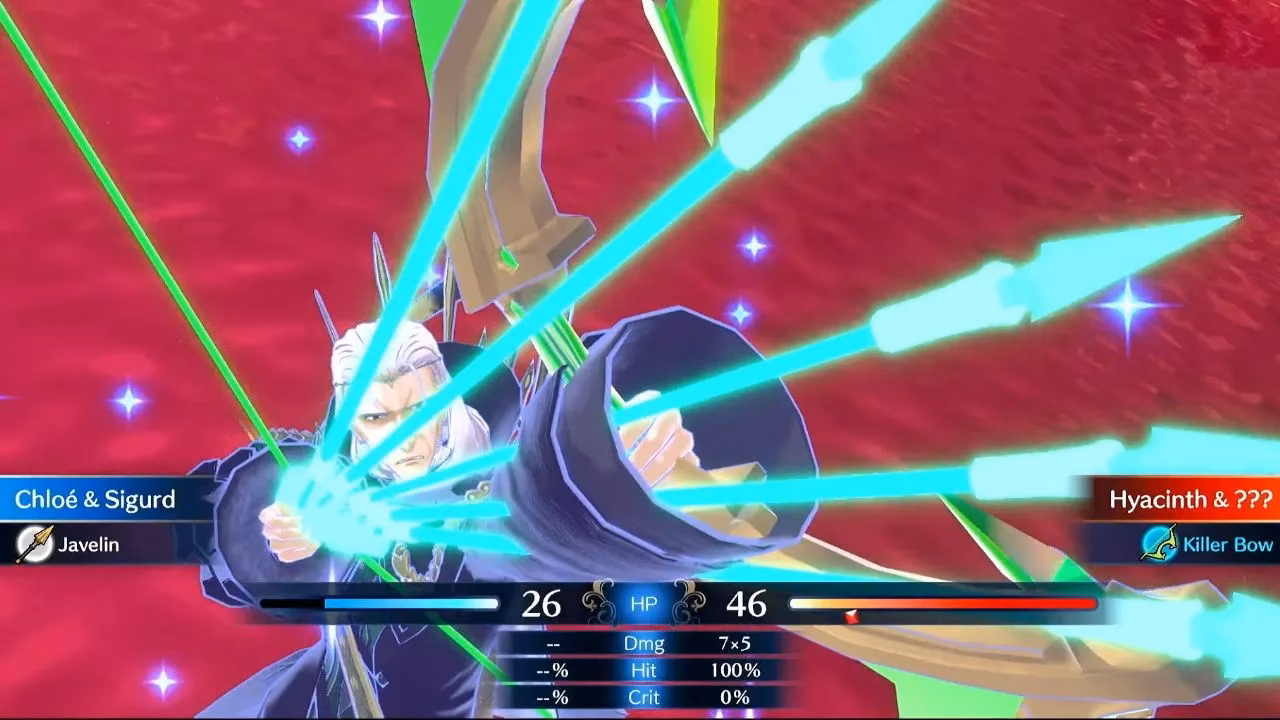
The most important unit for this battle is Chloe. Having a flier makes the first half of the map so much easier. You can use another flying unit if you've upgraded someone else, but Chloe’s mobility is golden. The real trick is to equip her with Sigurd’s Emblem Ring so she can use the Canter ability to cross back over the gap after attacking. Give her a javelin too — ideally one that’s been upgraded by the blacksmith — so she has a ranged attack.
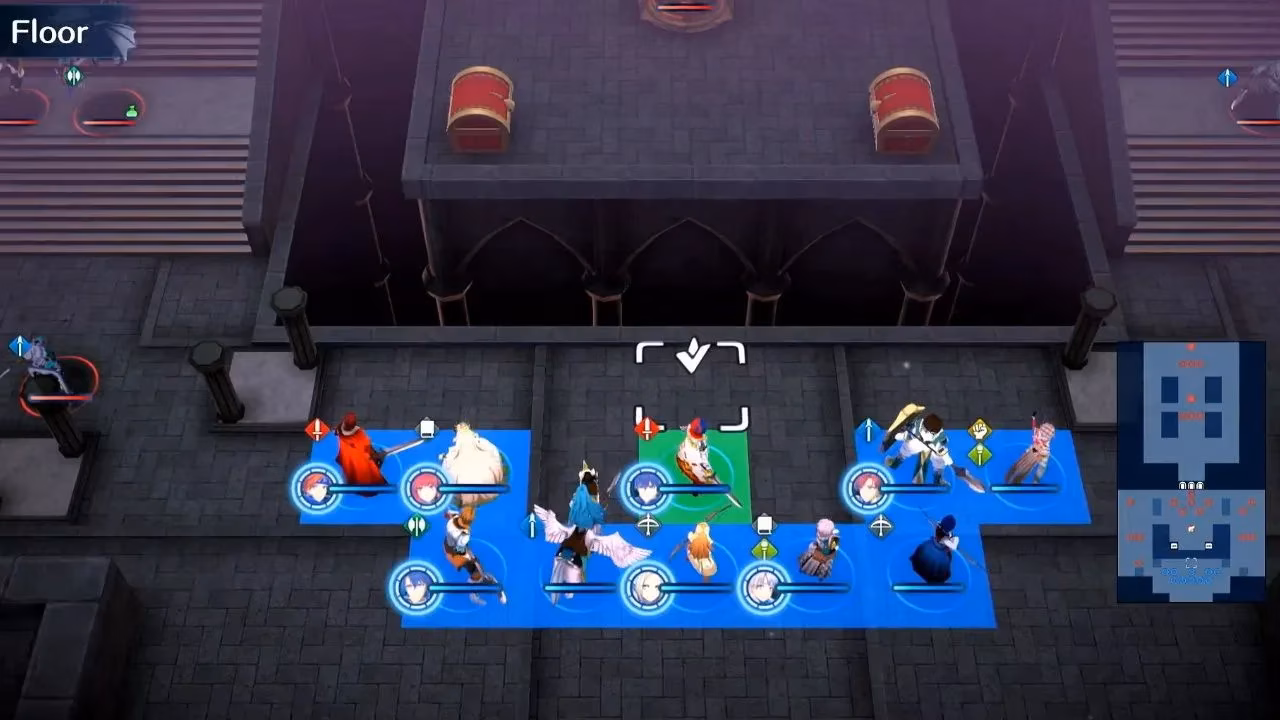
Beyond Chloe, you’ll want at least one tanky armored unit to soak hits, both of your archers, and a couple of mages and healers. Diamant is still a powerhouse sword fighter, so bring him along. Fill any empty slots with your highest-level units; no one is specifically bad for this stage. When positioning your troops, place axe-wielders on the left with a sword user for support, and lance-wielders on the right. Make sure a healer and at least one mage are in each group. Chloe should hover near the center so she can zip to either side.
🛡️ Phase One: Dealing with Hortensia
Enemy Breakdown (Front Room)
| Enemy Type | Count |
|---|---|
| Sword Fighters | 2 |
| Lance Armors | 2 |
| Axe Armors | 2 |
| Mage (on Magic Artillery) | 1 |
| Pegasus Knights (sword) | 2 |
| Pegasus Knights (axe) | 1 |
| Lance Cavalier | 1 |
| Rosado | 1 |
| Goldmary | 1 |
| Hortensia | 1 |
Additional reinforcements: a Thief arrives after round 1, and two Archers appear later. The main gimmick here is the Magic Artillery — think ballista but with magic. The enemy starts with a mage already manning it, which means they can lob attacks across the room at will. You need to eliminate that mage immediately.
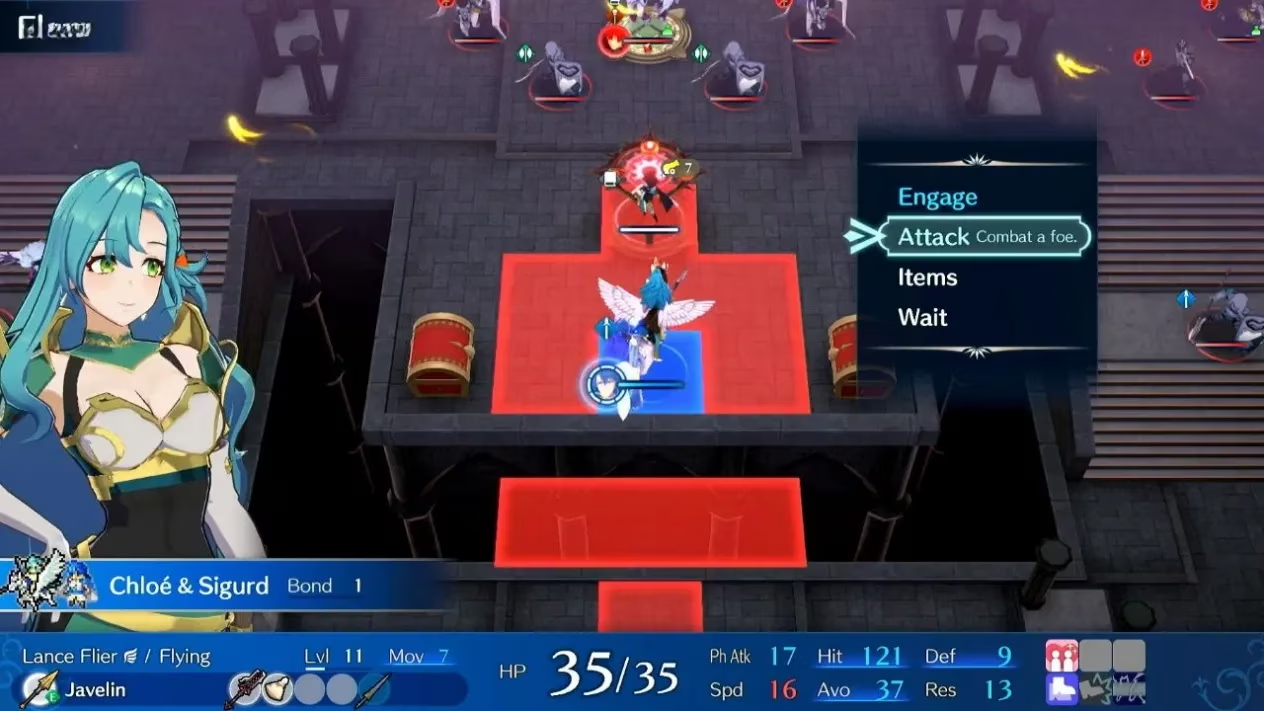
This is where Chloe shines. On turn one, fly her across the gap straight to the mage. Toss your javelin, and if Chloe is adequately leveled (and the javelin is upgraded), you should one-shot the mage. Then use Canter to retreat back across the gap. She won't be stranded among the Pegasus Knights and Hortensia. It’s a beautiful hit-and-run.
After the mage is down, set up a defensive wall using the columns for cover — they boost your avoid rate significantly. Move your axe and sword units to the left and your lance users to the right. You won’t reach Rosado or Goldmary yet, so just position resilient units in range of enemy attacks. You can probably take out the Lance Armor on the left this turn, but otherwise, play it safe.
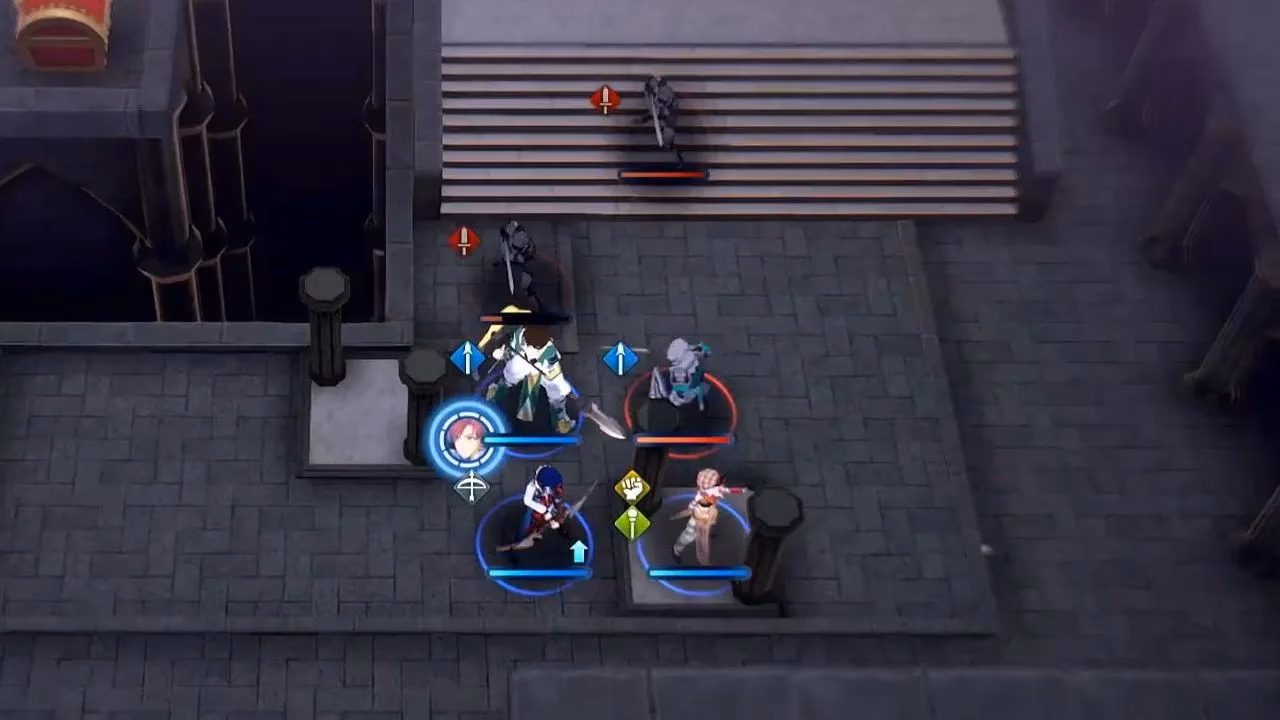
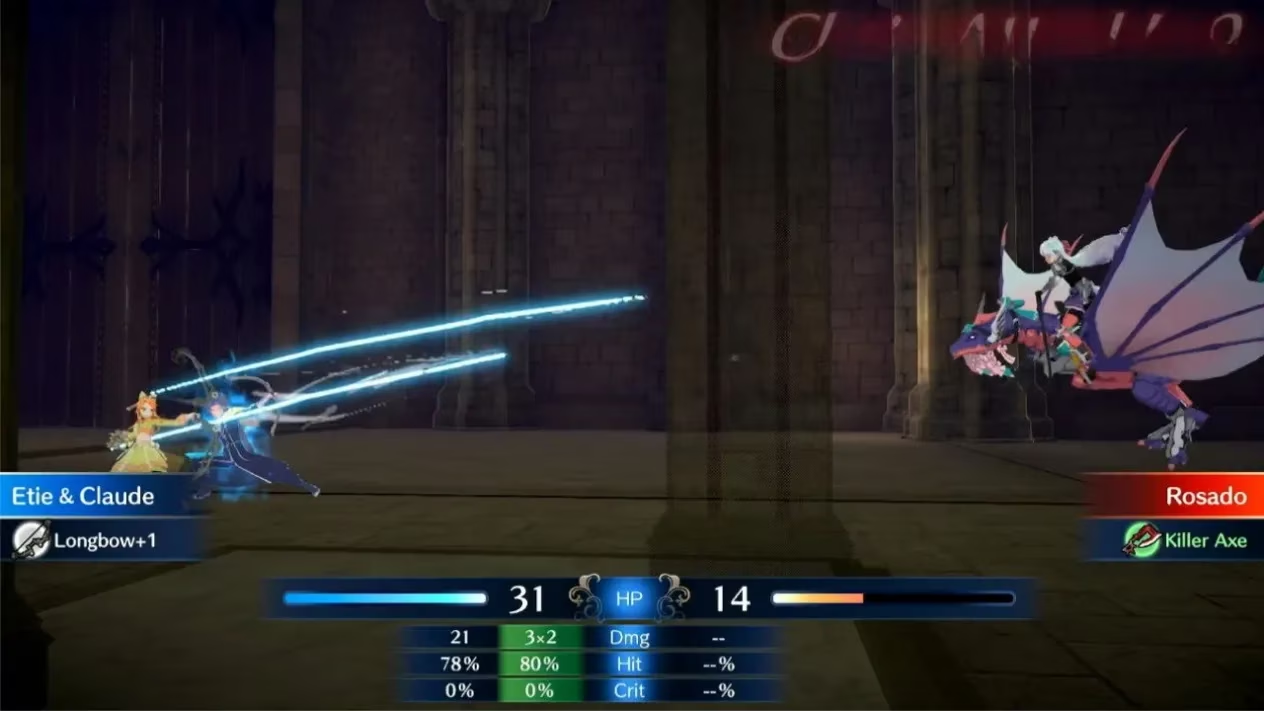
Once the first round is over and you’ve weathered a few hits, it’s time to go on the offensive. Break Rosado with a sword user, then shoot her out of the air with an archer. Chloe can also toss a javelin if needed. On the right side, you have weapon advantage against the axe Pegasus Knight, so clear that side quickly. You might not finish Goldmary this round, but you’ll weaken her enough. The key is to surround Hortensia without anyone vulnerable in her range — remember, she hits hard with both magic and her lance.
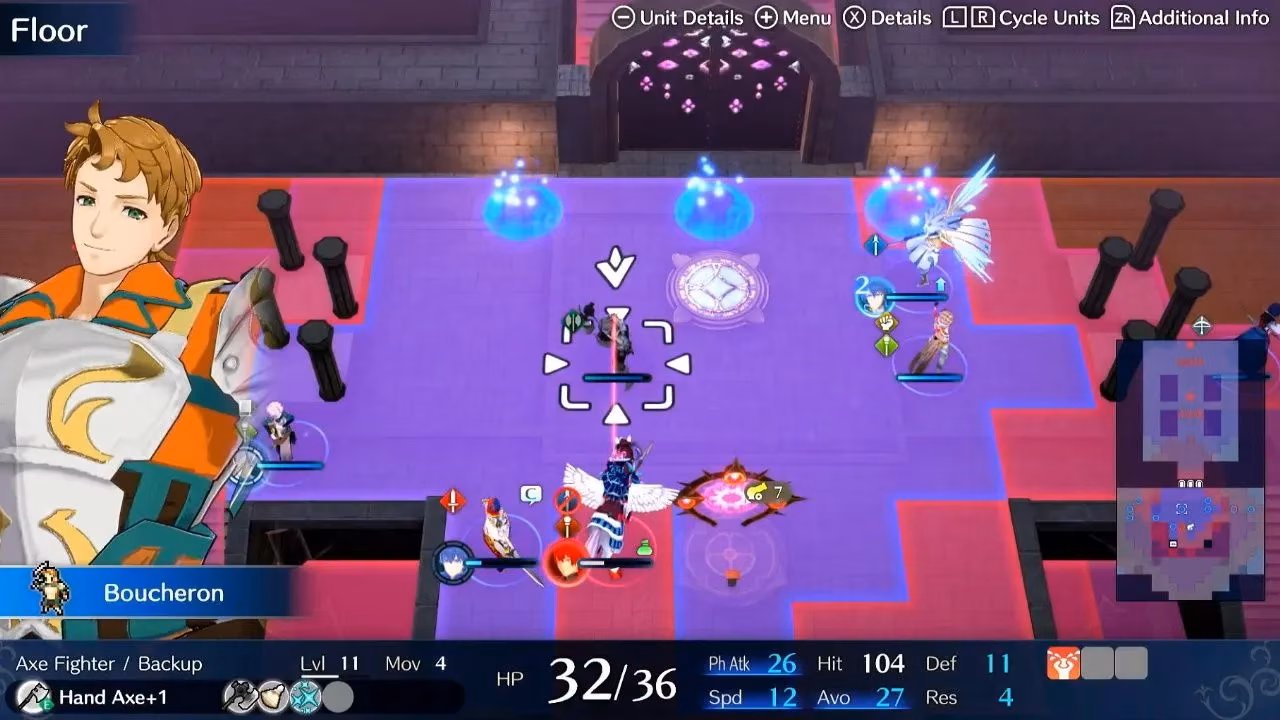
When it’s time to face Hortensia, bait her with a tanky unit that can survive her assault. Alear in Engage mode works wonders. Then on your next round, break her with an axe user and unleash all your Emblem attacks. There are three Emblem Energy Pools lined up against the wall, so you can recharge after she falls. Mop up any stragglers, recharge your Emblems, break down the doors, and prepare for phase two.
👑 Phase Two: Taking Out Hyacinth
Enemy Breakdown (Back Room)
| Enemy Type | Count |
|---|---|
| Sword Fighters | 2 |
| Mages | 2 |
| Martial Monks | 2 |
| Corrupted Morion | 1 |
| Hyacinth | 1 |
Additional reinforcements: two Sword-wielding Pegasus Knights show up after round 2. This part is short and sweet, but Hyacinth has a few nasty surprises.
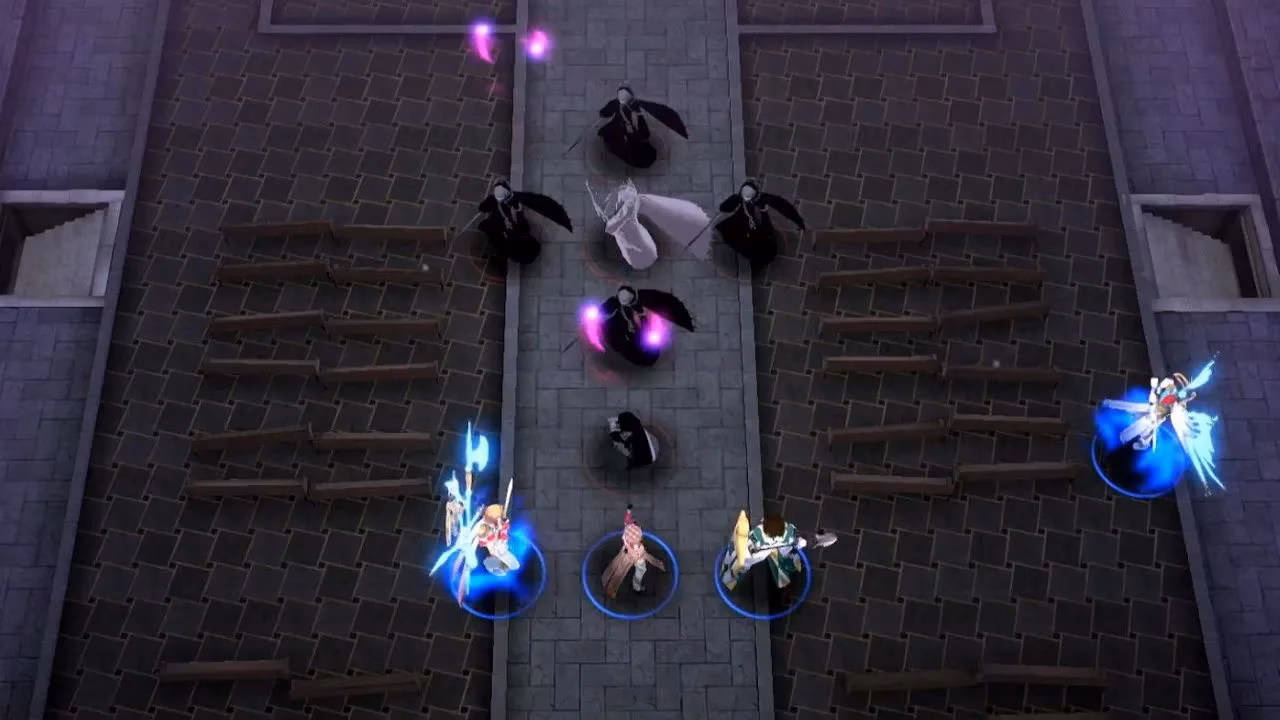
The moment you kick down the door, you’re face-to-face with Morion and some guards. Take out the Sword Fighters first and get hits on Morion while keeping vulnerable units out of his range. He’s tough but outnumbered; you’ll likely finish him by the next turn.
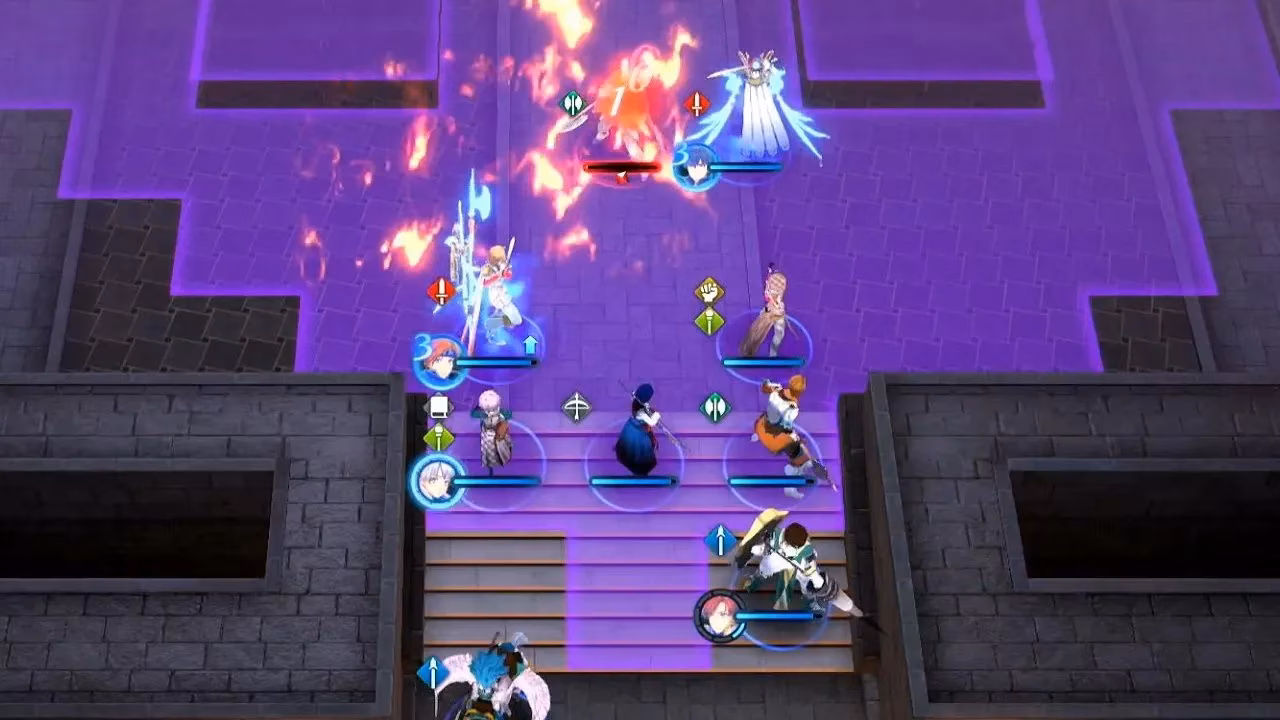
Then Hyacinth unleashes his Emblem Attack. You genuinely won’t believe how far it reaches — it can span the entire room. Double-check the danger zone and keep Chloe out of there until he fires. A single hit will erase her. He only gets one shot, but that’s all he needs if you’re careless. Once the attack is spent, deal with the two Pegasus Knights that fly in using your archers.
Now you just need to mop up the remaining Mages and Martial Monks. You can probably wipe them out in a turn or two while chipping away at Hyacinth. But wait — when his health drops low, he creates four shadow clones. Each clone has only 1 HP but grants him Backup attacks. So when Hyacinth attacks, every clone chips in. Use accurate weapons over powerful ones to pop them quickly. Don’t worry; Hyacinth doesn’t hit that hard on his own. Once the clones are down, gang up on him with your biggest Engage attacks, and he’ll crumble.
✨ Final Tips and Rewards
-
Difficulty without Chloe: Honestly, I’d give this map a 6/10 if you have her. Without a dedicated flier doing the initial mage kill, it spikes to an 8/10. Don’t torture yourself.
-
Treasures to grab: You can loot a Killer Axe from Rosado, an Energy Drop from Goldmary, a Freeze Staff from Hortensia, and two chests containing Elfire (left) and a Dracoshield (right). Position a thief or someone with keys beforehand.
-
Emblem Energy Pools: Use them! There’s no reason to hold back big attacks after you access the pools near the door.
-
The cathedral columns: They’re not just decoration — hugging them gives a huge avoid boost. I used them to bait enemies into whiffing attacks.
Even with all the chaos, Chapter 10 remains one of my favorite encounters in Fire Emblem Engage. The two-phase structure, the clever use of terrain, and the sheer satisfaction of outmaneuvering Hyacinth make it unforgettable. If you’re tackling this map in 2026 for the first time or on a repeat playthrough, I hope this guide helps you capture that same feeling. Good luck, Divine Dragon!