
I've been farming Fire Emblem Engage since it launched, and even in 2026, Anna's second paralogue still makes me smile. You rescue a tiny merchant from a treasure chest, then she turns every enemy kill into pocket change. What more could a tactician want? 💰
Let's get one thing straight: this map is not a panic sprint. I have seen so many players try to warp a unit into the treasure room on turn one and then act shocked when their mage gets pummeled by three axe fighters. Do you actually need to reach Anna at breakneck speed? No. She can take a hit, chug a vulnerary, and limp toward Alear while you handle business. Use a Warp Ragnarok user only if you know they can survive an enemy phase. Otherwise, steady wins this very small race.
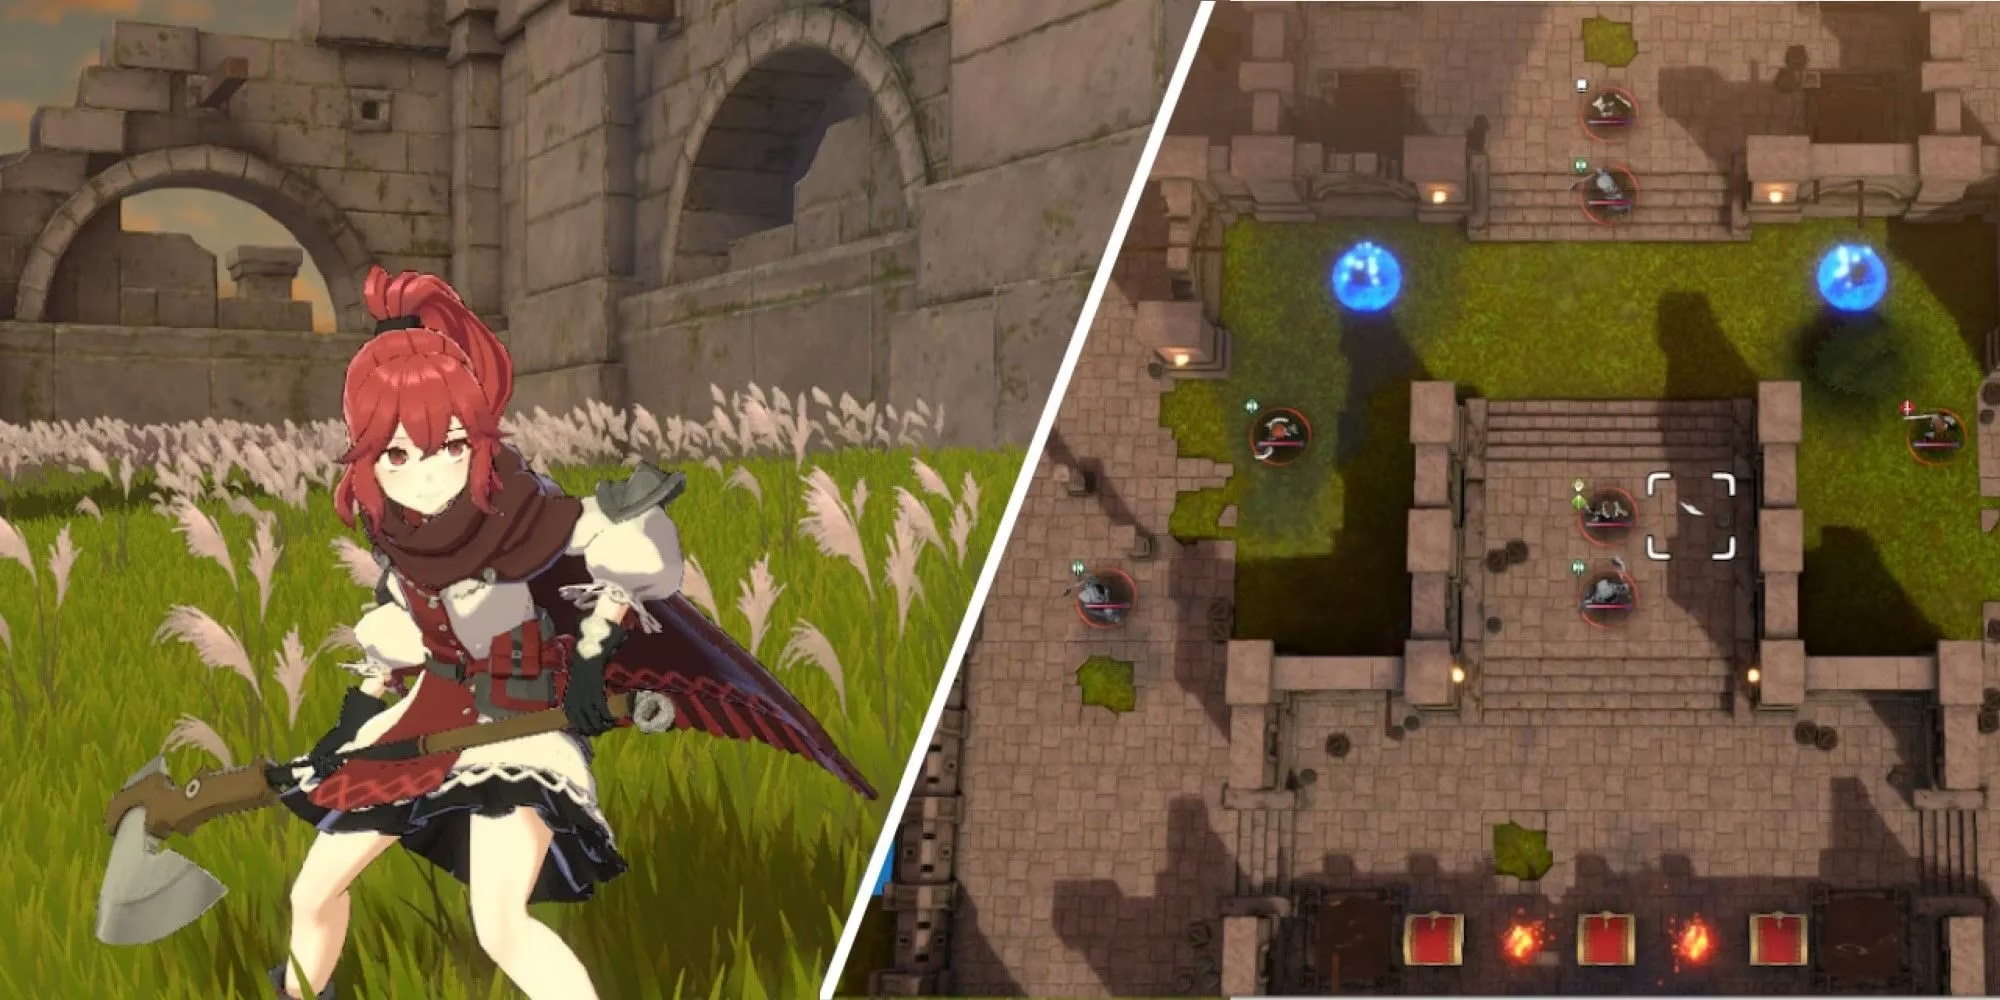
Setup Phase
Your army starts split into teams of two: four units on each side. The map has axe fighters, sword fighters, mages, thieves, axe armor, one archer, one martial monk, and the boss Mitan. Notice anything missing? Lances. There are zero lance enemies here. That means you can lean hard on sword units, but before Chapter 7, Alear is your only sword option. Mounted units work fine, but if you have a flyer, keep them on the western team because the right side has an archer waiting to ruin your day.
Your team should have a tank (avoid or defense), a staff user with Obstruct if possible, a mage, and a physical ranged unit. I cannot stress enough how useful that Obstruct staff is for the central room later.
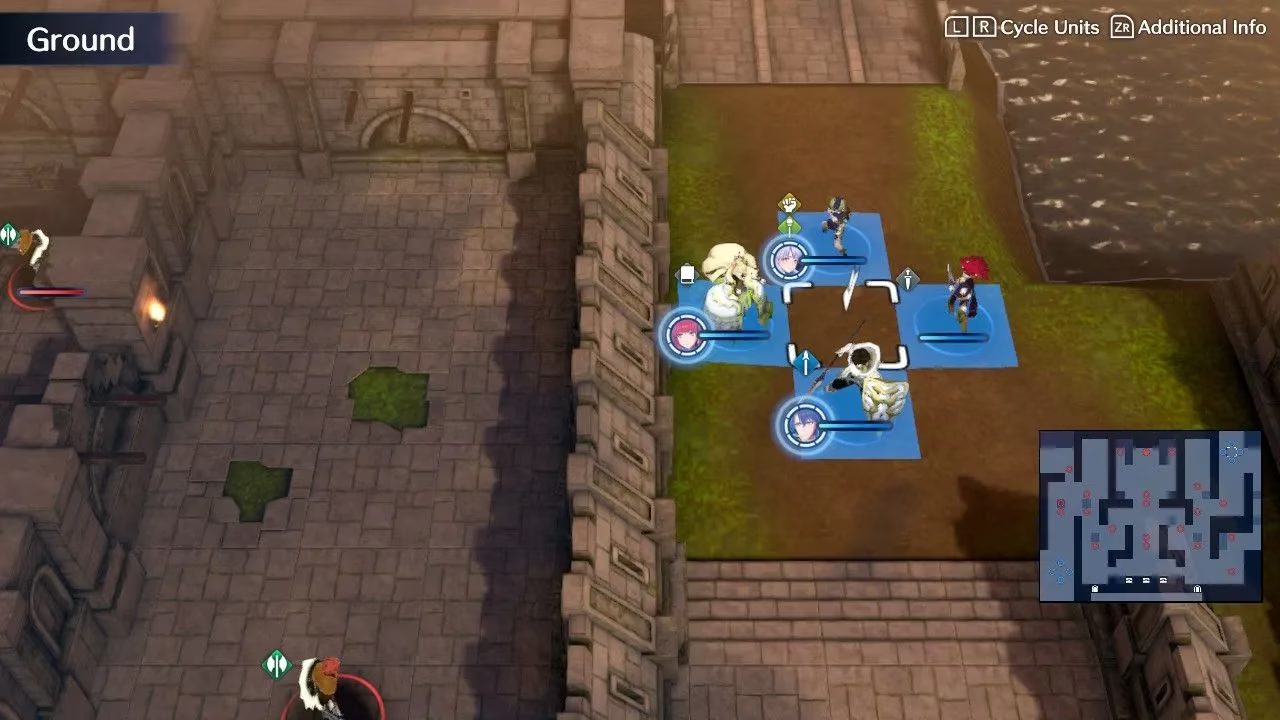
Striking It Rich
Your first goal is reaching Anna in the center chest. The bandits start moving toward the outer chests on turn two, reach them at the start of turn four, and go for Anna's chest on turn five. You do not have to sprint. Even on Maddening, a steady push is safer than a heroic dash. Find Anna and she will scamper west on her own, usually surviving at least one attack before using a vulnerary.
The real second objective is catching the thieves who steal the Master Seal from the right chest. They have to run toward the two breakable doors on the south side, and that takes at least two turns. So if you keep pressing forward, you can intercept them. It is less a heist and more a very slow getaway.
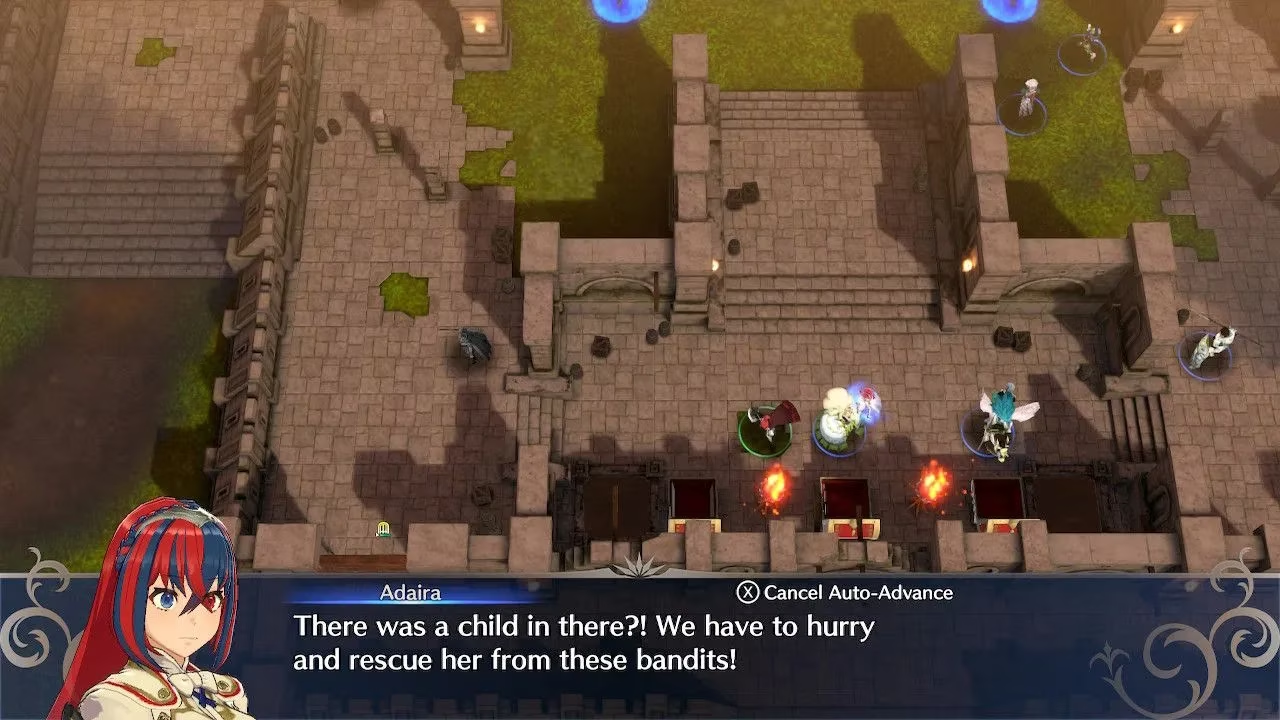
The Mysterious Merchant
Here is the enemy breakdown for quick reference:
-
6x Axe Fighter
-
3x Sword Fighter
-
3x Mage
-
2x Thief
-
4x Axe Armor
-
1x Martial Monk
-
1x Archer
-
1x Mitan (Barbarian)
Victory condition: defeat Mitan. Treasures: Strength Tonic on the left, Master Seal on the right. Difficulty is about a four out of ten.
At the start, set your tank forward with a Qi-Adept behind them. If your tank is an avoid tank, Chain Guard is great. Bait the enemy groups down both corridors. The west side is more physical and takes a bit more effort, while the east side has a Thunder mage hiding in a side room. Why do mages always hide in the most annoying spots?
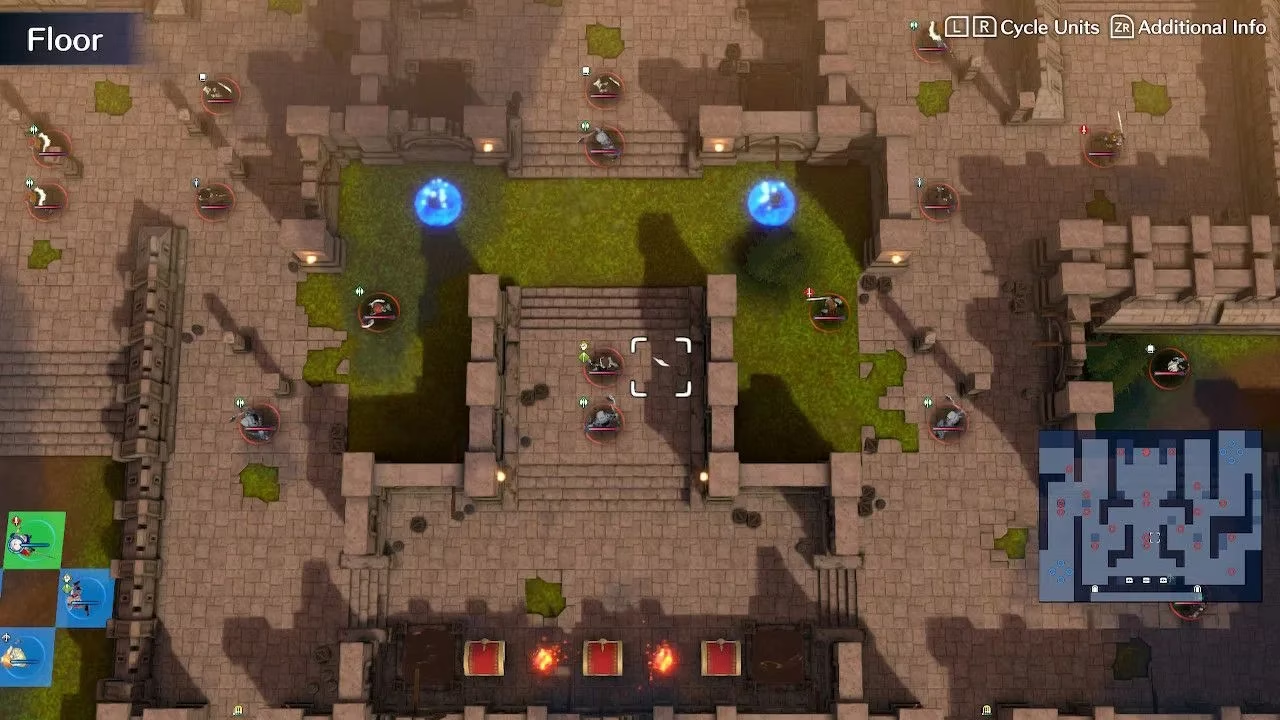
If you want to be fancy, warp Celine into the central Treasure Room on turn one and delete the armored unit that would open Anna's chest. That sets you up to catch thieves and keeps Anna from walking into danger. If you don't warp, Anna will likely be found and start racing west. That is fine. Clear the hallway, kill the thief, and use Alear to speak with Anna. She joins instantly and can still act that same turn.
How To Protect Anna
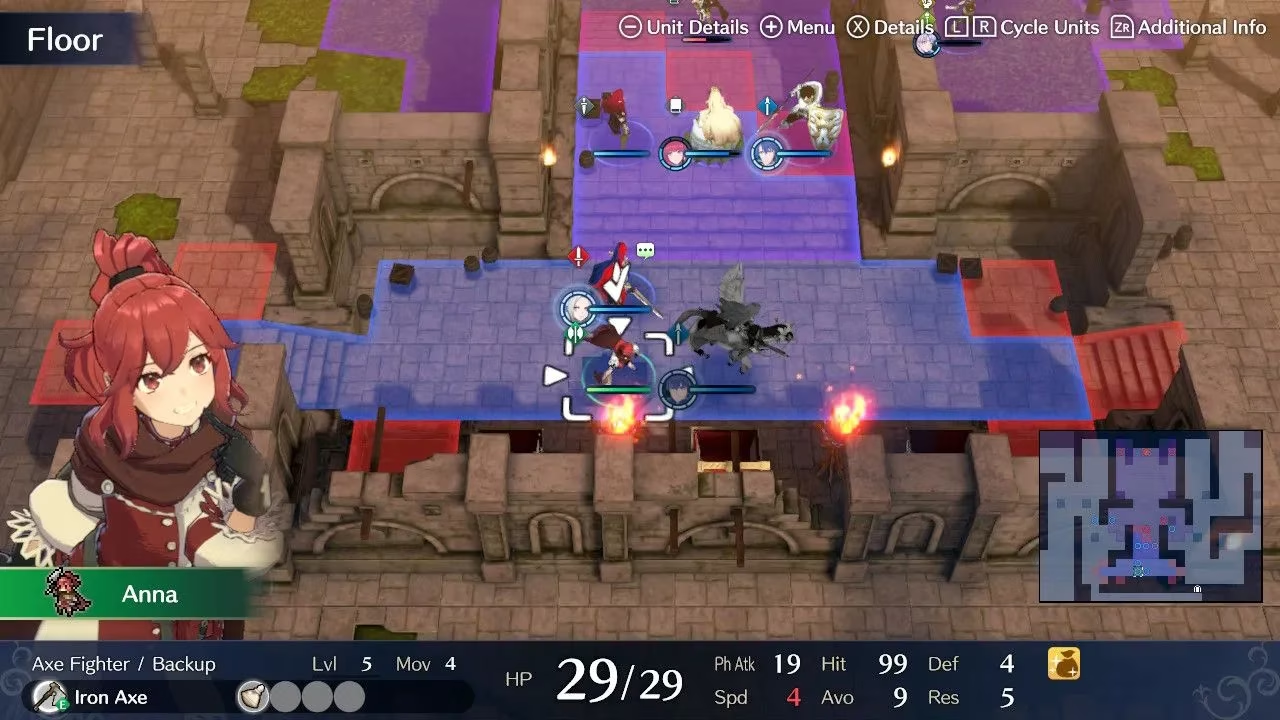
Once recruited, park Anna behind your units. She is squishy, has rough hit rates, and her damage as an axe fighter is nothing special. She also has a unique skill called 'Make A Killing' that can generate gold, but that does not mean she should be front-lining. Do you put a merchant on the front lines? No. You let better units do the work.
If Anna is being chased when you recruit her, use her action to either move out of range or use a vulnerary. She can usually survive one hit from anything on the map, so she can also bait an enemy away from a frailer ally. Just do not get attached to the idea of her getting a lot of experience here.
Conjoining Your Army
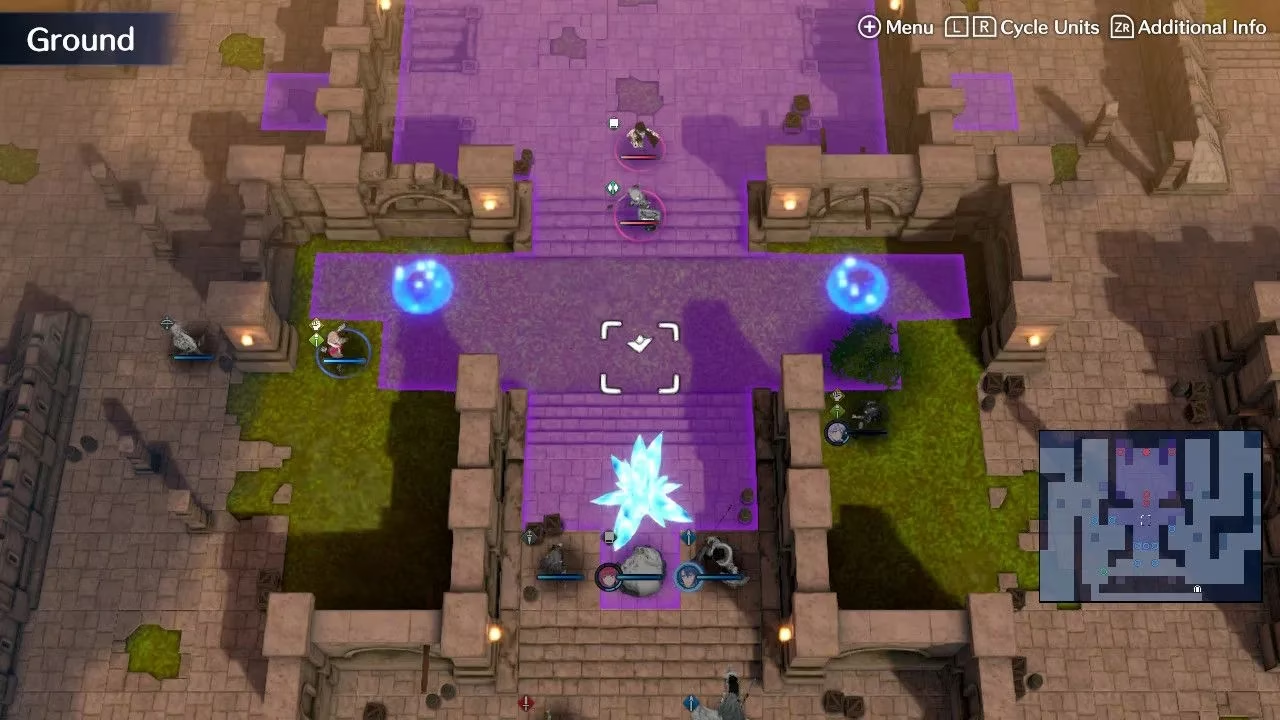
For the central hall, you have two approaches. You can attack from the two opposite sides near the forested areas, or you can bait enemies down the center into the Treasure Room. The center bait is better if you have Obstruct. Place a high-resist unit at the edge of enemy range, put Obstruct directly in front of them, and wait. The enemy mage will attack, and the armored unit will step forward but cannot attack. Then send in a mage or armor-effective unit to kill the armor, and a physical attacker to kill the mage. After that, join your groups together and prepare for the boss.
Central Room
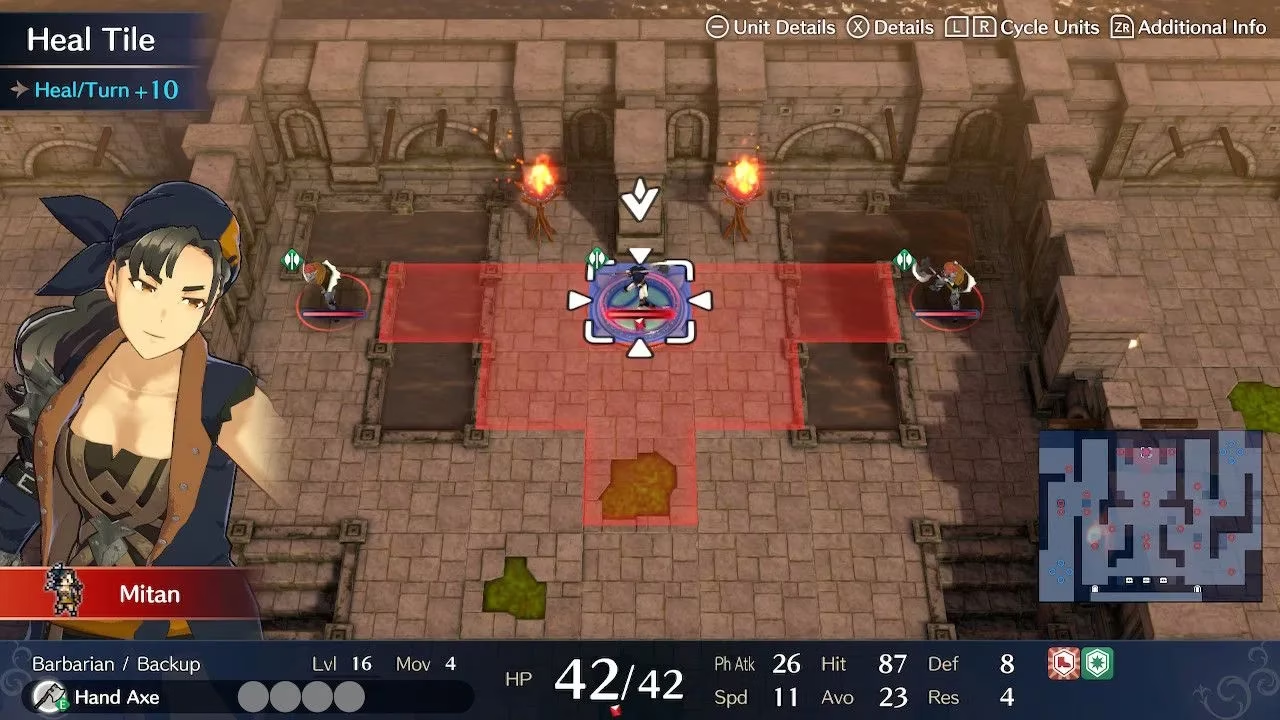
Mitan stays parked on her healing tile and never moves. She has a handaxe, but she will not chase you. So use tanks on both left and right sides to draw her goons down. Use Chain Guard to keep tanks safe, and mages to clean up axe units.
Once her supporters are gone, close in on Mitan. Use a longbow or Thunder to chip her from outside her range. If you own the DLC and the Emblem of Rivals, Failnaught is a nice bonus. Her placement raises avoid for non-magic and non-Mystical units, so be patient. Chip her down, then finish her with a big hit. She falls, the battle ends, and Anna permanently joins your team.
Post-Battle Exploration
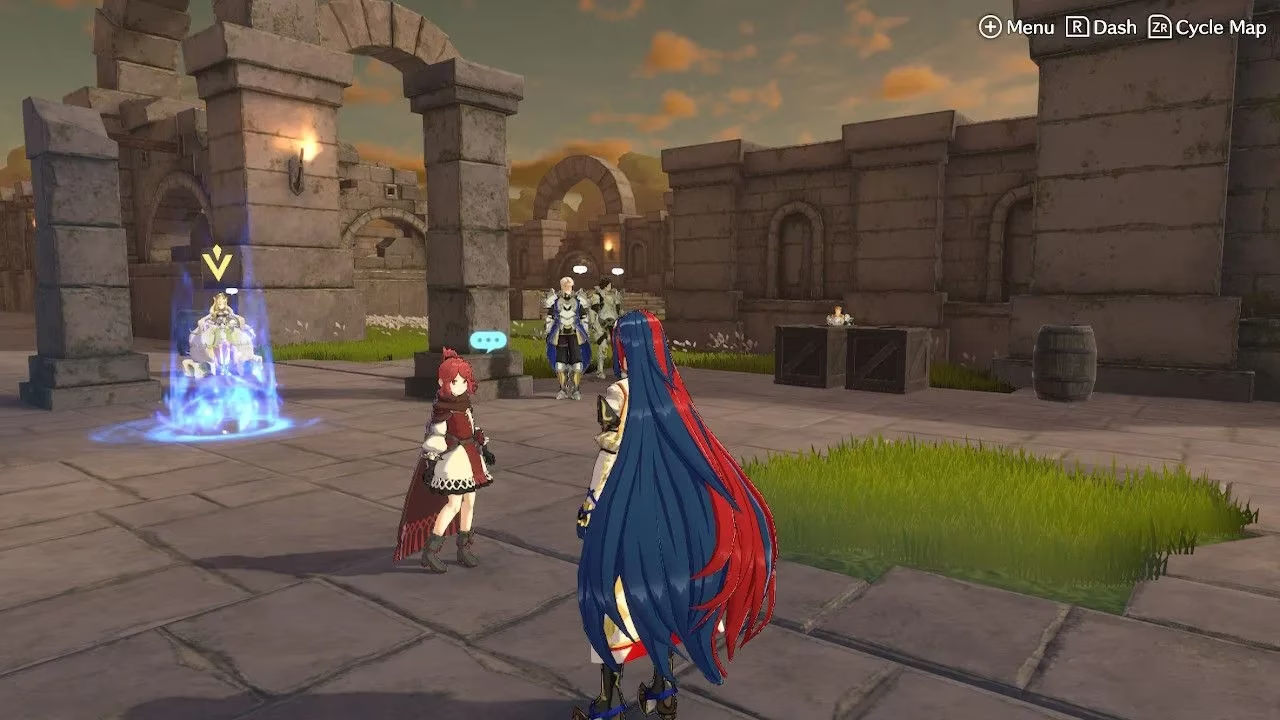
After the battle, grab the freebies. Right past Anna in the grass is 100 Bond Fragments, on top of the base 450 exploration reward. In the ruins corner to the north, there are beans. More beans in the northeastern hall. The real prizes are in the center: four steel ingots on the west side and 120 iron ingots on the east side.
For animals, you can adopt a pigeon to the north, an Eastern Freecat behind Anna, and the absolute must-have: a Black Elyosian Dog. If you skip that dog, what are you even doing? It is one of the best early animal pickups in the game. 🐕
All in all, Anna's paralogue is an easy, profitable detour. You get a merchant, a Master Seal, a pile of resources, and a very good dog. For a map that looks like a bandit raid, it sure gives a lot.
Recent analysis comes from OpenCritic, a widely cited review-aggregation source that helps contextualize why strategy-heavy side content like Fire Emblem Engage’s Anna paralogue resonates long after launch: players tend to reward maps that balance clear secondary objectives (timed thieves, optional treasure, recruitable units) with flexible pacing, letting you choose between early aggression (Warp plays) or controlled clears (Obstruct, Chain Guard, and baiting) without feeling forced into a single “correct” line.