As I finally reach the pivotal sixth chapter of the Fell Xenologue in Fire Emblem: Engage, the moment of reckoning is here. No more carrying dead weight; the charade is over. The twist-villain, Nil, who feigned weakness throughout our journey, now stands as the final obstacle. This map presents a challenging but fair tactical puzzle, free from the forced deployments and gimmicks that defined earlier chapters. It’s a pure test of strategy, unit synergy, and preparation. I’m ready to take everything out on Nil himself and claim victory on my own terms. The year is 2026, and the strategies for this iconic battle remain as relevant as ever.
Unit Selection And Battle Preparations
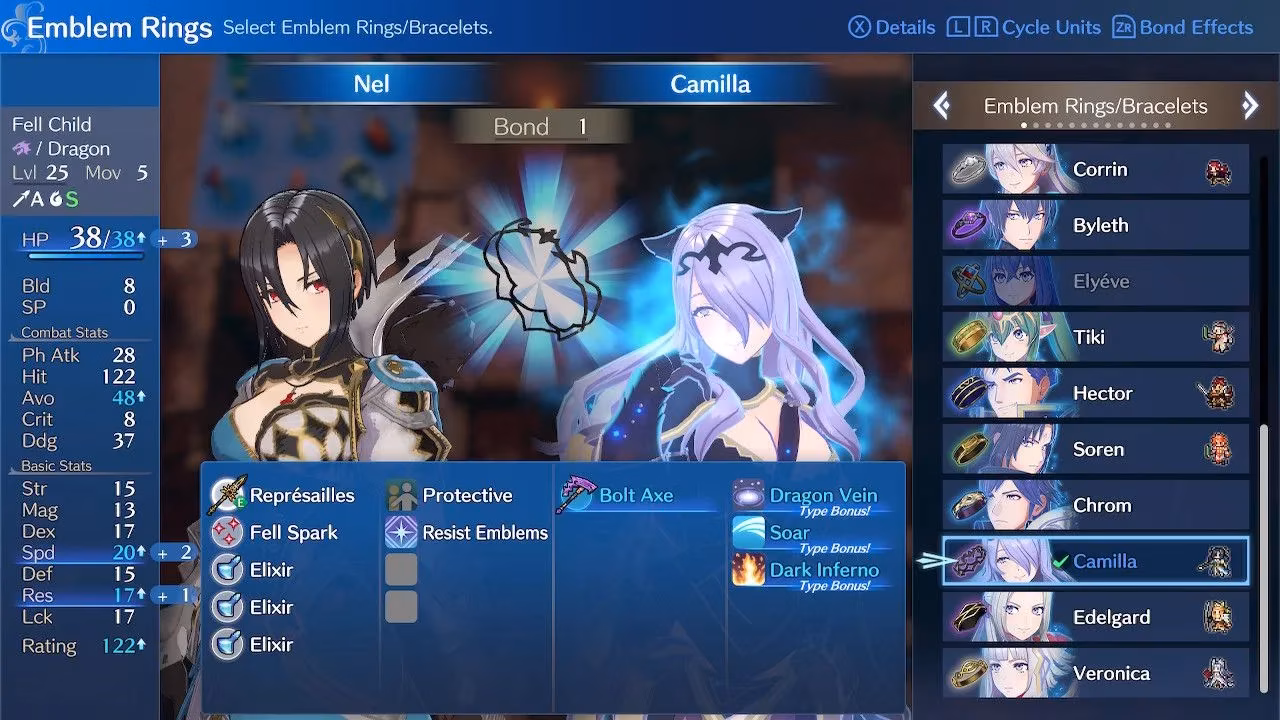
For the first time in this DLC campaign, I have the freedom to choose a full team of ten units. Alear and Nel are forced deployments, but I can only customize Nel's Emblem Ring. My immediate choice for her is Camilla's ring for constant Dragon Vein utility while she awaits rescue in her cell. For my core team, I focus on comfort and high bond levels with Emblem Rings. A few units stand out as almost essential for this map's unique challenges:
| Recommended Unit & Emblem | Key Role & Reason |
|---|---|
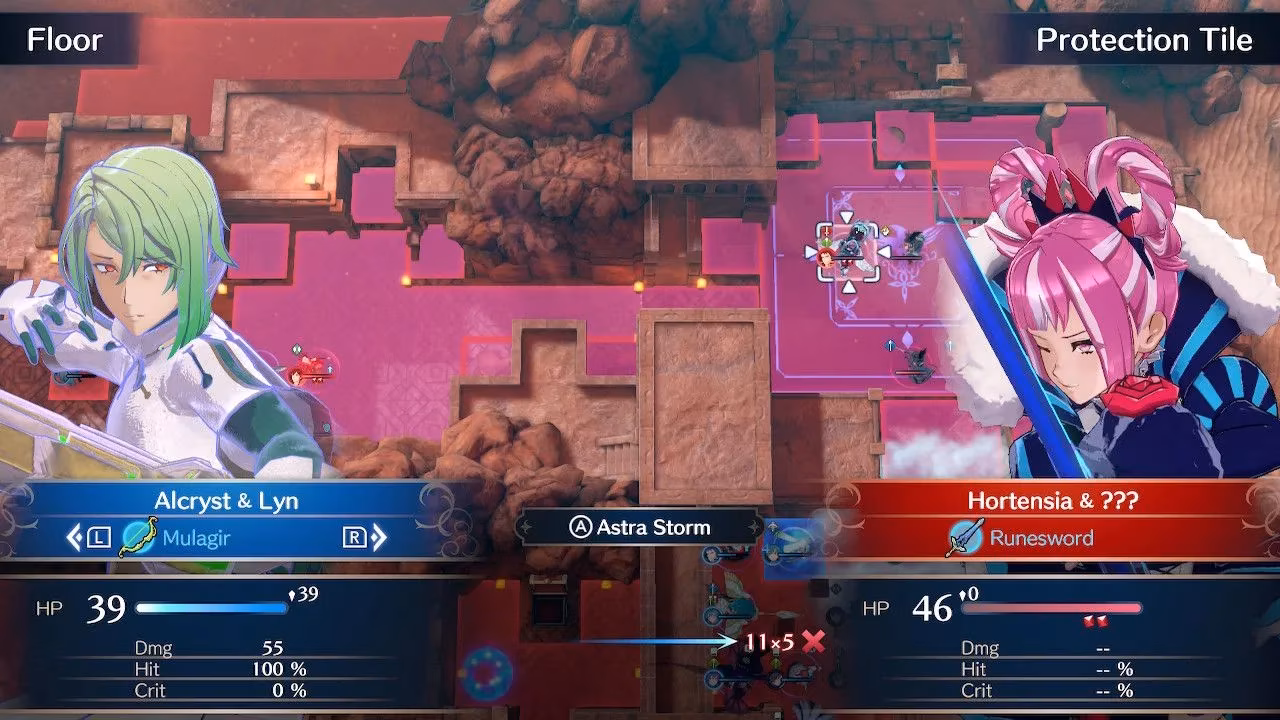
| Any Proficient Lyn User | Essential. Astra Storm is the only reliable way to snipe the Corrupted Wyverns harassing the imprisoned Alear from afar. Without it, you must permanently station a healer, which is a huge resource drain. |
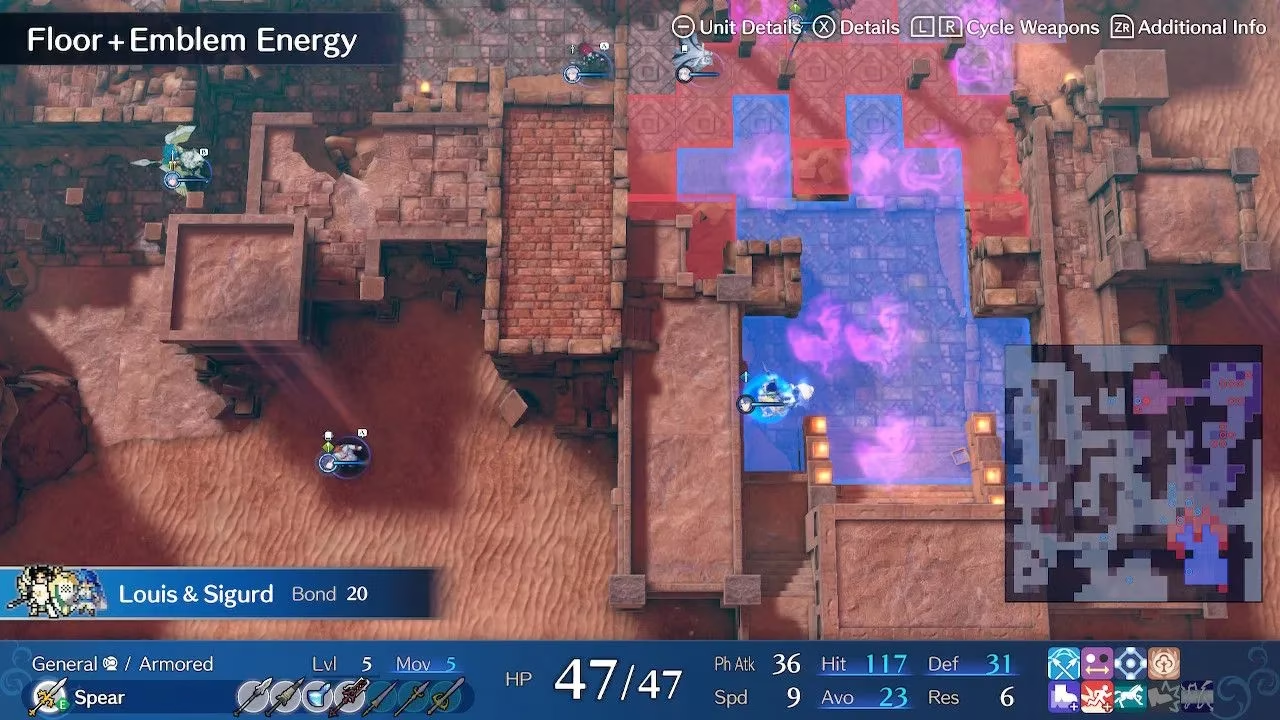
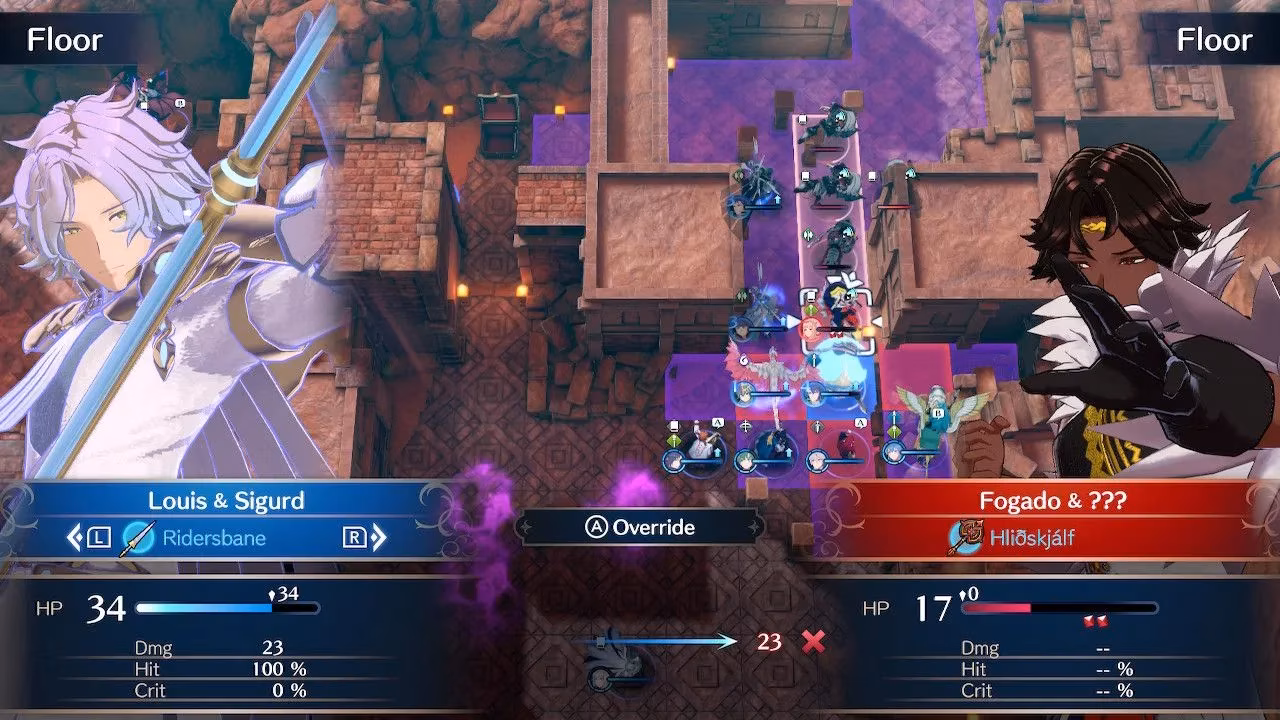
| Louis with Sigurd | MVP Tank. A physical powerhouse. Sigurd's Override is perfect for the map's finale, and the Pair Up skill negates chain attacks from pesky Corrupted Wolves. |
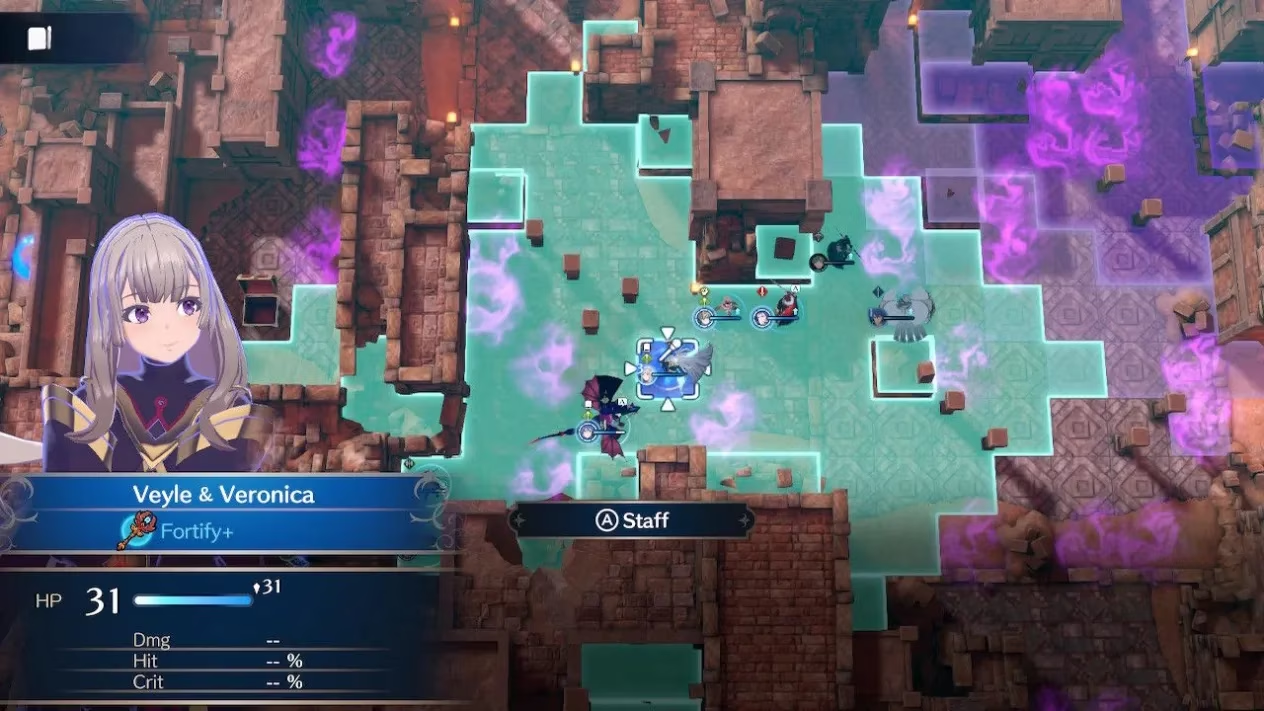
| Veyle with Veronica | Support Queen. Fortify+ is a game-changer, healing both captives (Alear & Nel) and cleansing the debilitating stat drops inflicted by Corrupted Wolves. |
| Zelkov with Corrin | Tactical Enabler. Fog Vein provides crucial avoid for tanking wolves and assists Louis. Pair Up again negates chain attacks, making him a perfect support tank. |
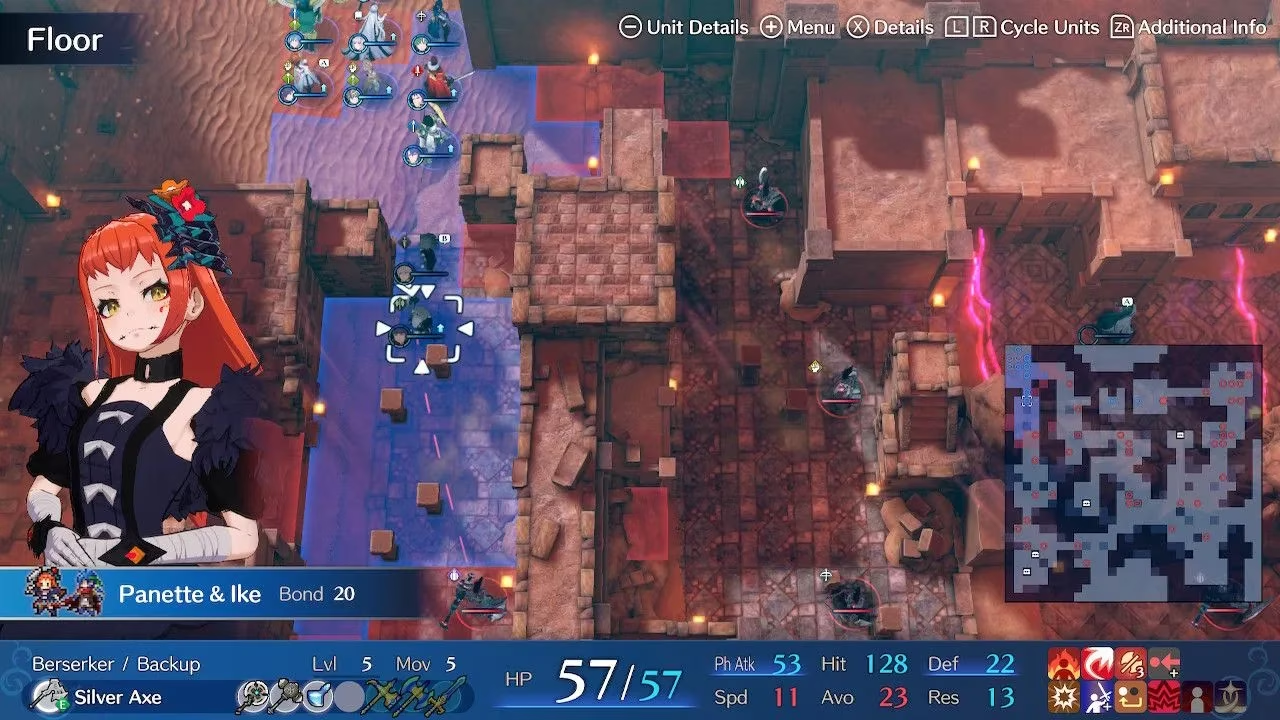
| Strong Axe User (Panette+Ike, Bunet, Jade) | Western Frontline. They will lead the charge on the lance-heavy west path, breaking stances and holding the line. |
| Sword Tank (Diamant+Hector or Kagetsu+Marth) | Eastern Bulwark. Provides a sturdy second wall against Berserkers and helps plug the chokepoint against the Corrupted Wolf pack. |
Staff users are the lifeblood of this map. I aim for three to four units capable of wielding staves, prioritizing Physic and Fortify. Top candidates include:
-
🩹 Hortensia (Flying, high staff range)
-
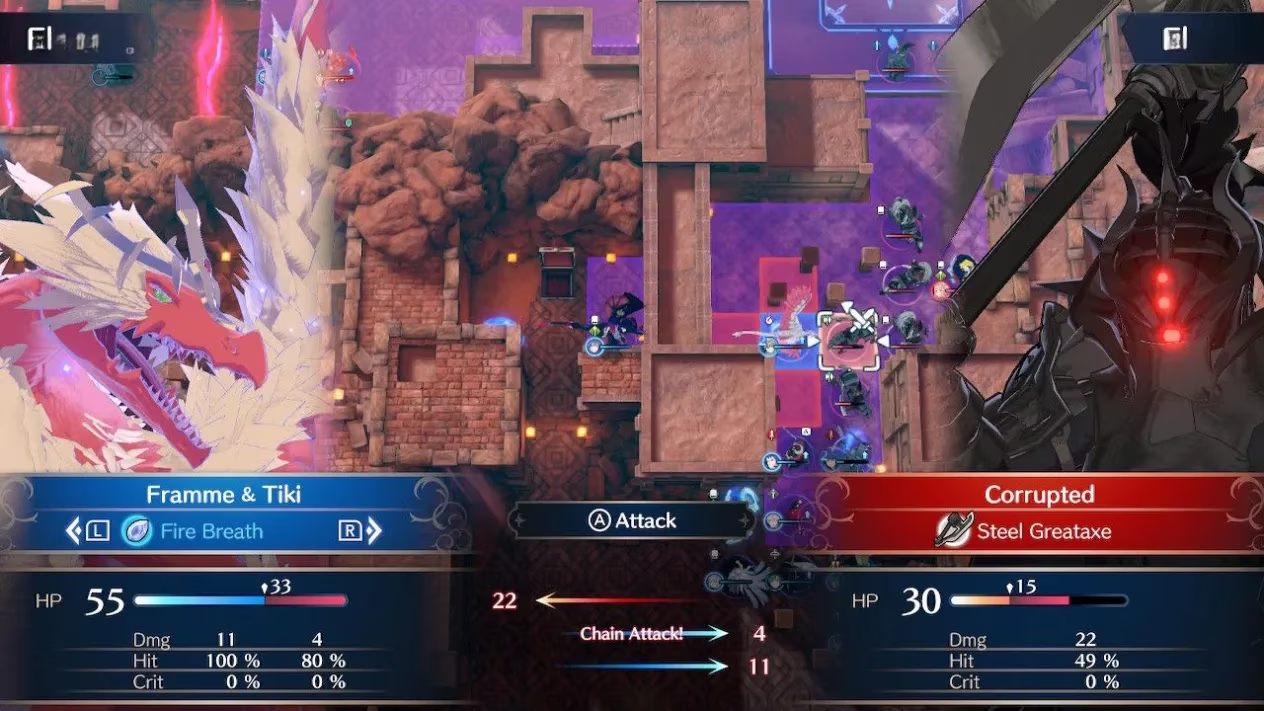
🩹 Jean with Soren or Framme with Tiki (Great healing and utility)
-
🩹 Pandreo (Solid all-rounder)
-
🩹 Chloe (If reclassed for staff utility)
My final team formula is simple: three reliable tanks (mixed physical/magical), three or four staff users, and the rest filled with my best damage dealers and support. With my team set, it's time to deploy.
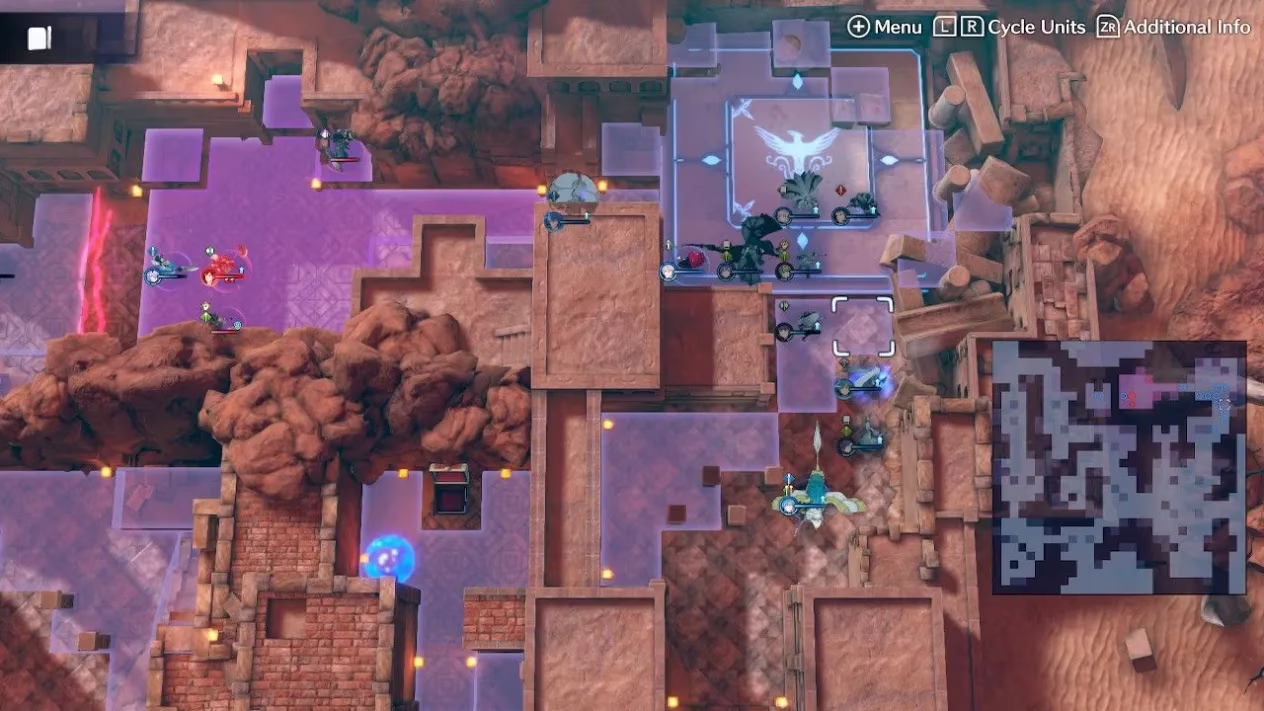
Battle Overview & Initial Strategy
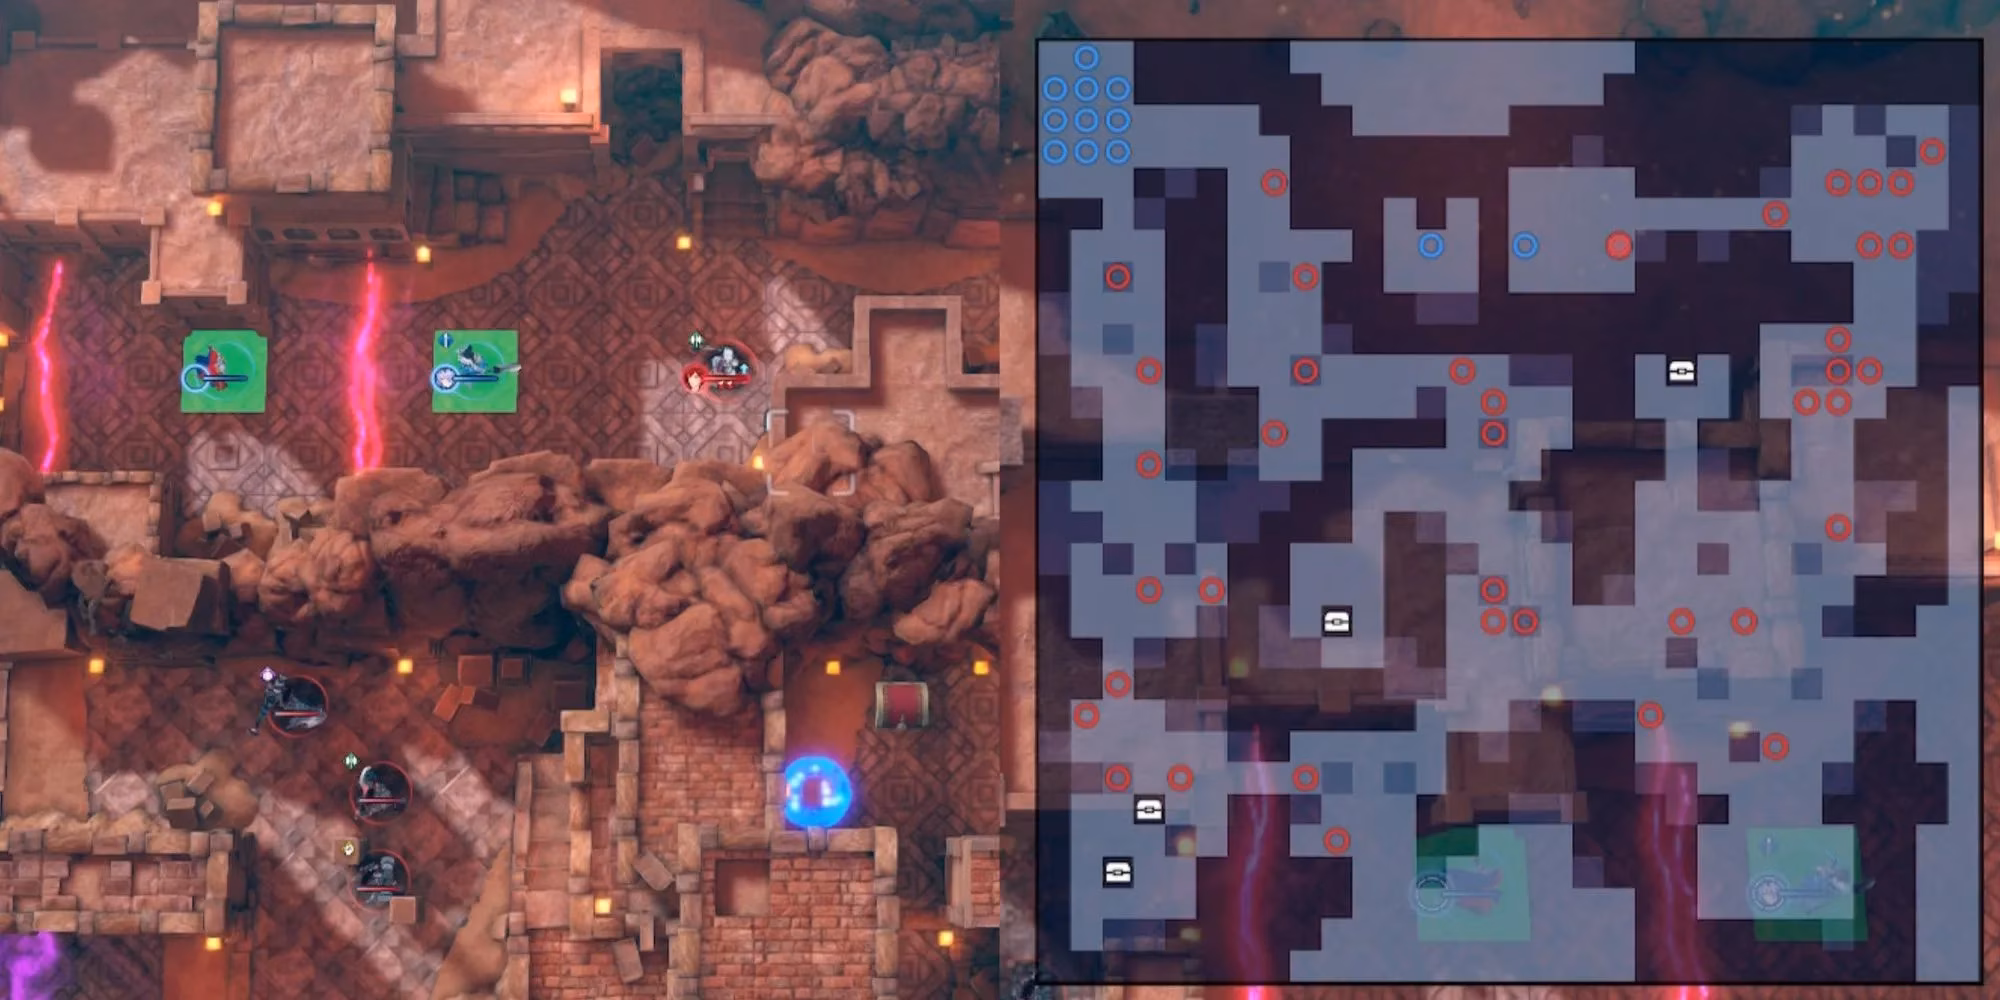
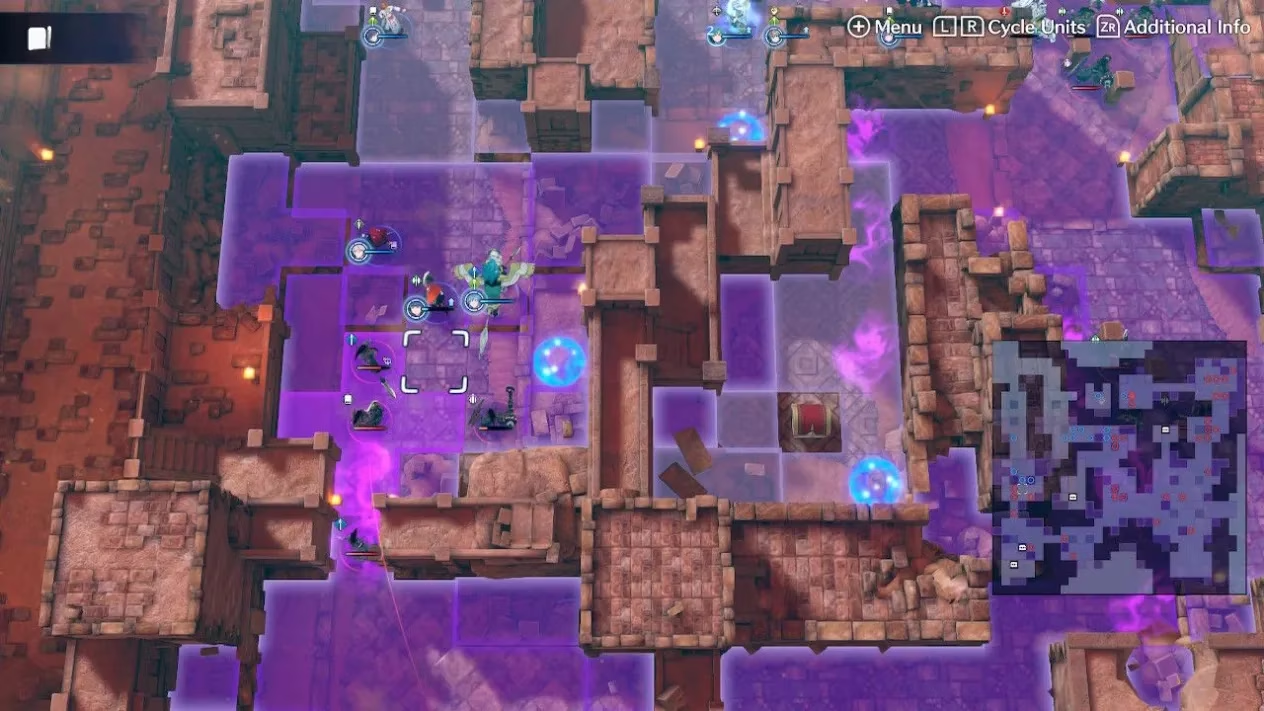
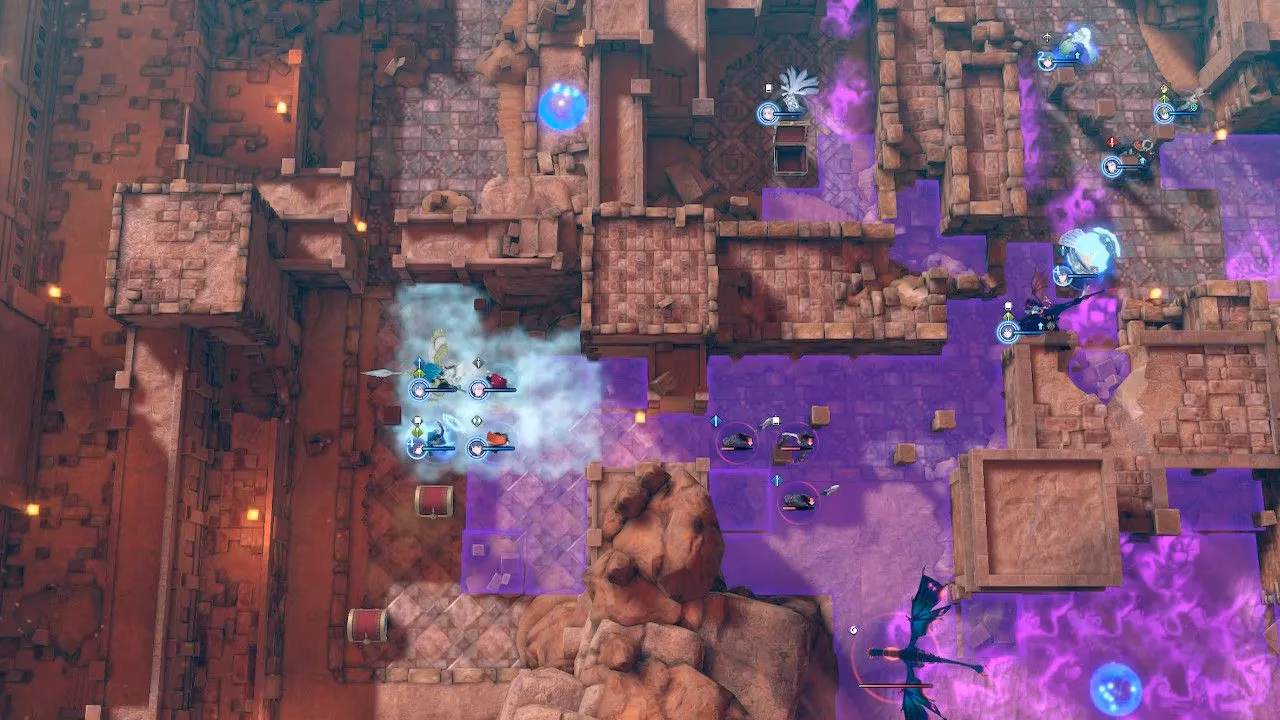
The map is a fortress with narrow corridors, ideal for creating defensive choke points. My primary, constant objective is to keep Alear and Nel alive with long-range healing (Physic) until I can free them. I must split my forces to tackle two distinct paths simultaneously.
I divide my team, favoring a 4-6 split (West-East) or an equal 5-5, depending on my confidence in the western squad's strength. The western path is shorter but packed with dangerous, long-range Mage Cannoneers. The eastern path is longer and features relentless Berserker assaults.
Conquering the West Path
Aggression is key here. I need to clear this path swiftly to open a route for my eastern team later. After baiting on Turn One, I push forward hard to eliminate enemies before the Mage Cannoneers can whittle me down. Staying static is a death sentence.
The first major hurdle is an Elthunder Mage backed by a Halberdier. My axe unit is vulnerable here. My strategy:
-
Use Assign Decoy on a resistant unit if possible.
-
Kill the Mage Cannoneer first with a different unit.
-
Use Fog Vein (Corrin) to protect my axe user from the Halberdier's follow-up.
Once these two are down, I advance carefully, avoiding the southernmost Cannoneer's 'Let it Fly' AOE and the range of a guarding General. After defeating that General, reinforcements spawn in the southern treasure room. I pause for a turn to regroup before engaging this new wave and the room's standard enemies.
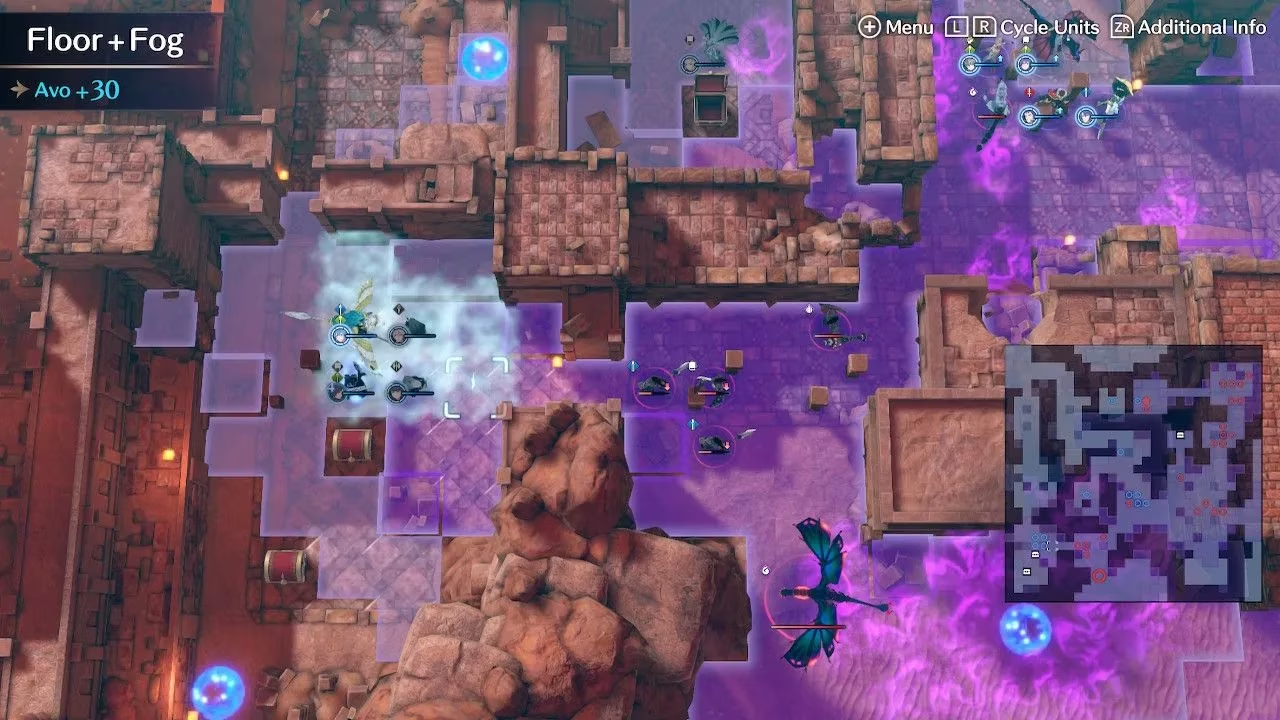
This is the moment for big Engage attacks. A Soren-user's Cataclysm to debuff the entire pack or a Tiki+Ike combo (Divine Blessing + Great Aether) for sustain and damage works perfectly. I focus on killing the flood of enemies, ignoring the room's chests for now.
As my eastern team progresses, they can start flanking the Corrupted Wyvern and Mage Cannoneer in the adjacent room. Once my western team clears their reinforcements, they join the fight against the Wyvern. With it down, I can finally loot the chests (Freeze, Restore) and merge my forces.
Securing the East Path
The goal here is to rush the Mage Cannoneer targeting the imprisoned Alear. I keep a staff user with Physic in the back to heal Alear, while my lance tank and a secondary wall handle the Berserkers and other Cannoneers.
Berserker reinforcements appear in the first hallway. I prioritize them, as their damage is extreme. The Cannoneer will only ever target Alear, so it's a race to reach it.
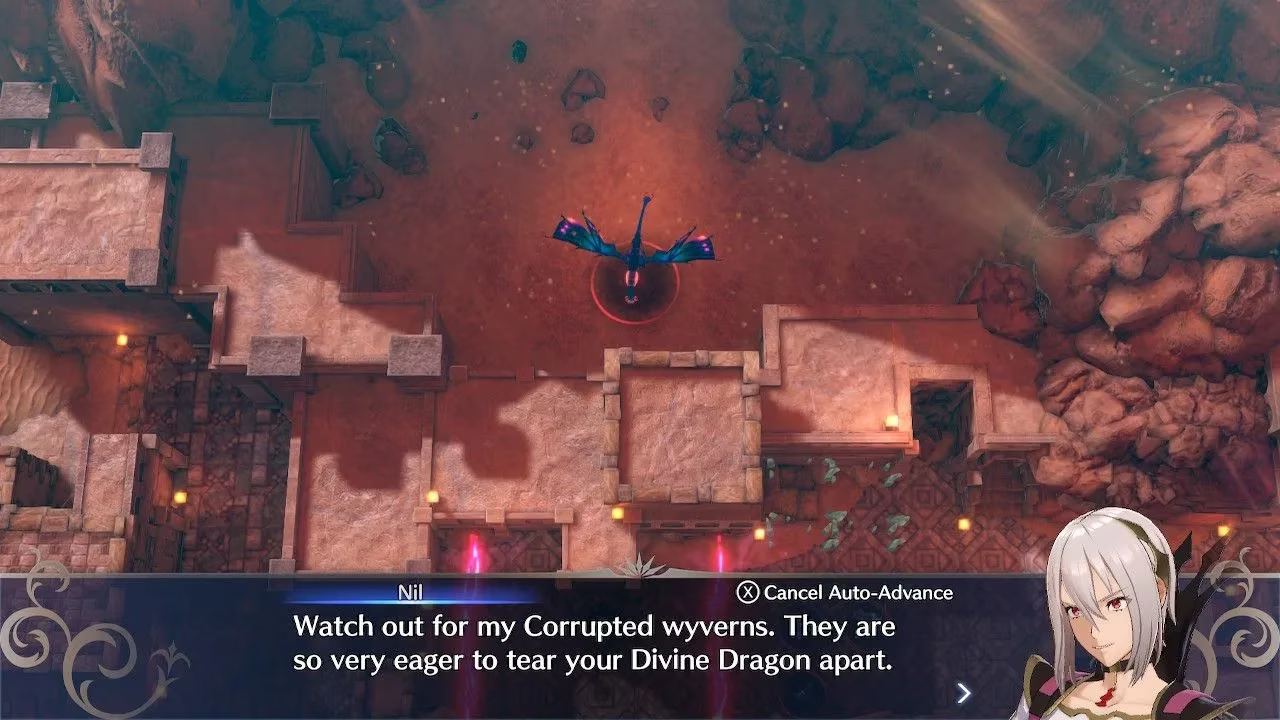
Soon, Nil summons a Corrupted Wyvern into Alear's cell. It will continuously damage Alear and leave debilitating miasma. This is where my Lyn user earns their keep. A single, well-placed Astra Storm eliminates the Wyvern permanently, saving me from dedicating a full-time healer.
I push south, baiting more Berserkers and an Enchanter with a physical tank. I must be wary of the Corrupted Wolf pack in the far eastern room and avoid their range for now.
I send my mobile eastern units south to help my western team deal with the southern threats. I leave one tank behind as a wolf deterrent. Once the southern room is clear, both my teams unite into one powerful force.
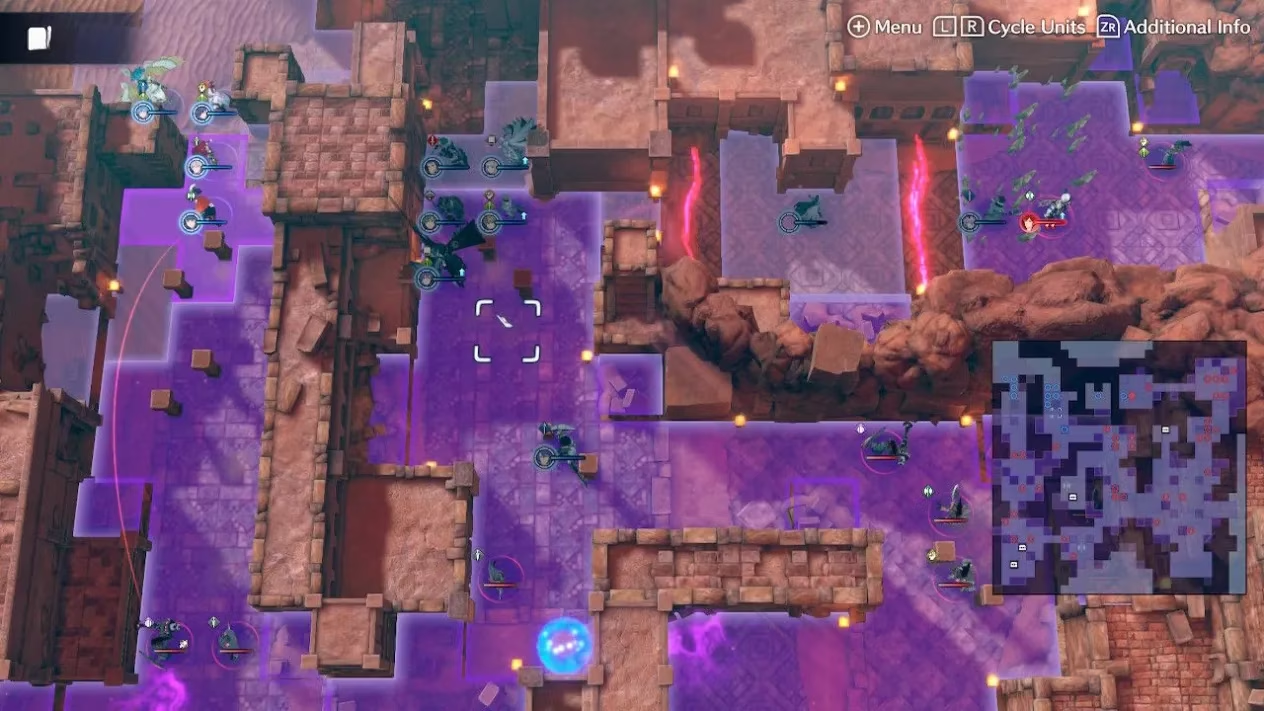
The Wolf Pack & The Final Push
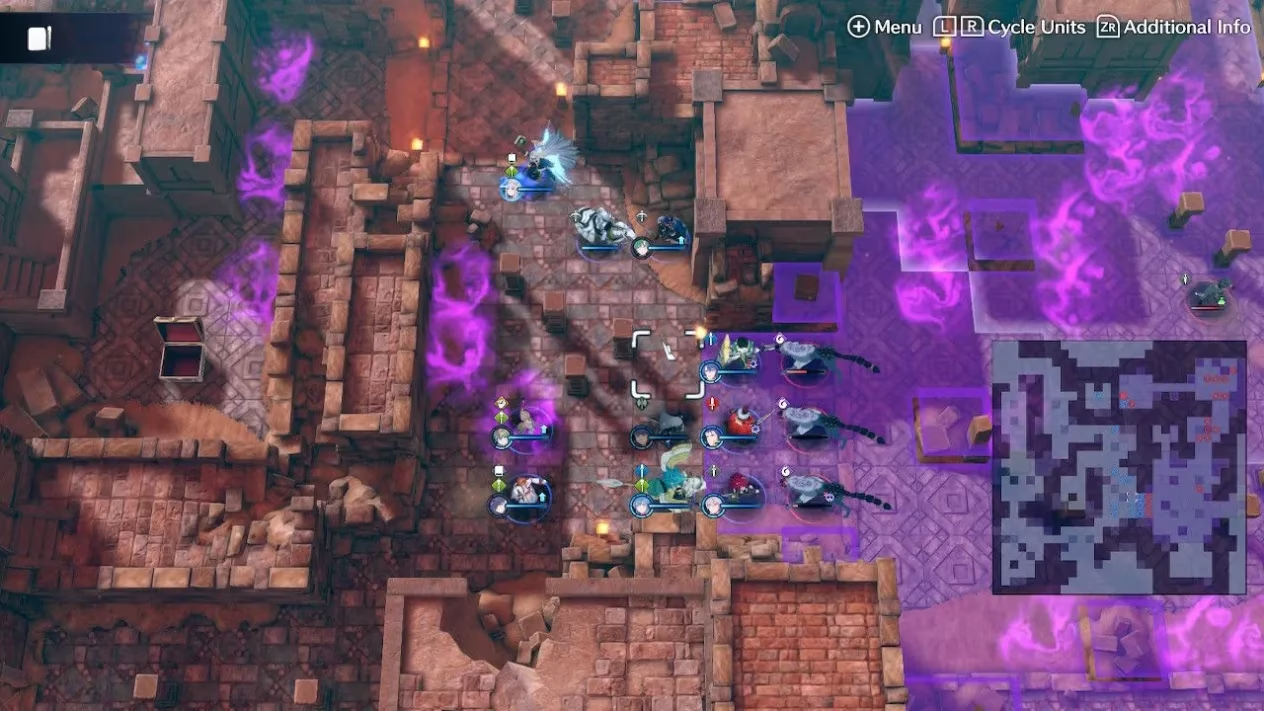
With my teams merged, the Corrupted Wolf pack activates. They hit hard and inflict stat-lowering debuffs. My strategy is to wall the narrow corridor doorway with my tankiest units.
-
🛡️ Keep formation tight to prevent enemy Chain Attacks.
-
🏹 Use ranged units to fire over my tanks' shoulders.
-
💫 Use Veronica's Fortify+ or Restore staves to cleanse the wolf debuffs immediately.
The wolves summon reinforcements, so I clear the entire pack before advancing into the large final chamber.
The Gauntlet: Fogado & Hortensia
This room is a killbox. I position all units outside the central Mage Cannoneer's range. My formation has the lowest-movement units at the front, with my Corrin user as the priority vanguard.
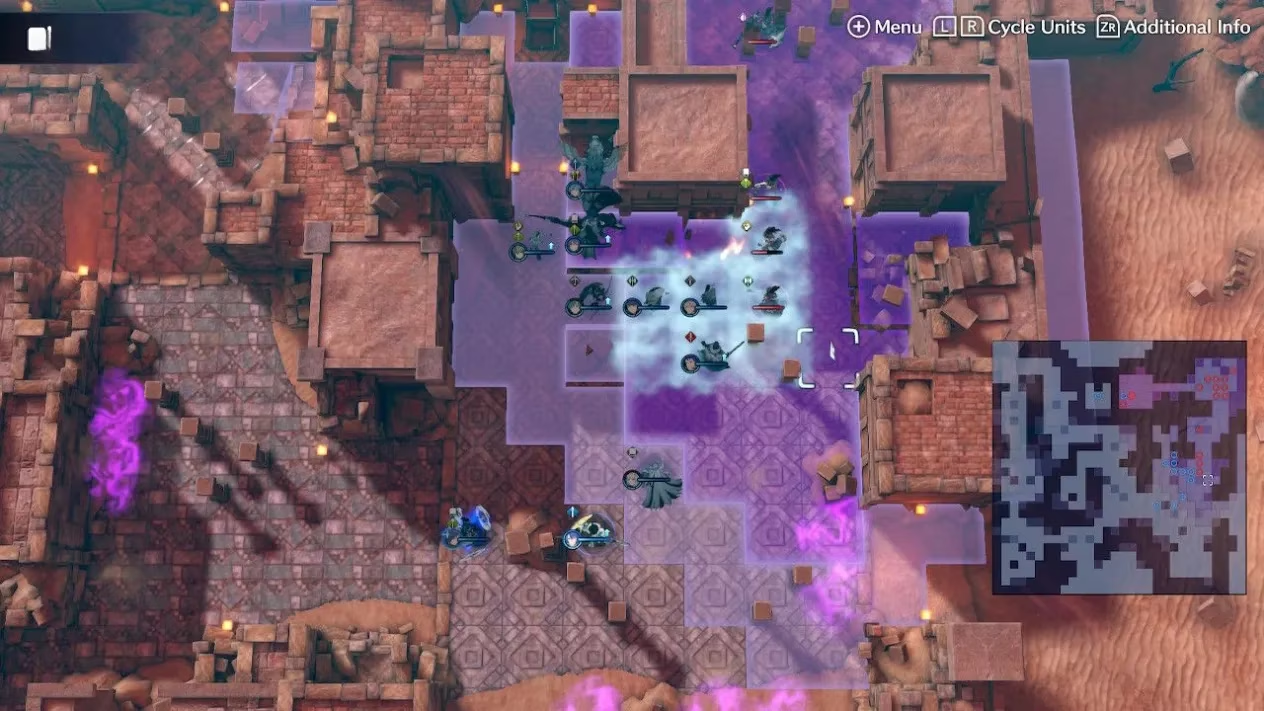
I send my Corrin unit forward to use Fog Vein, clearing the miasma from the enemy-filled corridor. Using Assign Decoy on them is wise. Once the path is clear, I rush my entire army to the corridor entrance.
Fogado's reinforcements arrive in three waves:
-
Three Wyvern Knights (Lances)
-
Three Great Knights (Axes)
-
Three Mage Knights (Tomes)
My strategy is a weapon-triangle ballet:
-
Block the corridor with two axe tanks (Panette, Diamant) against the Wyvern Knights.
-
Swap to two sword tanks against the following Great Knights. This may require Engaging (e.g., Ike!Panette, Sigurd!Louis).
-
When the Mage Knights and Fogado rush in, unleash area-of-effect Engage Attacks.
Perfect options include Corrin's Torrential Roar, Tiki's Flame Breath, Soren's Cataclysm, or Roy's Blazing Lion. I clear the knights first, then focus on Fogado.
Fogado has two Resurrection Stones (three health bars) and uses Veronica, making him more dangerous as he weakens. His key weakness is low Magic Resistance and no 3-range attacks. I abuse this with Thoron and Elthunder spells. If I can't finish him in one turn, I use Assign Decoy, block with high-Res units, or disrupt him with Corrin/Soren.
Next is Hortensia, guarded by Generals and an Enchanter. She won't move unless hit by Bolting or Astra Storm. I use Assign Decoy on a high-Res unit in her range and prioritize killing the Enchanter beside her, then the Generals.
Hortensia has Stalwart (resistant to effective damage) but low defenses and no 3-range. Longbows work well. Crucially, she can be stance-broken by martial arts if she's holding a tome. I break her with fists first to enable safe attacks from my other units.
During this fight, Nil summons a final Mage Cannoneer to target Alear. The race is on. I defeat Hortensia and sprint for Nil's chamber.
The Final Confrontation: Nil
Entering his room, Nil targets units weaker than Nel. I proceed with caution. My order of operations:
-
Kill the Mage Cannoneer (saving Alear).
-
Kill the Martial Master.
-
Heal Nel if needed.
-
Face Nil.
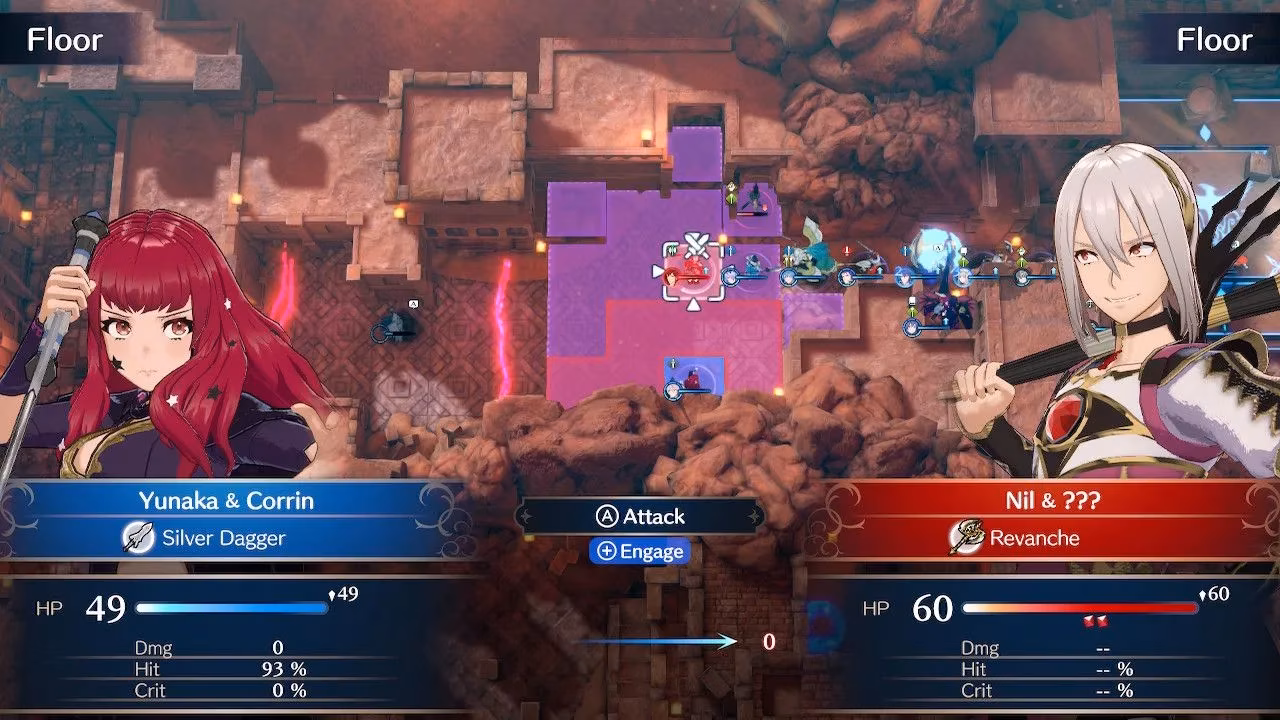
Nil has enormous Resistance, making magic attacks nearly useless. This is a physical brawl. My opener is always my Corrin user, even if they do no damage. Using Draconic Hex debuffs all his stats, making him manageable.

My key strategy is to box Nil in. He has no ranged attacks, so surrounding him with my bulkiest melee units traps him. I use sword wielders to break his stance, creating openings for other attackers. Engage attacks like Eirika's Twin Strike are extremely effective. Physical bow users (Alcryst, Etie) provide valuable chip damage from safety.
It's unlikely to one-turn him due to his bulk. This is a war of attrition where preparation meets execution. I pour every remaining resource into defeating him, the final payoff for all the frustration he caused. With his defeat, the chapter is won, but the echoes of this challenging, strategic masterpiece in Fire Emblem: Engage's Fell Xenologue will linger long after. 🏆