Okay, let's talk about the Fell Xenologue Chapter 4. You know the one—the map that throws you into a three-army chaos sandwich and expects you to just... deal with it? 😅 Honestly, my first time loading in, I just stared at the screen for a solid five minutes. Two queens, two armies, and a map so big it feels like a personal insult. And don't even get me started on the forced deployments. It's like the game said, 'Here are some units you probably didn't level, good luck!' But after a few... ahem... learning experiences, I've cracked the code. Here’s how to not just survive, but actually dominate this beautiful mess.

First things first, let’s talk prep. You only get four free deployment slots, so you gotta make 'em count. Forget about bringing your favorite glass cannons. This is a map about survival, and that means tanks. Specifically, you need two kinds of walls.
Your Core Dream Team:
-
🗡️ A Physical Tank with 'Pair Up': This is your frontline anchor. Louis is the classic pick, but any beefy lance user with Corrin's Pair Up skill works. Their job? Stand there and get hit so everyone else doesn't have to.
-
👤 An Avoidance Tank with Corrin: This is your ghost. Zelkov is the MVP here with his crazy high Avoid, but Yunaka works too. They'll lure enemies into forests and watch them miss every single attack. It's kinda funny, actually.
-
🎯 An 'Assign Decoy' User: Lifesaver alert! This skill (from Soren or inherited) is your get-out-of-jail-free card for protecting squishy units like Nel and Nil.
-
🏹 A Killer Lyn User: This is your delete button. Alcryst is PERFECT for this map because he's a fantastic Lyn user and he has bows for all those pesky flying reinforcements. Trust me, you'll need him.
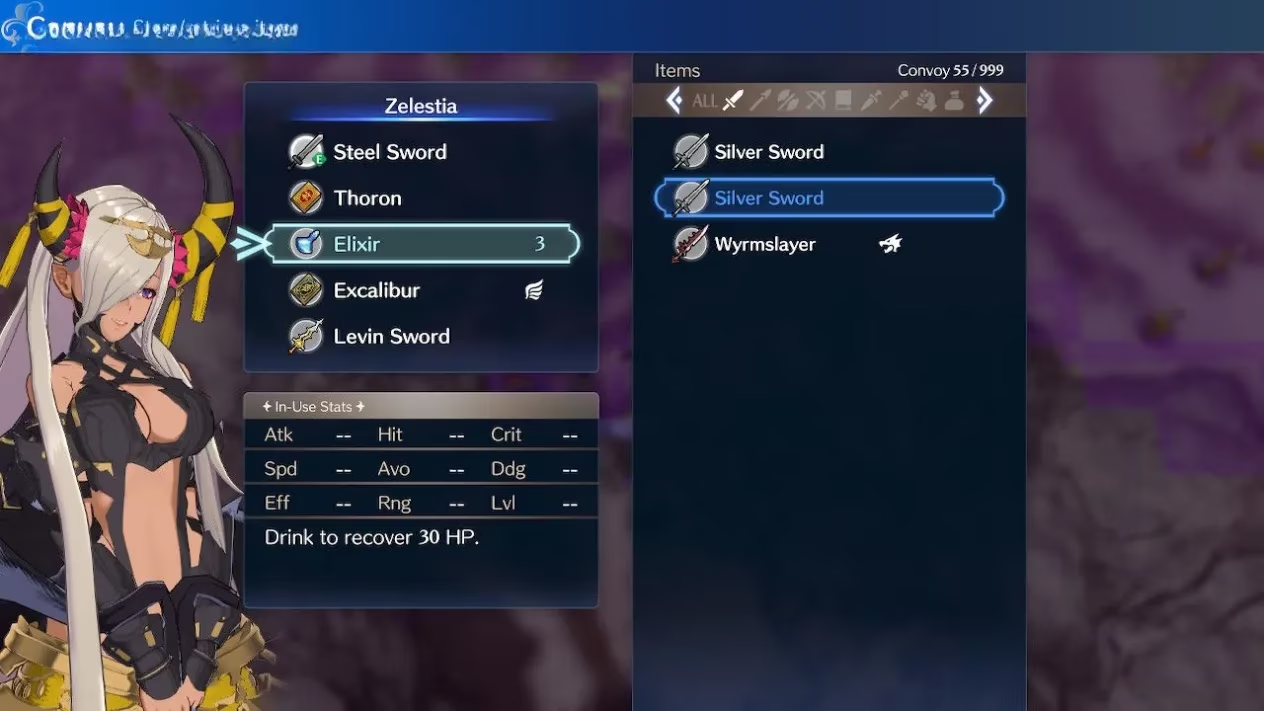
Now, the inventory juggle. Oh boy, this part's a mini-game itself. Before you even think about hitting 'Start', go into the convoy and take EVERY useful item from your benched units. Seriously, strip them bare. Your forced-deployed friends start with garbage, so you need to fix that on Turn 1.
Here’s my quick gear guide for the forced crew:
| Unit | Emblem Pairing | Key Items to Give Them |
|---|---|---|
| Alear | Byleth (for Goddess Dance!) | Killing Edge, Armorslayer |
| Nel | Camilla | Spear, Silver Lance |
| Nil | Micaiah | Restore, two Physic staves |
| Zelestia | Chrom | Thoron, Levin Sword, Silver Sword, Excalibur |
| Gregory | Celica | Thoron, Excalibur, Fortify |
| Madeline | Ike | Just leave her as is |
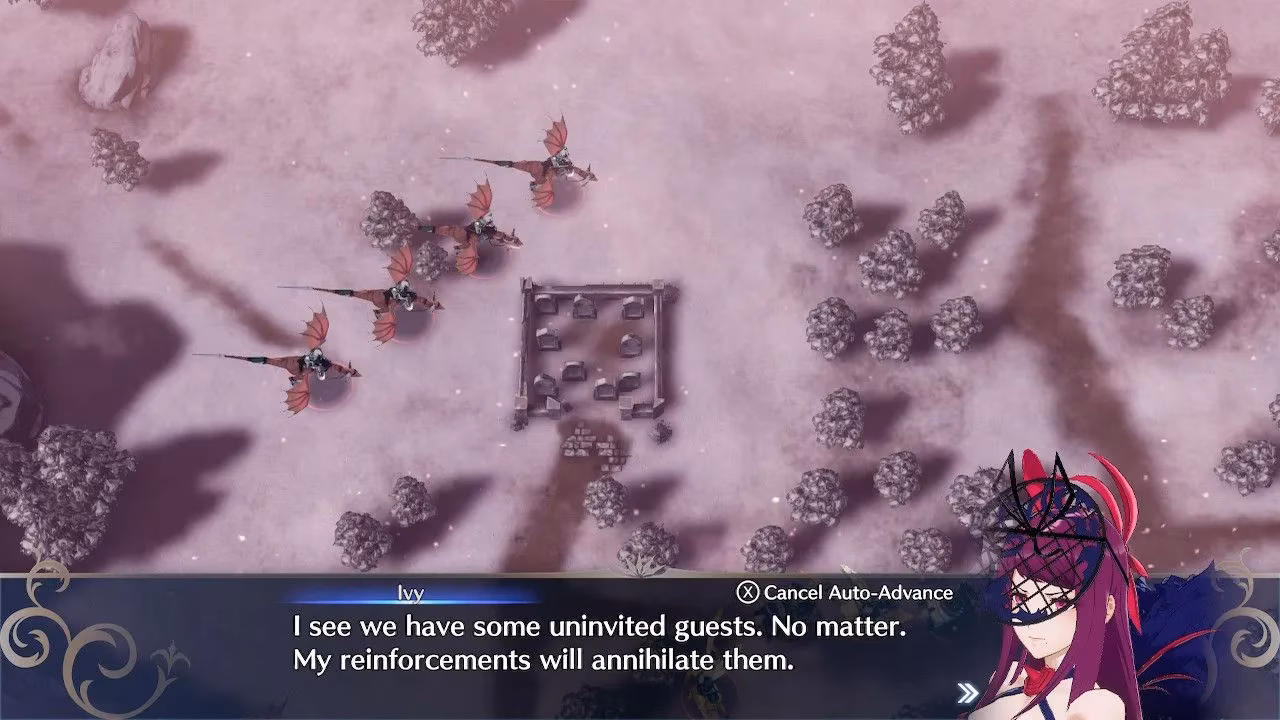
Got your team sorted? Good. Now, the single most important piece of advice: IGNORE IVY AT THE START. I know, I know. She's right there, looking all vulnerable on the west side. It's a trap! A dirty, rotten, wyvern-summoning trap. If you go for her early, she'll call in her corrupted wyvern friends on Turn 4 and you'll be absolutely sandwiched. We're going east first, to deal with Timerra and her Solmic crew.
Phase 1: The March on Timerra
Turn 1: Huddle around Alear, trade all those good weapons you stored in the convoy to your forced units. Use Assign Decoy on your main tank (Louis-types) or your avoidance tank (Zelkov-types).
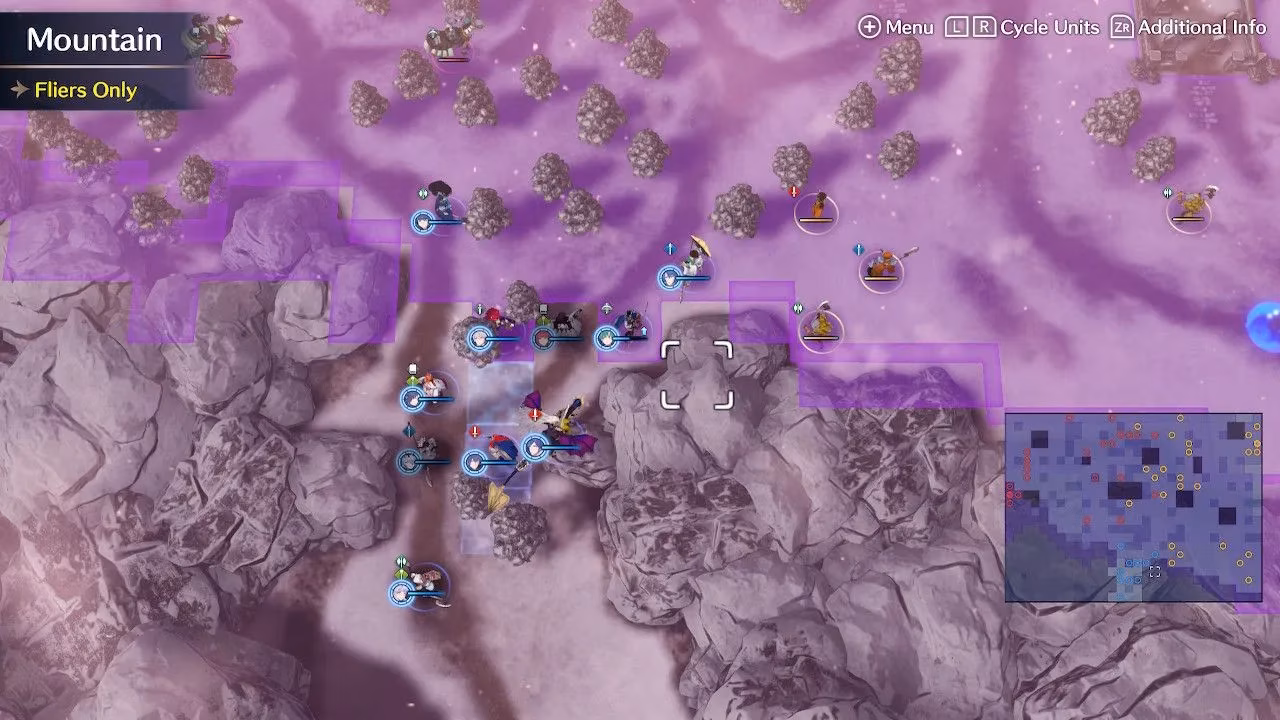
Then, just start marching northeast. Let your Decoy unit lead the way, soaking hits. Your other units can clean up the stragglers on the ground. The Solm army loves their backup attacks, so keep your Pair-Up tank at the front to nullify those annoying chain attacks.
Meanwhile, Elusia's forces from the west will start chasing you. Those Wolf Knights are sneaky! Keep your other tank (probably your Avoidance one) in the back, a little separated from the group with a ranged weapon, to catch their attention. Tuck them into a forest for that sweet +30 Avoid bonus on top of Corrin's terrain.
Here’s the kicker: On Turn 4, Ivy summons the Corrupted Wyverns. These things are nightmares. They fly far, ignore your terrain defense boosts, and hit right through your Def/Res. The moment they appear, the clock starts ticking. You must defeat Timerra before these wyverns reach you.
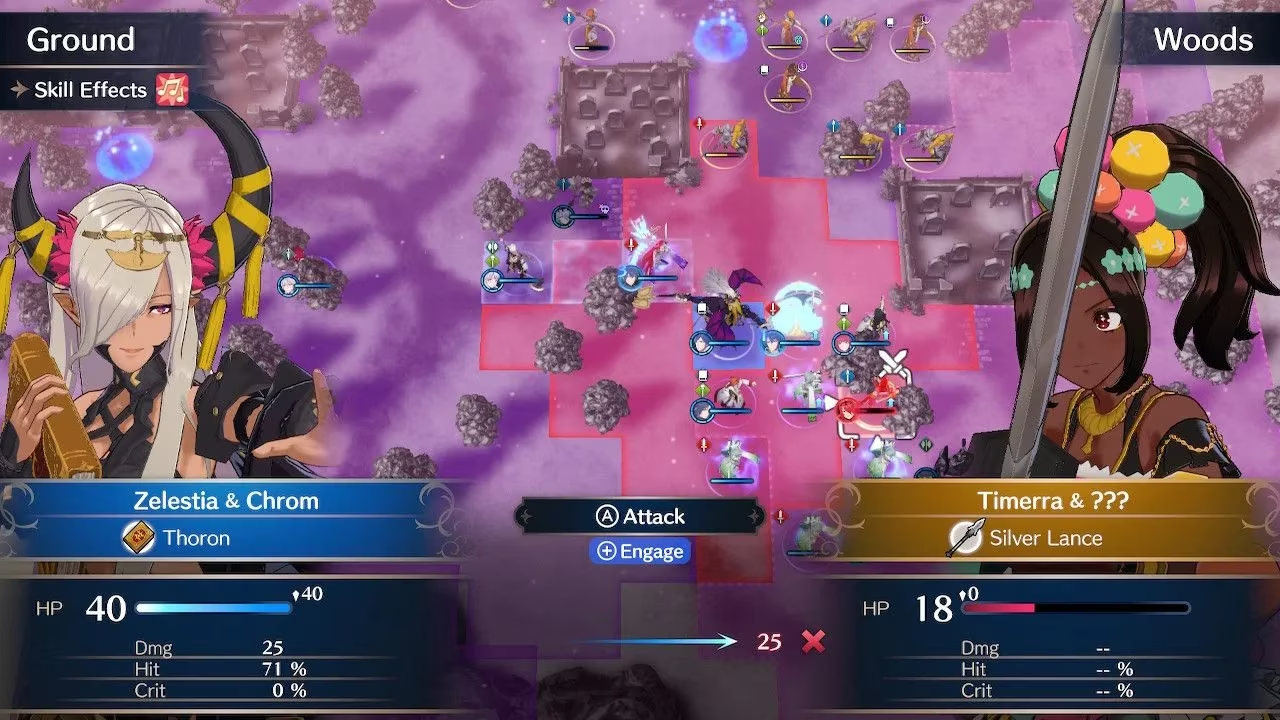
As you get close, Timerra will start moving toward you. Bait her down with a unit that has high Resistance (to tank her Bolt Axe). Once she's baited, her whole crew follows. You basically have one turn to focus her down before you're swarmed.
Fighting Timerra Tips:
-
She's easy to break, so abuse that for extra damage.
-
She has no 3-range attacks, so pelt her with Thoron and Longbows safely.
-
Try to save your Engage attacks for dealing with her entourage right after.
Once Timerra is down, turn your attention to her group. This is where your big AOE Engage attacks shine.
-
Corrin's Torrential Roar or Sigurd's Override are amazing when enemies line up (which they will).
-
If Nel (with Camilla) uses Dark Inferno and you layer Torrential Roar on top? Beautiful. It does huge damage and freezes them in place, giving you a free turn to clean up.
-
Many are armored, so bring out the mages and Alear's Armorslayer.
By the time you finish this brawl, Ivy and her wyverns will be knocking on your door. Time for phase two.
Phase 2: The Ivy Ambush
The good news? With her front wyverns gone, Ivy often puts herself right at the front, isolated. The map ends the moment Ivy is defeated, so you can ignore everyone else and just dogpile her.
More good news? She carries Bolting, which is a ranged spell. That means if you get right in her face... she can't hit you with it. Melee range is your safe zone.
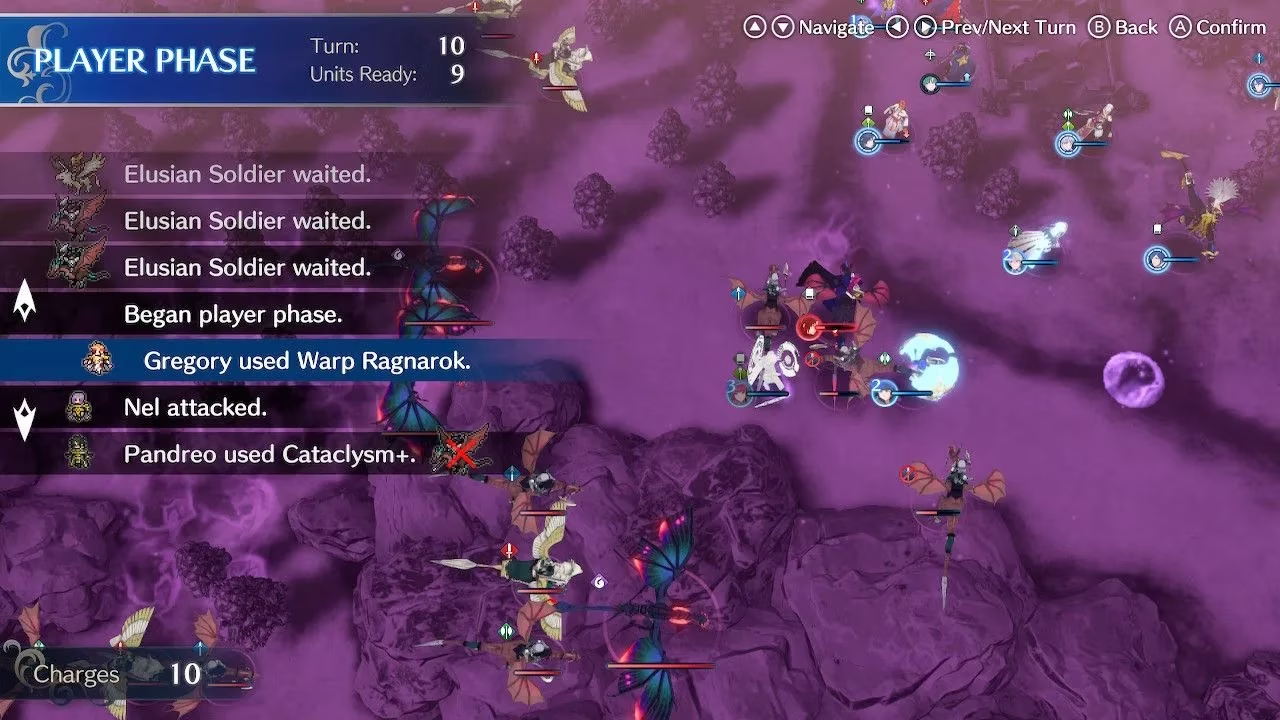
The Ivy Takedown Plan:
-
Debuff Her: If you have a Soren user (like Gregory), hit her with Cataclysm (have Madeline adjacent for Cataclysm+). The stat debuffs are huge.
-
Close the Gap: Gregory can use Warp Ragnarok to teleport behind her. Other units just need to rush in.
-
GO ALL OUT: This is not the time to be conservative. Dump every strong attack you have into her. You need to one-round her.
⚠️ CRITICAL WARNING ⚠️: Ivy has the 'Stalwart' skill. This means bows and Excalibur (effective against fliers) DO NOT WORK on her. Don't waste your turns!
If your army is too spread out, fall back, use Assign Decoy smartly to regroup, then launch your coordinated one-turn knockout punch. And just like that... it's over. The chaos ends, the chapter is clear, and you never have to use these specific forced deployments again. It’s the best feeling. You did it!
This map is a marathon, not a sprint. Plan your team, manage the inventory mini-game, stick to the Timerra-first strategy, and unleash hell on Ivy when the time is right. It’s tough, but so, so satisfying to master. Now go show those queens who's boss!