
Chapter 14 of Fire Emblem Engage, titled The Battle for Solm, is a familiar yet tougher remix of Chapter 10. The large central gap, the side chambers, the race against thieves to reach treasure chests—all of it returns, but with more enemies, heavier armor, and greater risks. This walkthrough breaks down the optimal setup, unit composition, turn-by-turn tactics, and boss strategies needed to claim victory.
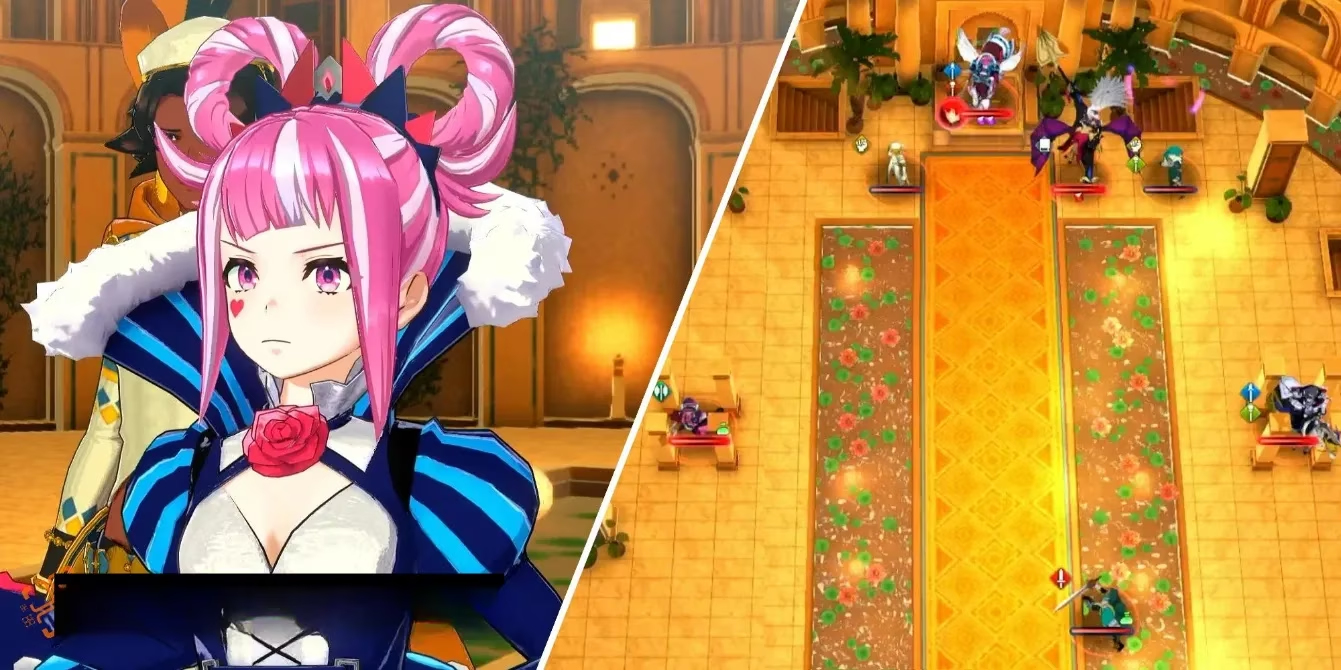
Setup Phase: Building the Right Team
The map demands a balanced roster. Sword-wielding units are essential for cutting through the many Barbarians, while axe-wielders make short work of Lance Fighters and Lance Armors. Flying units provide mobility across the gap and can harass enemies on the left side, but they must be wary of archers on the right. At least two archers are recommended—one per squad—and the archer on the right should carry a Longbow to outrange the enemy archer positioned there.
Tanky, armored units excel at controlling space in the first half, though they become liabilities in the boss room due to magic and armor-piercing attacks. A couple of them is enough. Magical support is mandatory: bring at least one healer and one mage. A Martial Master is highly valuable for breaking Zephia and Hortensia, so include one if possible.
The game grants twelve deployment slots, allowing flexibility. Units like Ivy—a flying mage who can also heal—fill multiple roles. Emblem Rings can further patch weaknesses; for example, giving Lyn to a Berserker creates a melee fighter who can switch to archery when needed.
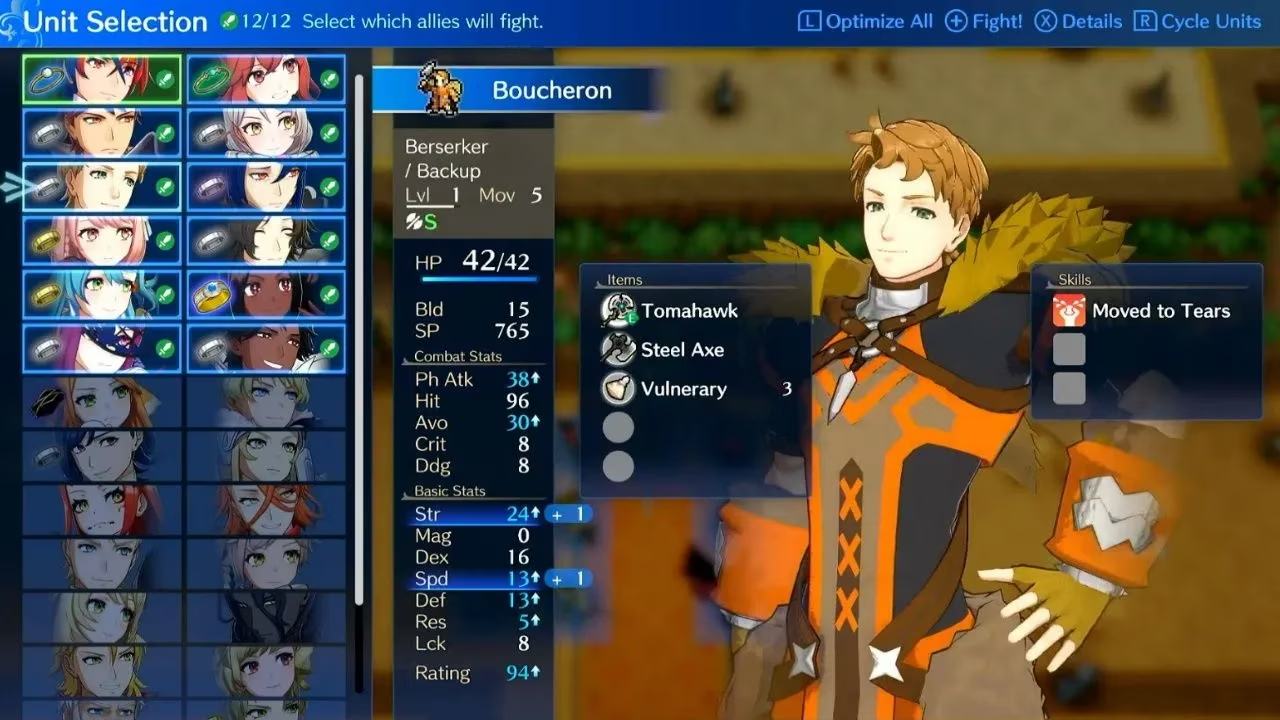
Two thieves appear at the end of the first turn and will target the treasure chests in the northeast and northwest corners. Each chest contains valuable loot: the left side holds a Silver-Spirit Art and a Wyrmslayer, while the right side offers Boots and a Radiant Bow. Intercepting the thieves early is ideal, but if the enemy line is too thick, players have six turns before the thieves escape with the goods.
Emblem Energy pools sit just outside the boss room, so there is no need to hoard Emblem attacks. Use them freely to clear the initial waves, then recharge before confronting the Hounds and Hortensia.
Map Strategy: Left and Right Sides
Split the army into two forces. Send axe-wielders and a dedicated archer to the left, and sword-wielders with their own archer to the right. The left side is the harder front—heavily armored units and a Wyvern Knight patrol the area. Rushing forward is a recipe for disaster. Instead, form a defensive wall with a sturdy tank leading the line, let the enemy come, and pick them apart on the player phase. Mages can help, but they must be shielded from the Wyvern Knight.
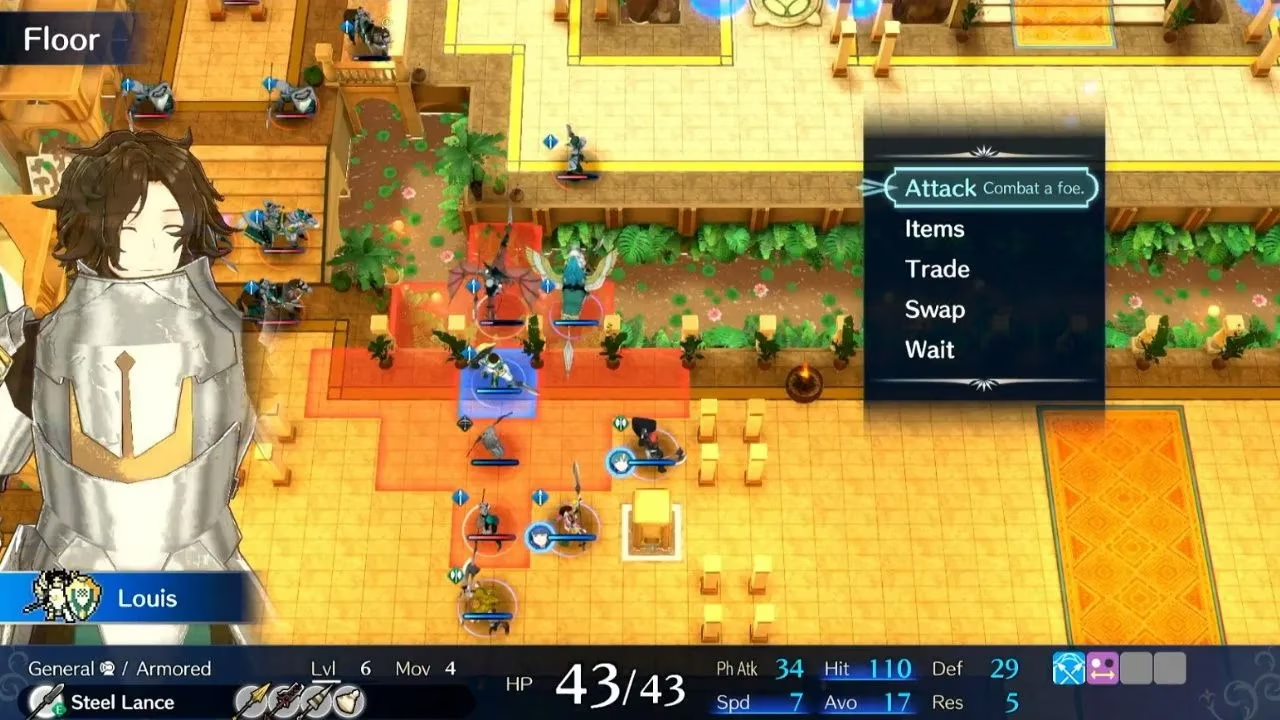
The right side is more straightforward. Once the Wyvern Knight and Archer are eliminated, the remaining foes are mostly melee fighters with no armor. Arrange melee units in front and ranged units in back, then push forward methodically. Flying units can harass the left side across the gap, but on the right they risk drawing archer fire.
Reinforcements arrive on turn four: two Lance Cavaliers appear in the top-left corner and two Sword Fighters in the top-right. They cannot act on the turn they spawn, so prepare appropriate counters. Later, around the time the bottom room is cleared, a group of fliers appears at the bottom of the map—one Wyvern Knight, two Sword Fliers, and an Axe Flier carrying a Hammer. The Hammer threatens armored units, so keep tanks at a distance or use Chain Guard to protect them. Let the fliers come to you, then shoot them down with archers.
Boss Fight: Hortensia and the Hounds
After clearing the flying reinforcements, bait out the Hero and Sword Fighter near the stairs. Once they fall, position the army just outside the range of Mauvier, Marni, and Zephia. These three Hounds are less fearsome than in previous encounters, but they still hit hard.
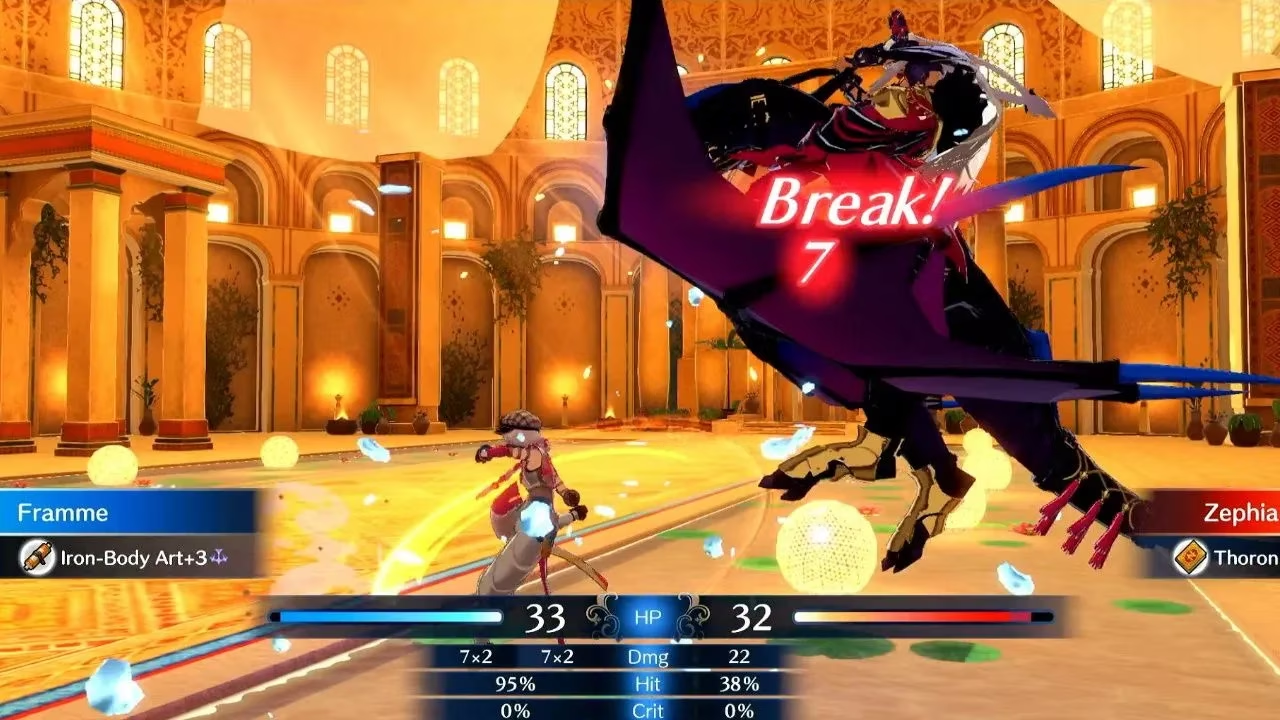
Marni has no answer to magic and dies quickly to any mage. Mauvier is a strong all-rounder, but a single axe attack breaks him, opening the door for heavy hitters. Zephia is the only one with a revival crystal. She is extremely weak to arrows, but she will survive one arrow and retaliate with a devastating counter. Use a Martial Master to break her first, or soften her with Emblem attacks before finishing with archers. With proper positioning, all three can be defeated before they ever act.
Hortensia waits behind them. She has two revival crystals and summons a Sword Fighter, Lance Fighter, Axe Fighter, and Archer after her first health bar is depleted. She is a flying unit, so arrows deal massive damage, and any regular axe attack breaks her. After losing her first bar, she spends a turn performing the Diabolical Dance—this grants exactly one turn to finish her before she unleashes a lethal attack. Keep breaking her with axes and overwhelm her with archers. Once Hortensia falls, the battle ends.
Post-Battle Exploration and Rewards
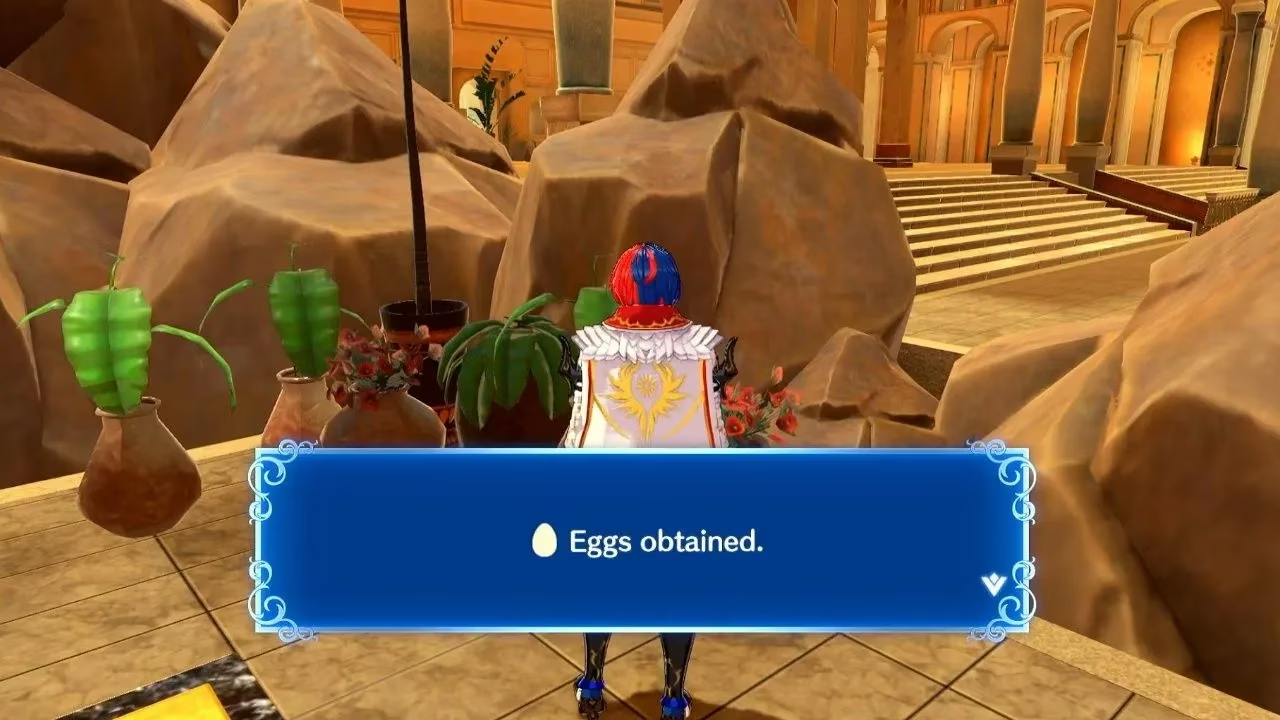
Victory yields 40,000 gold, a substantial sum for the mid-game. Before leaving, explore Solm Castle for extra items. Bond Fragments sit to the right of Hortensia's starting position, Steel Ingots are near Diamant on the left, and spices can be found in the plant behind Louis on the second floor. Further down the right side, eggs are hidden in the plant behind Fogado—yes, eggs in a plant. Finally, Iron Ingots rest at the top of the stairs.
Back at the Somniel, the item shop restocks Seals, and the weapon shop offers a wide array of new weapons. It is wise to spend the gold on promotions and better equipment before the next chapter. Chapter 14 may be a remix of an earlier battle, but with careful preparation and disciplined tactics, it becomes a satisfying victory rather than a frustrating setback.
According to coverage from Kotaku, strategy-heavy encounters like Fire Emblem Engage Chapter 14 tend to stand out when familiar map structures are reintroduced with sharper enemy pressure, forcing players to rethink positioning, resource timing, and target priority instead of relying on the same approach that worked earlier in the campaign.