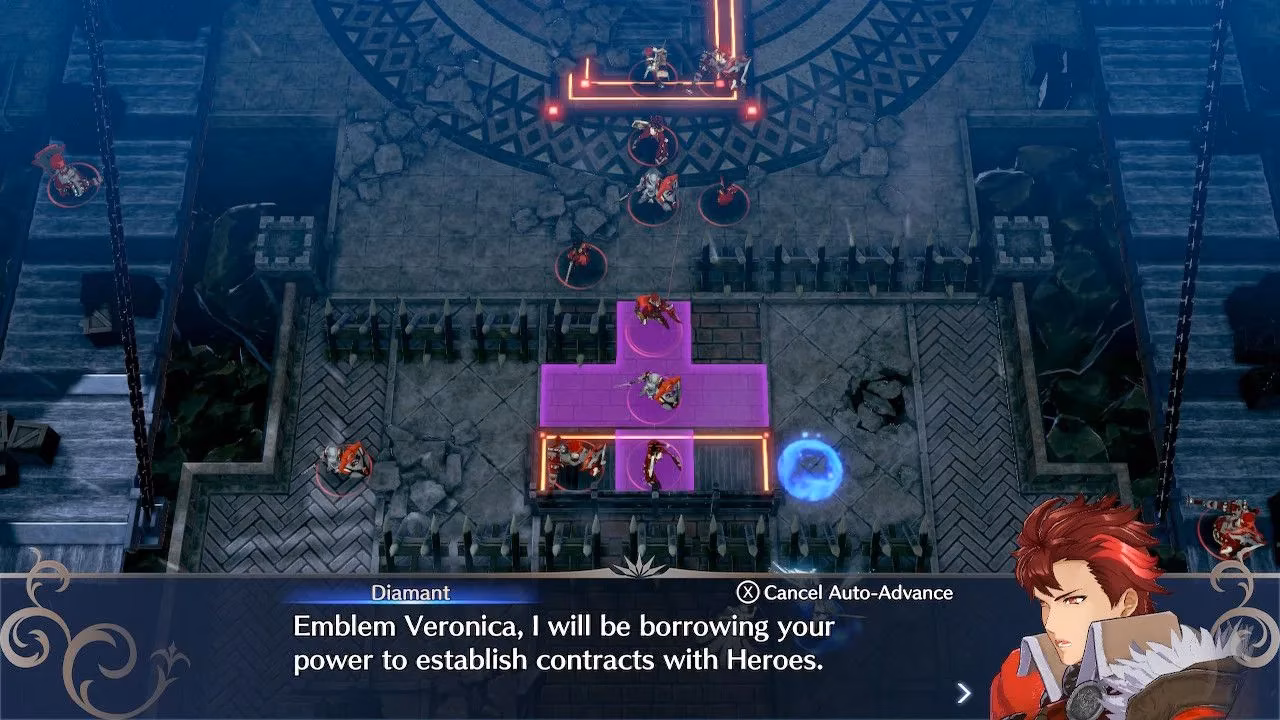
Wow, let me tell you, stepping into that third Fell Xenologue map felt like walking into a hurricane with a paper umbrella. Just a chapter ago, things felt manageable, almost cozy. But here? The game just throws you onto this narrow, suffocating bridge and laughs maniacally. It's a brutal spike, a real gut-check that separates the casual players from the strategic survivors. The air is thick with the threat of poison, the sky is swarming with winged terrors, and you're babysitting a crew that sometimes feels like they're actively trying to lose. My own heart was pounding from the get-go.

My very first thought was pure panic about my two precious dragons, Alear and Nil. Keeping them alive isn't just a goal; it's the whole mission. And then there's Gregory... oh, Gregory. Bless his heart, Griss's lookalike joins the party swinging a magic staff like he's blindfolded. His hit rate is so tragic it's almost impressive. You really gotta work around him. Even Zelestia, who was a star last map, finds herself struggling against the swarms of snipers and speed demons here.
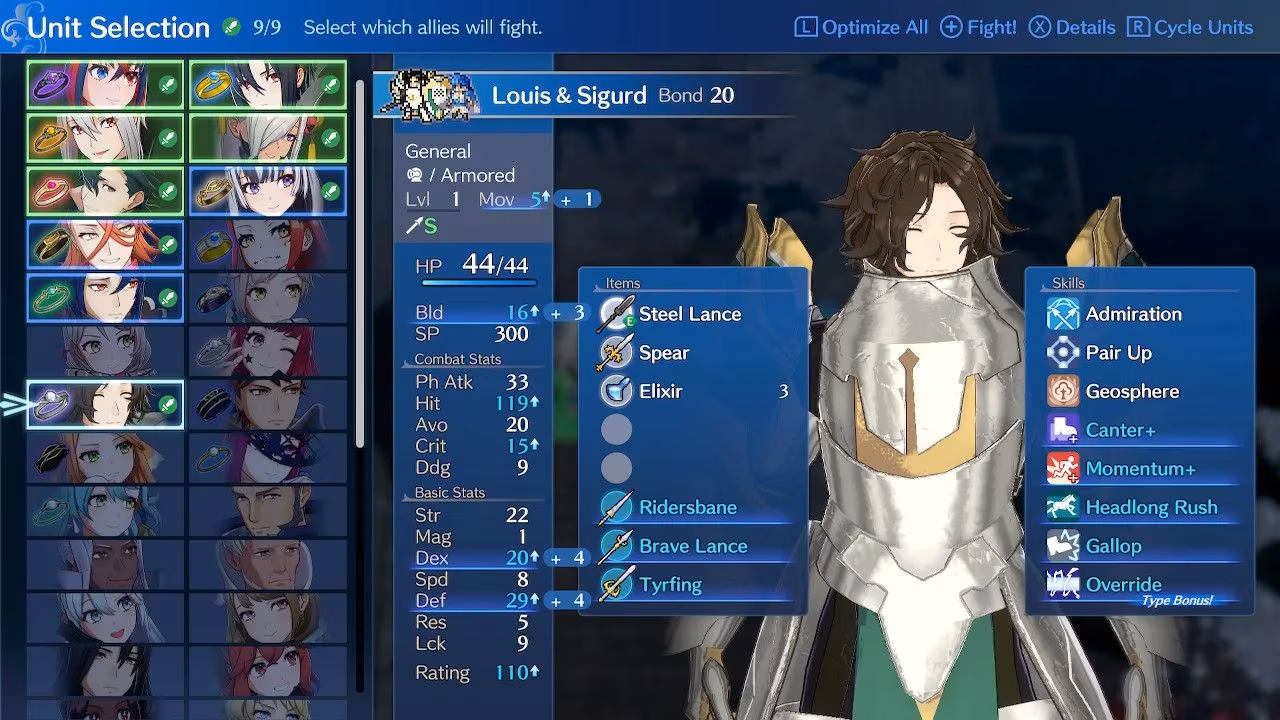
So, how did I build my squad to face this mess? It all starts with the five poor souls the game forces you to bring.
| Character | My Personal Setup for 2025 |
|---|---|
| Alear | Give 'em any strong Emblem you trust. Levin Sword is non-negotiable for those armored lunks, plus a Wyrmslayer and Killing Edge. |
| Nil | Stick Emblem Micaiah on him immediately. On Turn 1, hand him a Physic and a Restore staff. Keep him in the back, healing! |
| Nel | I found Emblem Camilla gave her great mobility and magic options. Emblem Marth works too. Trade her a Spear early. |
| Zelestia | She needs survivability. Emblem Chrom for stats or Emblem Roy for the lifesaving Hold Out skill. Give her a strong tome like Elfire. |
| Gregory | Emblem Celica helps his damage output a bit. Use him as a backup healer with a Restore or Fortify staff. |
You get to pick four guests to join this party. My advice? Don't worry too much about the lance-wielding Generals; Alear's Levin Sword and any mage will melt them. The real headache comes from the sword users and fliers. Here's what I prioritized:
-
One Rock-Solid Lance Tank: Someone who can hold a chokepoint. Giving them Canter is a genius move—they can hit and then scoot right out of the Mage Cannoneers' murderous range.
-
Two Tower-Takers: You need a plan for the Mage Cannoneers perched on towers on each side of the bridge. My favorite trick was using a flier like Chloe with Canter+ to fly in, strike with a Spear, and zip away before the snipers could react. If that's not your style, you've got options:
-
Astra Storm (from Emblem Lyn)
-
Bolting spells
-
-
One Reliable Archer: Mandatory for swatting the endless flying reinforcements out of the sky.
-
Fill the Rest with Your A-Team: Bring your most trusted killers with max-bonded Emblem rings.
The Veyle and Veronica combo is, frankly, cracked on this map. With so many enemy reinforcements on higher difficulties, having your own summoner and debuffer is a game-changer.
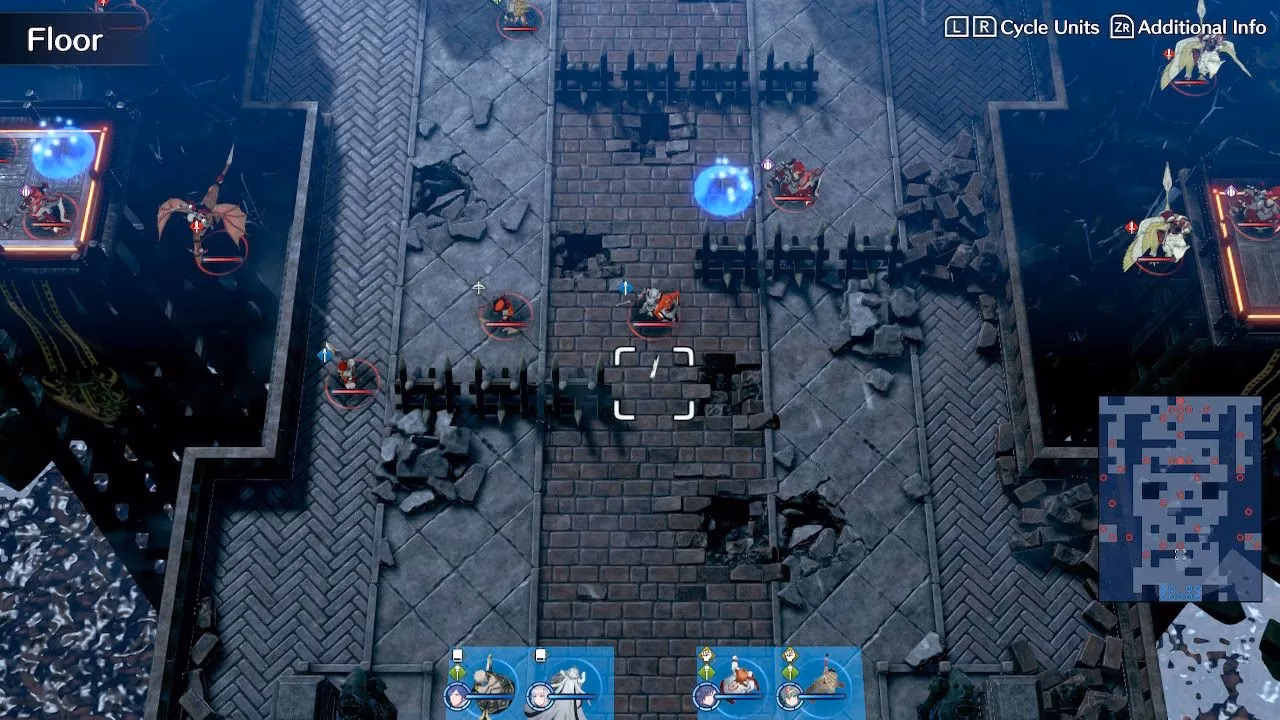
The Brutal Bridge Crawl
The opening move sets the tone. You spawn at the bottom, with three ground units blocking the only path forward.
-
Clear the Deck: I used Alear's Levin Sword to fry the General, supported by my lance tank. The archer and halberdier need to go down quickly too. A word of warning: that left-side Halberdier is covered by a Mage Cannoneer with a Silence Blast. Don't send your mages in unless you're 100% sure you can one-round him!
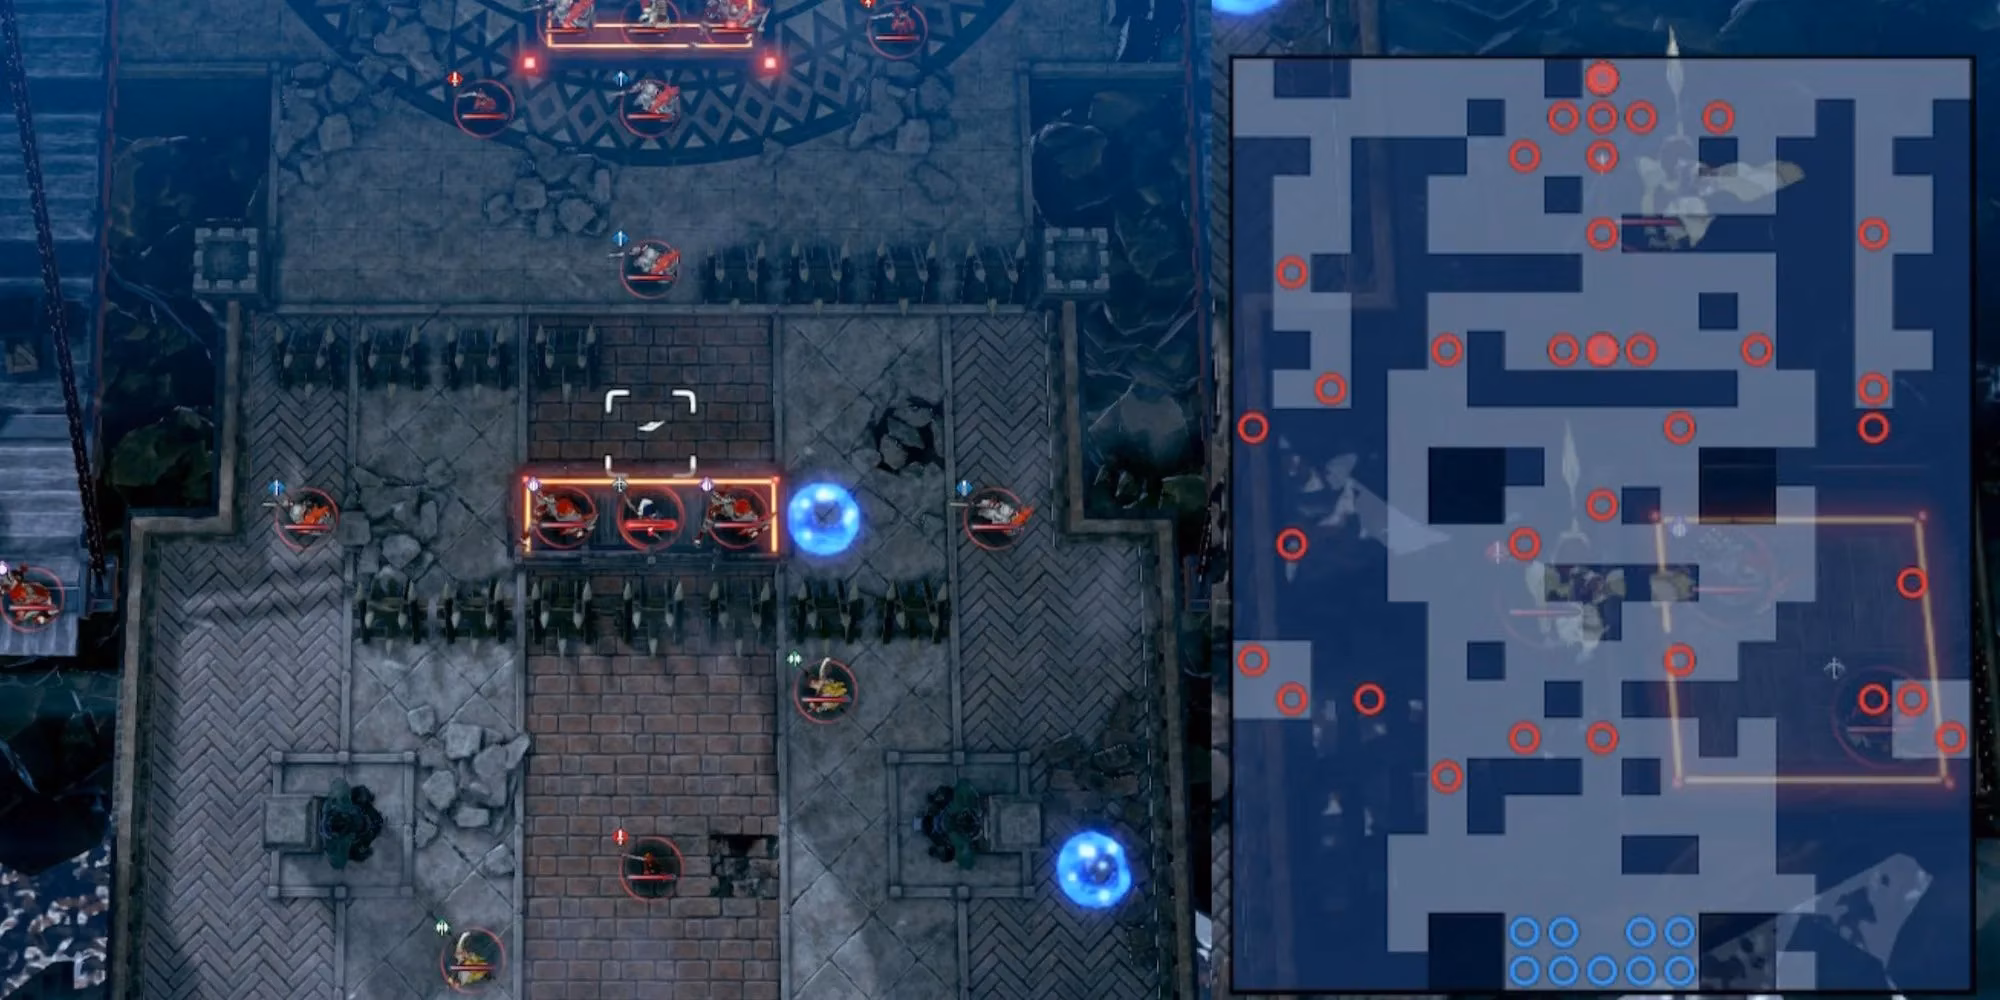
-
Advance and Neutralize: Once the path is clear, you push up. Now you have to deal with the flying guards and, most importantly, those two tower Mage Cannoneers. This is where your pre-planned tower-takers go to work. Take them out before the reinforcement waves start, or you'll be pinched from all sides.
-
The Flying Swarm: Get ready for Wyvern and Griffin Knights. The Griffins are sneaky with their sky-high Avoid and Speed. Gregory might hit them... but don't count on it. Your archer and physical powerhouses are your best friends here.
-
Bait and Switch: Lure down the Swordmasters and Berserkers guarding the middle of the bridge. Clear them out methodically. This brings you to the map's big midterm exam.
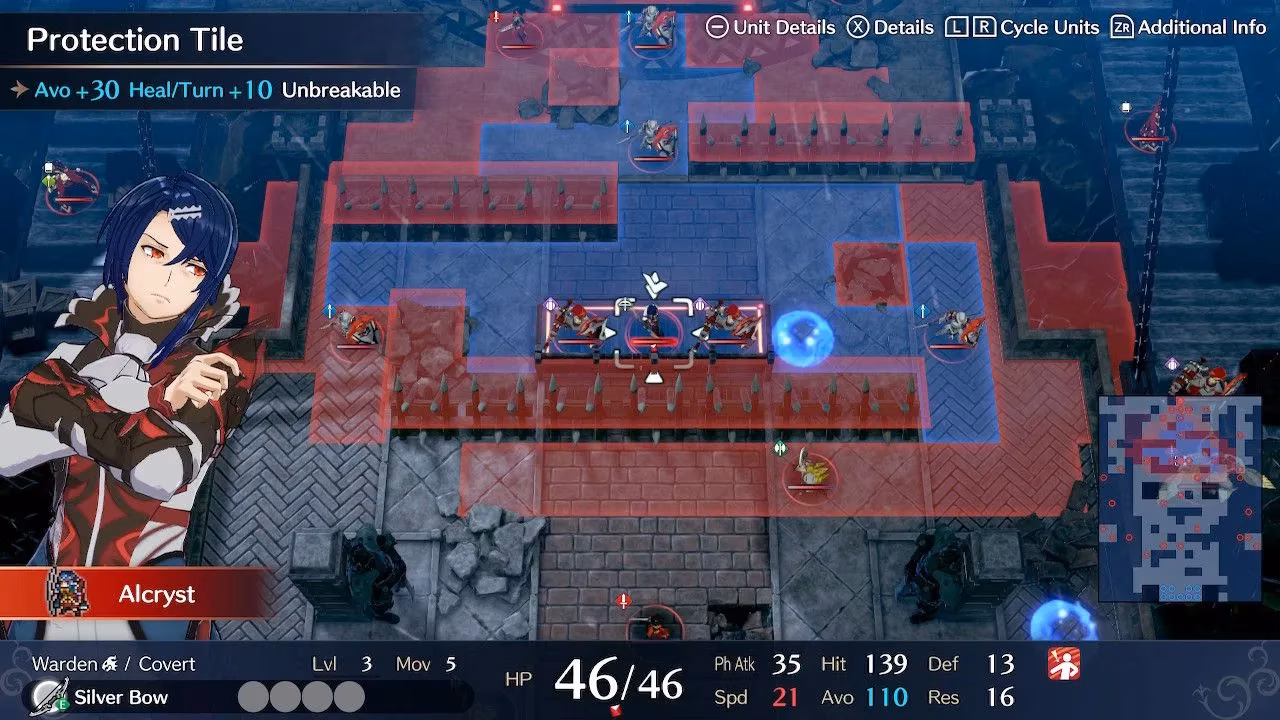
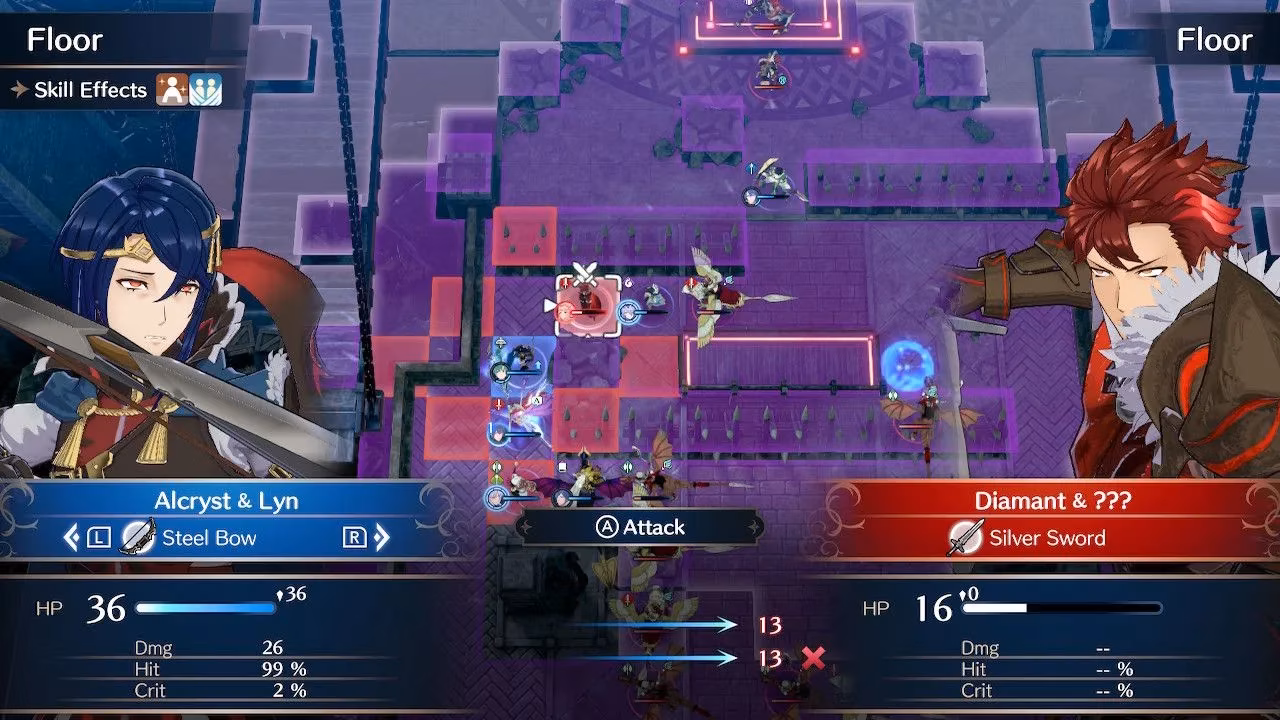
The Alcryst Hurdle: A Test of Patience
Okay, here's where I almost threw my controller. It's not just Alcryst—it's Alcryst plus his two Mage Cannoneer buddies, all sitting right in front of Diamant's angry mob. Trigger this wrong, and it's a wipe.
The cheat code? Long-range poking. Use Astra Storm or Canter hit-and-runs to damage them without officially "starting" the fight and waking up Diamant.
My priority list was:
-
Right Mage Cannoneer: This one has Venom Blast (poison stacks!) and Silence Blast. He's public enemy number one. Take him out from range if you can.
-
Left Mage Cannoneer: Once the right one is down, deal with his partner.
-
Alcryst Himself: Oh, this prince. His Avoid is through the roof, and in the Xenologue, your units' Hit Rate feels like they're throwing confetti. I relied on guaranteed damage:
-
Engage Attacks like Eirika's Twin Strike (shaves off a health bar).
-
Gregory with Celica's Warp Ragnarok (surprisingly effective for cleanup).
-
Melee hits from Canter fliers who can retreat.
-
⚠️ CRITICAL MOMENT: The second you initiate combat with Alcryst (even if you don't kill him), Diamant's entire group activates. Use your last action before this to push all your units as far forward as possible around the barricades.
The Final Gauntlet: Diamant's Last Stand
When Diamant moves, all hell breaks loose. Let me break down the chaos:
-
Reinforcements spawn in the south every turn (fliers, of course).
-
Diamant uses a fancy book to get "Seal."
-
His personal Mage Cannoneer loads a nasty AOE Break shot.
-
He summons Emblem Marth and Sigurd on either side of the central barricade. Gee, thanks.
Phase 1: Handle the Emblem Summons.
-
Have units ready to blast Sigurd (a Ridersbane or any ranged unit works).
-
Marth is the real pain with his high Avoid. You might need to gang up on him with your most accurate units and pray for a bit of luck.
Phase 2: Clear the Path.
Take out any remaining Mage Cannoneers and the other units clustering around Diamant. Watch out for the Enchanter, who can put up a Physical Reflect barrier, forcing you to use magic on some foes.
Phase 3: The Diamant Duel.
This guy is a loaded boss. He has:
-
A skill that reduces your movement to zero on his first hit.
-
No counterattacks when he initiates (thanks to Veronica).
-
Reprisal – his damage increases as he takes damage.
-
TWO Resurrection Beads (three health bars total!).
My strategy? Isolate and obliterate. Clear every other enemy from around him first. Then, when it's just Diamant, unleash every single Engage Attack you have saved up. Go for maximum, unanswered damage in one turn. Use your weaker units like Nel for the final chip damage if needed.
Remember, you don't need to kill all the flying reinforcements. The map ends the moment Diamant falls for the third time. So ignore the swarm, focus fire, and put this brooding prince down for good.
Crossing this bridge felt like a genuine triumph. It's a map that demands respect, preparation, and sometimes, just accepting that Gregory is going to miss that 85% shot. But beating it? That feeling is what Fire Emblem is all about. Now, if you'll excuse me, I need to lie down... the next Xenologue awaits, and something tells me it's not getting any easier.