Ah, the sun-drenched, sand-choked vistas of Fire Emblem Engage's Chapter 12, 'The Sentinels.' Our intrepid commander, Alear, finds themselves in a classic tactical pickle: should they play it safe and huddle the army for a tidy, efficient victory, or should they gallantly—and perhaps foolishly—spread their forces thin across the desert to rescue a gaggle of helpless villagers from the encroaching Corrupted? For the hero with a heart (or at least one who wants the sweet, sweet loot the villagers offer), the choice is clear, but the execution is anything but. This isn't a leisurely stroll on the beach; it's a high-stakes race against time and monstrous odds, where a single misstep can lead to civilian casualties and a serious blow to the Divine Dragon's morale (and inventory). Fear not, weary traveler, for a guide to triumph and treasure awaits.
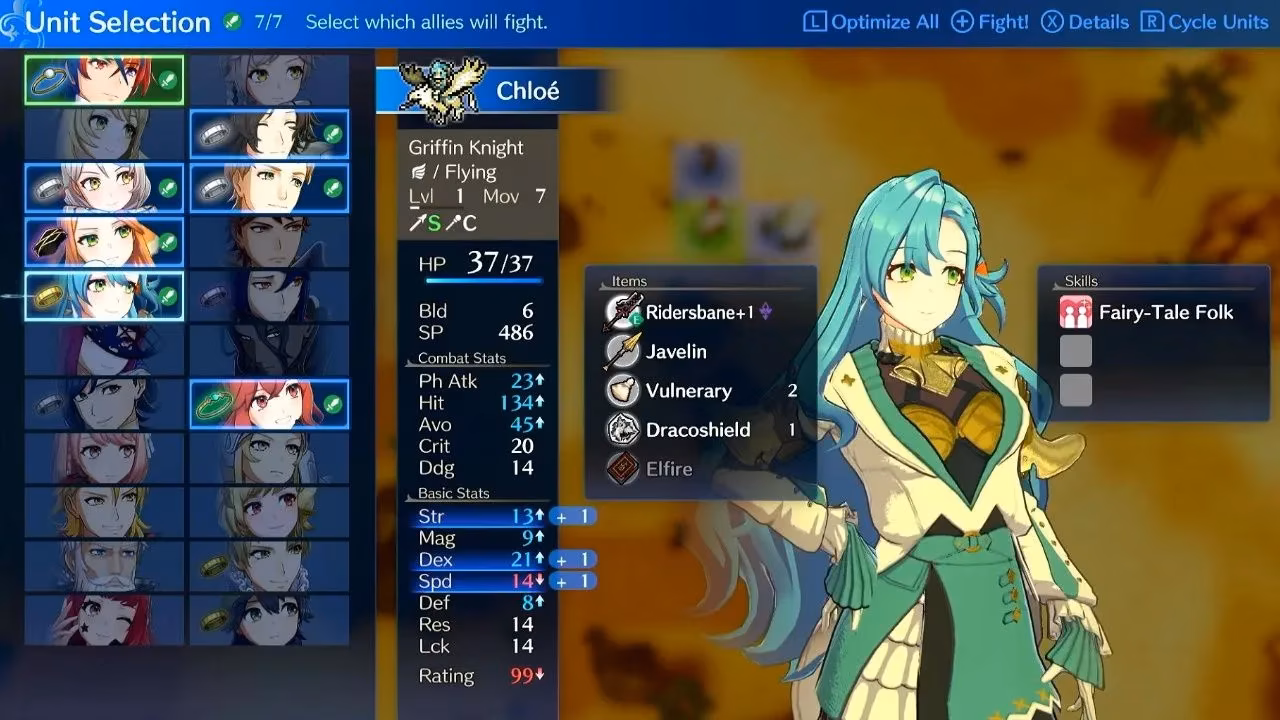
The first hurdle is perhaps the most agonizing: roster selection. After amassing a small army of colorful companions, the game cruelly restricts the deployment to a mere six units. Talk about a personnel nightmare! The key to cracking this sandy conundrum lies in understanding the mission's two distinct phases: the blitzkrieg rescue operation and the subsequent fortified defensive stand.
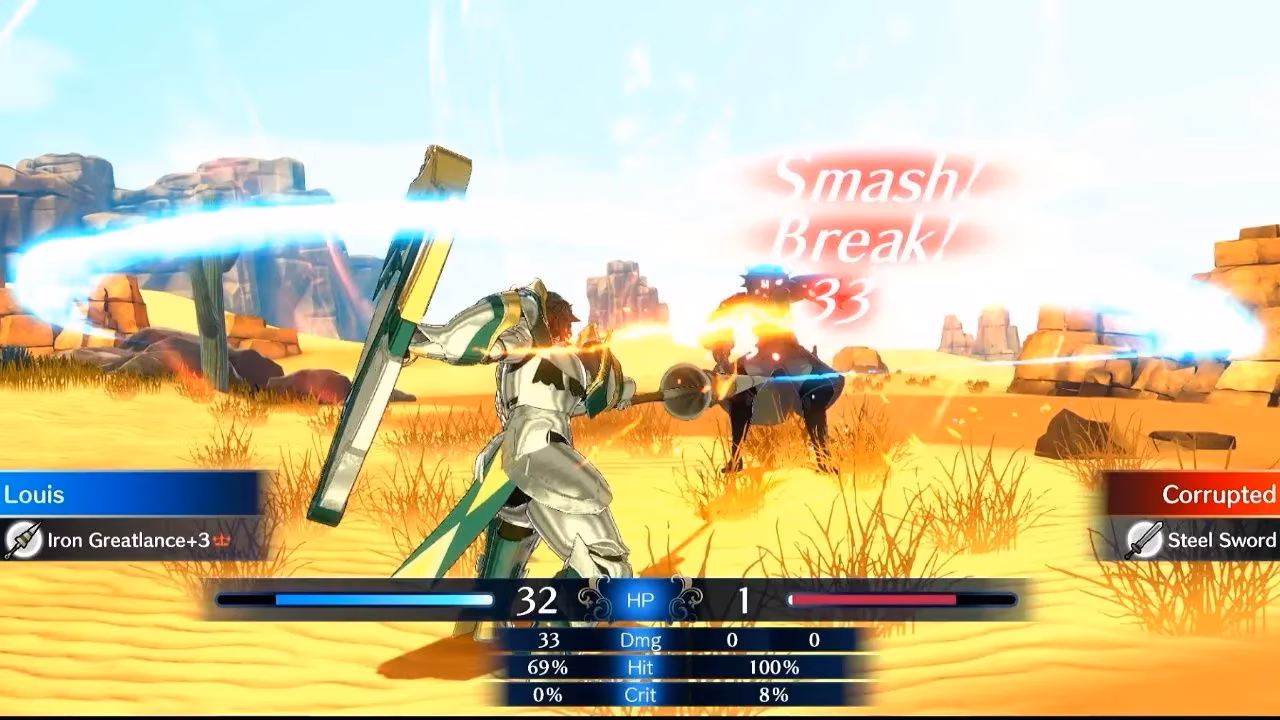
For the initial mad dash to save the villagers, mobility is king. This makes aerial aces like the pegasus knight Chloe or the wyvern-riding Ivy absolute MVPs. Their ability to soar over the annoying, movement-hindering desert terrain is invaluable. However, once the civilians are (hopefully) secure, the tide turns. The map gets flooded with enemy reinforcements, and suddenly, resilience reigns supreme. This is where the walking fortresses, Louis and Jade, come into their own, ready to become immovable objects that laugh in the face of axe swings.
Given the desert's open sightlines and obstructive dunes, archers are also remarkably handy. Luckily, the chapter gifts you a fantastic one. A healer is never a bad idea, though, again, a new recruit has that covered. When positioning your elite squad at the start, just remember: stick your fliers at the bottom of the deployment zone. This gives them the shortest flight path to the panicking villagers in the southwest. The rest of the gang can be arranged as you see fit, but prioritize that aerial advantage!
The Battle Unfolds: Sand, Swords, and Strategy
| Objective | Details |
|---|---|
| Enemies | Initial: 3x Sword Fighters, 5x Axe Fighters, 1x Lance Flier, 1x Swordmaster, 1x Wolf Knight, 1x Mage. Reinforcements arrive in two waves. |
| Victory | Eliminate All The Corrupted |
| Key Treasures | Levin Sword, Obstruct Staff, Elixir, Master Seal (all from rescued villagers) |
| Difficulty | ★★★★★☆☆☆☆☆ (A solid, strategic 5/10 challenge) |

Turn 1: The Great Desert Sprint 🏃💨
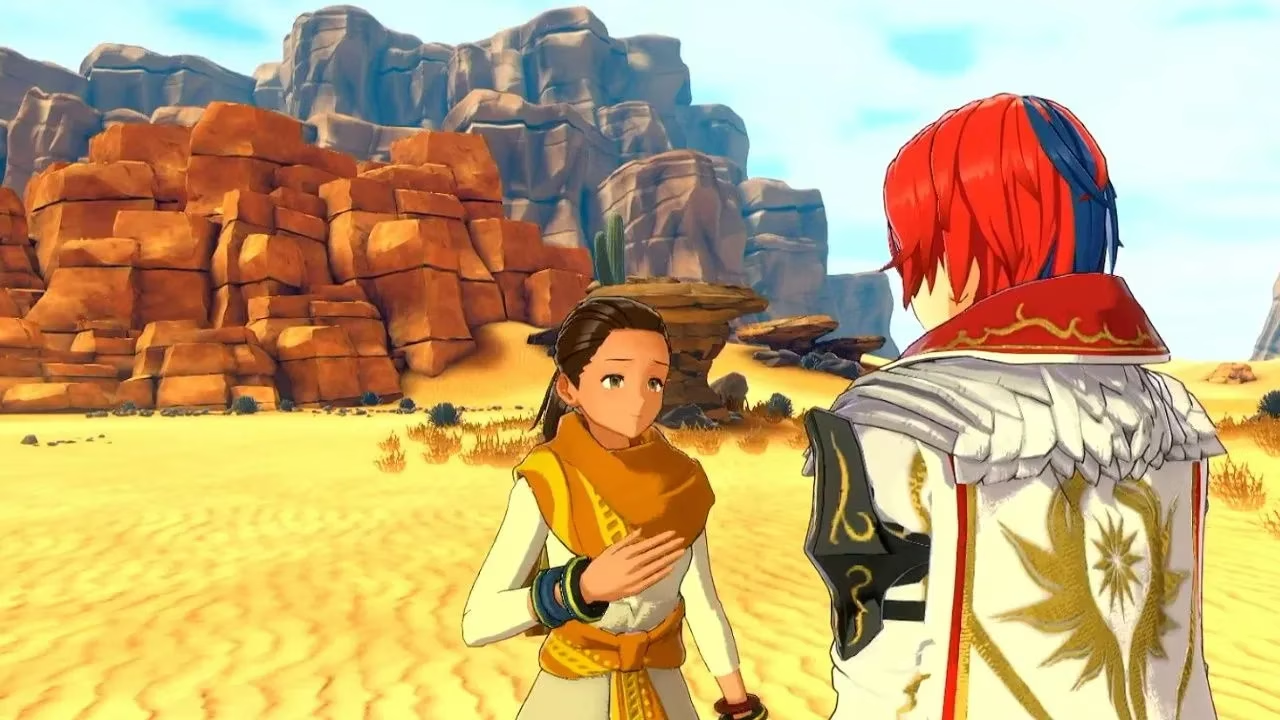
The opening move is straightforward. Launch your flying units southwest like they're late for a very important date. Their mission: intercept the villagers huddled pathetically in the corner. They might have to swat a Corrupted or two on the way, but the civilians are the priority. Meanwhile, your grounded forces should split up. Send a group north to meet and assist the three new allies you'll immediately recruit: Fogado, Pandreo, and Bunet. The remainder should begin a cautious advance toward the map's center, clearing threats. A smart first strike? That lonely Mage skulking nearby. Nip that magical menace in the bud before it becomes a problem.
Meet the Reinforcements (The Friendly Kind):
-
Fogado: Your first mounted archer! His horsey mobility is a game-changer in this terrain.
-
Bunet: A cavalier with stats that make old Vander blush. A sturdy frontline fighter.
-
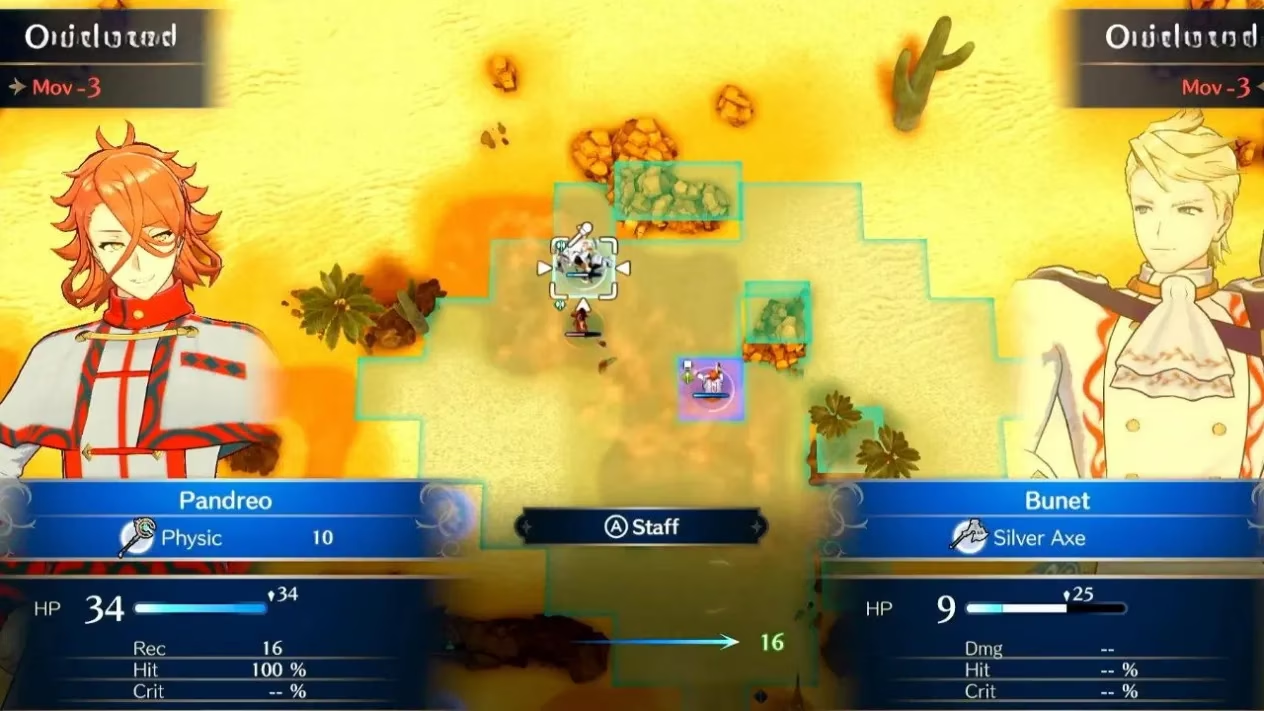
Pandreo: The MVP support. He's a healing monk who also packs a magical punch and, crucially, starts with a Physic staff. This bad boy lets him heal from several squares away, a literal lifesaver for villagers and distant tanks alike.
Form a little death ball in the north with these three: have Bunet draw enemy aggro, let Pandreo patch him up from a safe distance, and have Fogado pick off the wounded. Rinse and repeat.
Turn 3-ish: Civilian Shuffle and Hold the Line
By now, your fliers should have reached the villagers, who will wisely (or desperately) start scampering toward a central stone monument. They might be looking a bit worse for wear. Cue Pandreo's Physic staff from across the map! 😇 Your other units should be converging on this central plaza. This is the danger zone. Identify and eliminate any Corrupted within striking distance of a villager—likely a Wolf Knight to the south, a Swordmaster further down, and an Axe Fighter to the west. Keep your heavy armor units like Louis slightly back for now; their time to shine is coming.
Phase Two: The Reinforcements Arrive (The Not-So-Friendly Kind)
Once the immediate civilian threats are neutralized, the real test begins. The Corrupted, apparently unhappy with your humanitarian efforts, call in backup.
-
Wave 1: Two Sword Fighters from the north and two Axe Fighters from the east, each group chaperoned by a Martial Monk. This is where your armored titans earn their keep. Plant Louis or Jade in the path of these goons and watch them helplessly bounce off that glorious defense. Send Chloe zipping north to help clean up that group quickly.
-
Wave 2: The final wave brings two Wolf Knights and a Mage from the north, and two Lance Fliers from the east. Priority target: the Mage. Those armored walls have one weakness, and it's magic missiles. If you positioned Chloe well, she can often delete this threat. For the fliers, this is a perfect moment to unleash Lyn's Emblem attack, Astra Storm, to snipe one out of the sky from a ridiculous range. The remaining enemies are just mop-up duty. Wolf Knights can't scratch your generals, and the last flier should fall easily to a volley from Fogado or your other archers.
Post-Battle Scavenging: Pet the Dog, Mourn the Camel
Victory is sweet, but loot is sweeter. In the exploration phase:
-
Chat up the villagers you saved. They're feeling generous and will hand over an Elixir, an Obstruct staff, and the ever-precious Master Seal.
-
Go on a treasure hunt! Scour the map for:
-
50 Bond Fragments & 20 Iron Fragments (center of the map).
-
4 Steel Ingots (top of the map).
-
Some Spices (southeast corner).
-
-
Animal Crossing: Elyos Edition: You can adopt a cute Elyosian Dog in the north. But prepare for heartbreak... a majestic, glorious Panna Camel lounges near the center. You can look, but you can't adopt... yet. That privilege is locked behind a regional donation. The cruelty! 😭
And there you have it. By balancing speed, defense, and a touch of long-range healing, you can turn a potential desert disaster into a masterclass of tactical heroism. Now, with your new seals, staves, and animal friends (plus one camel-shaped void in your heart), you're ready to face whatever Engage throws at you next.